This tutorial is written for DaVinci Resolve Studio 17. Adding audio fades are extremely easy and highly flexible in DaVinci Fairlight and Resolve, but not 100% intuitive. So allow us to clear the flog! With an open project, click over to the DaVinci Fairlight edit page (the music notes icon on the bottom of Resolve).
1) Add Initial Fade in Fairlight
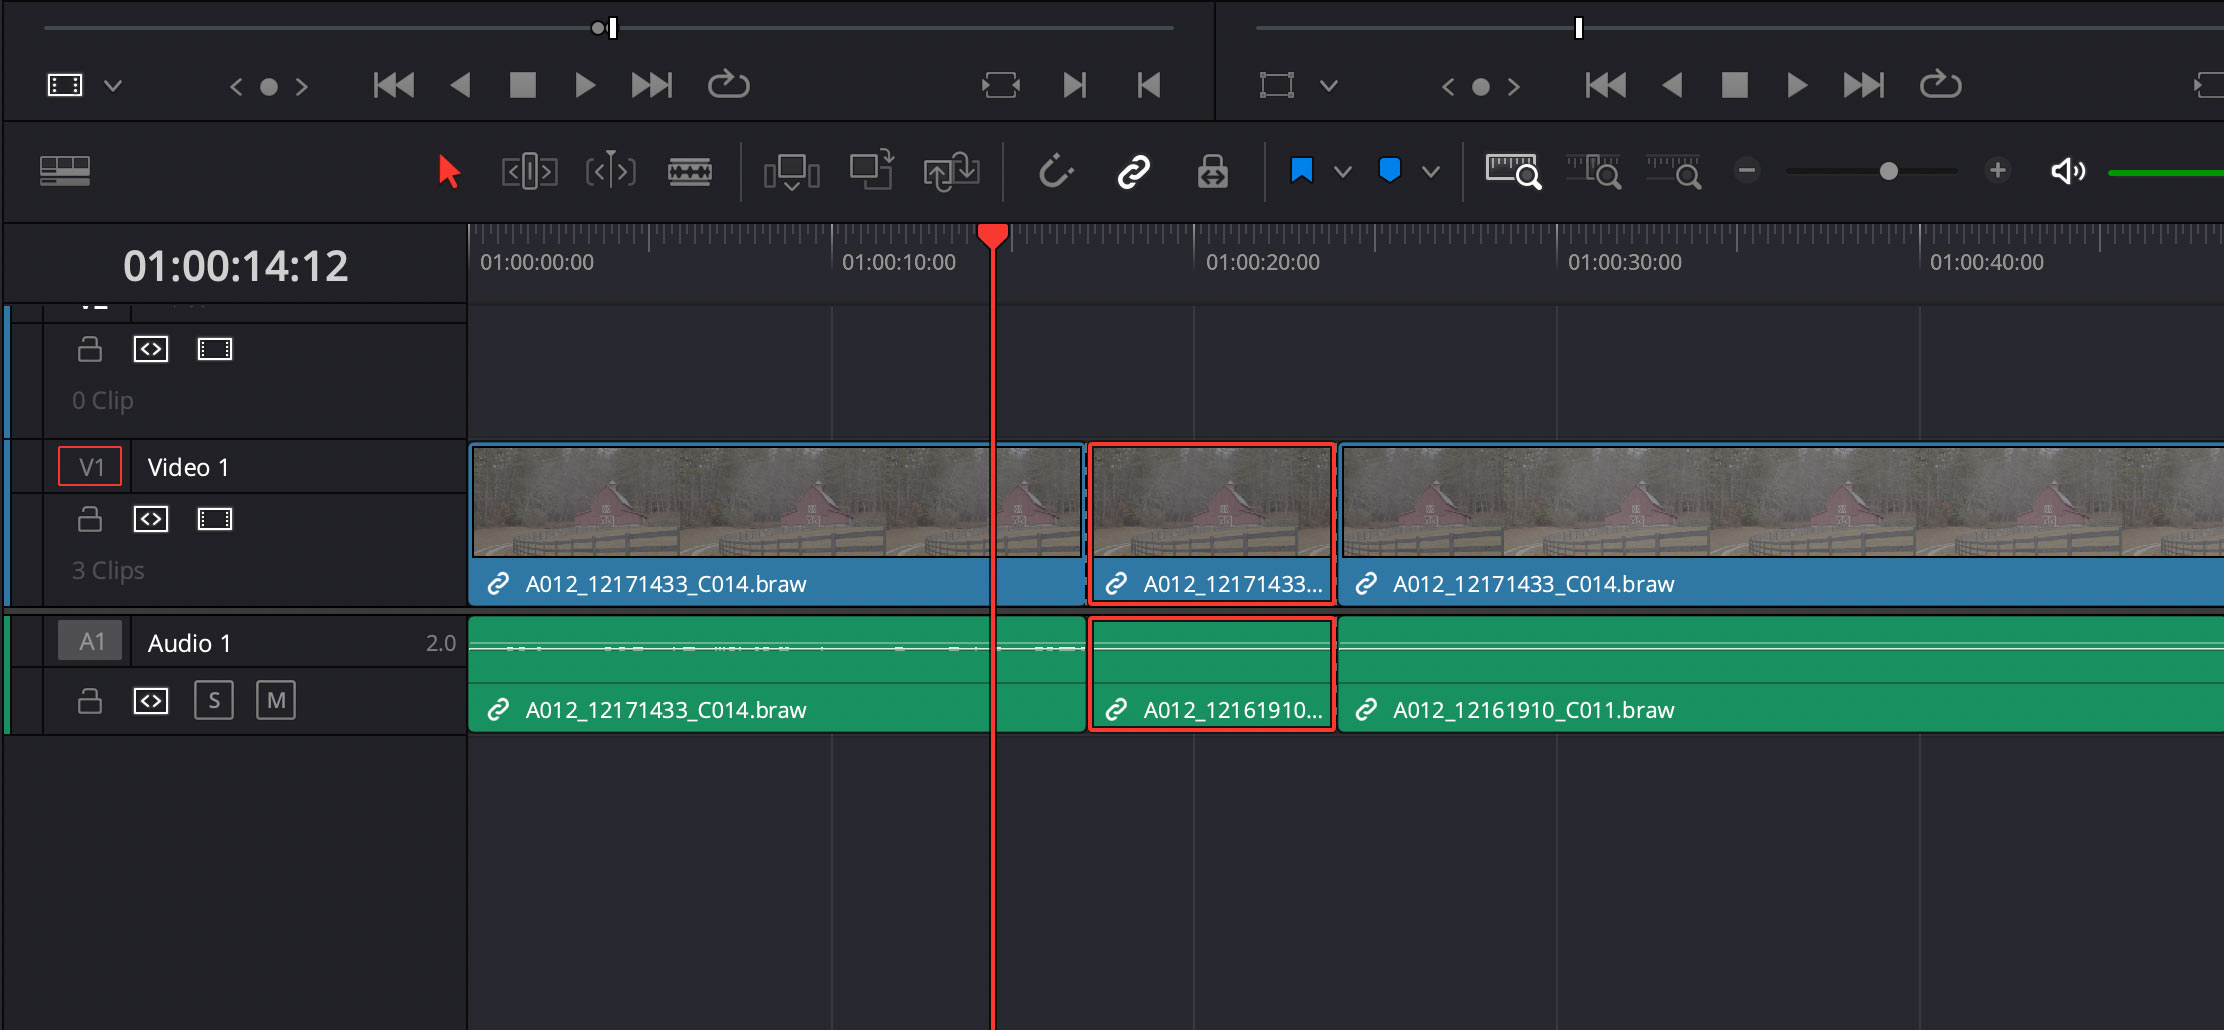
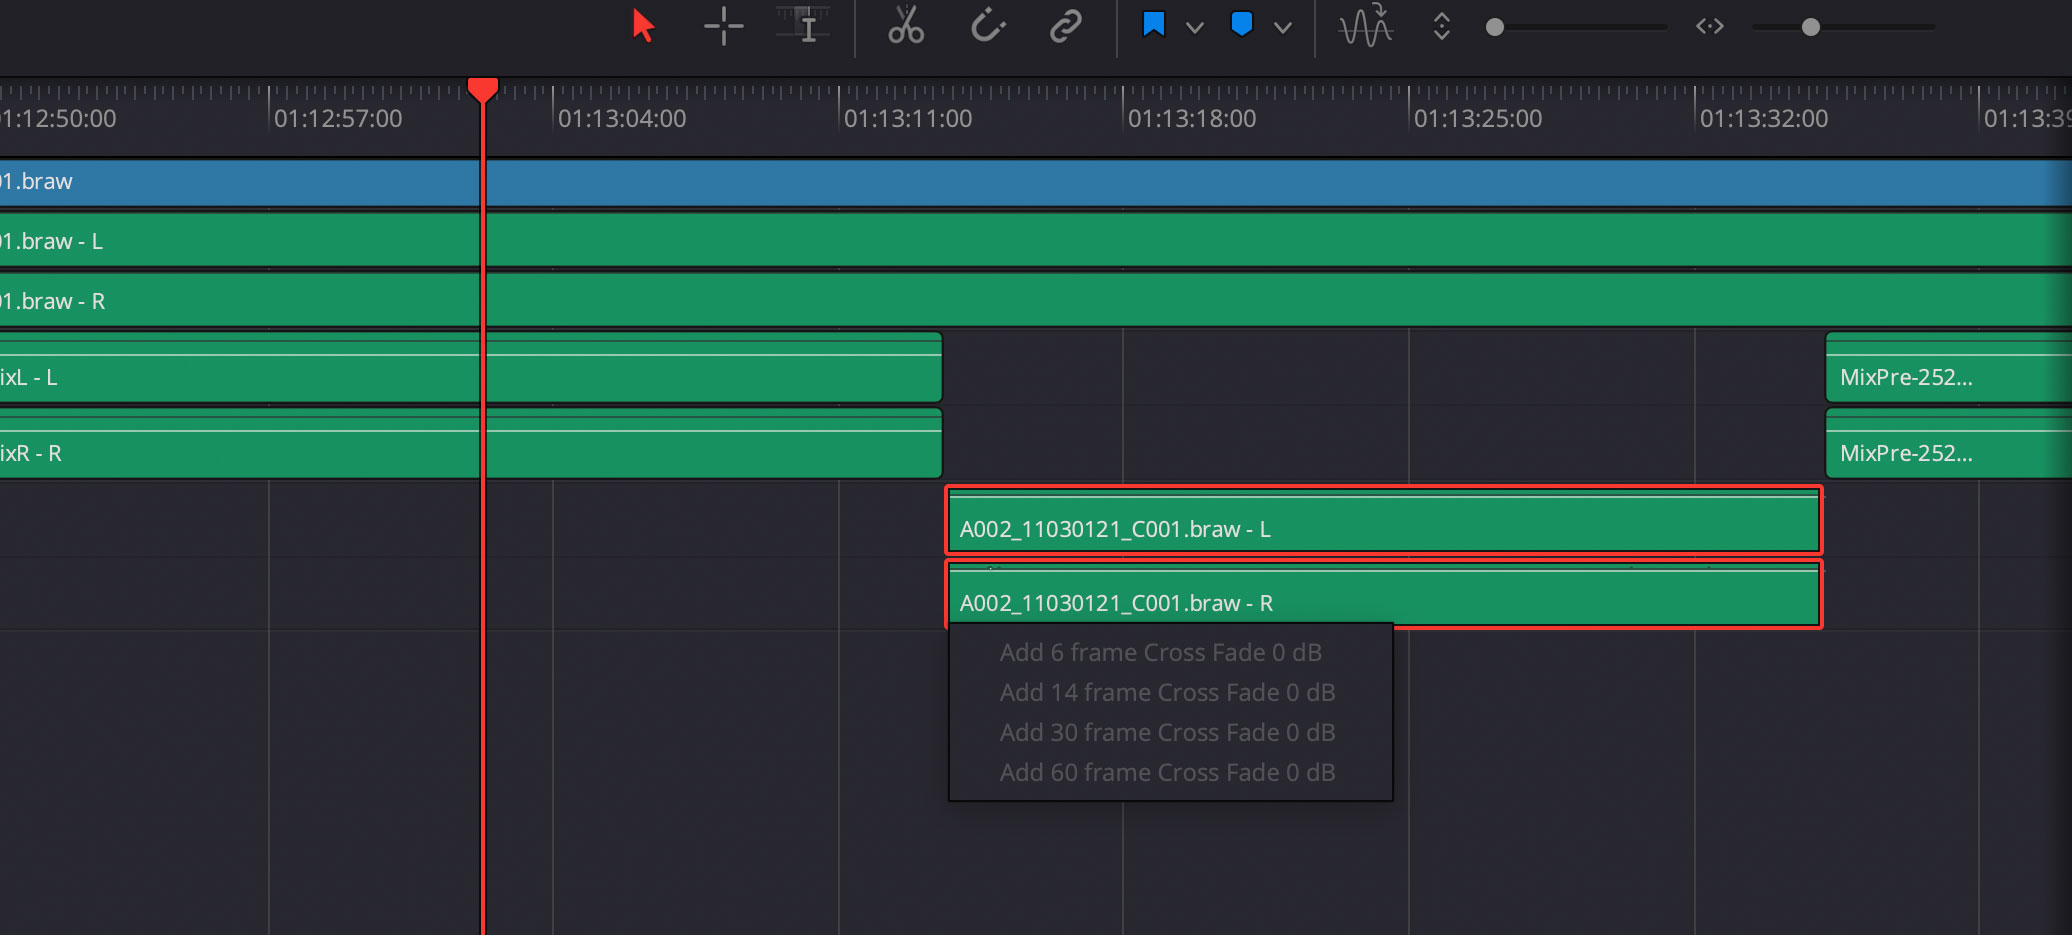
If you right-click any edit point on your audio track, you’ll be presented with various cross fade options. Just pick one as you can adjust the exact frame count easily after adding. If your edit point has adjacent audio, it will add a cross fade. If the audio clip is isolated on another track, it will add the fade to the beginning (or end) depending on where you right-clicked on the clip.
Alternatively, and even easier, you can simply click the white indicator on the top left or right of any audio clip and drag it over to introduce a fade. This works for both audio and video tracks.
2) Adjust Track Height for Fairlight Tools
To access additional tools in Fairlight you’ll need to adjust the height of your audio track. Each track has an information/settings box on the left of the track. Move your cursor to the bottom of this area for the audio track you’re working with. When your cursor turns into a double arrow, click and drag to change the height of the track.
3) Adjust Fade Length
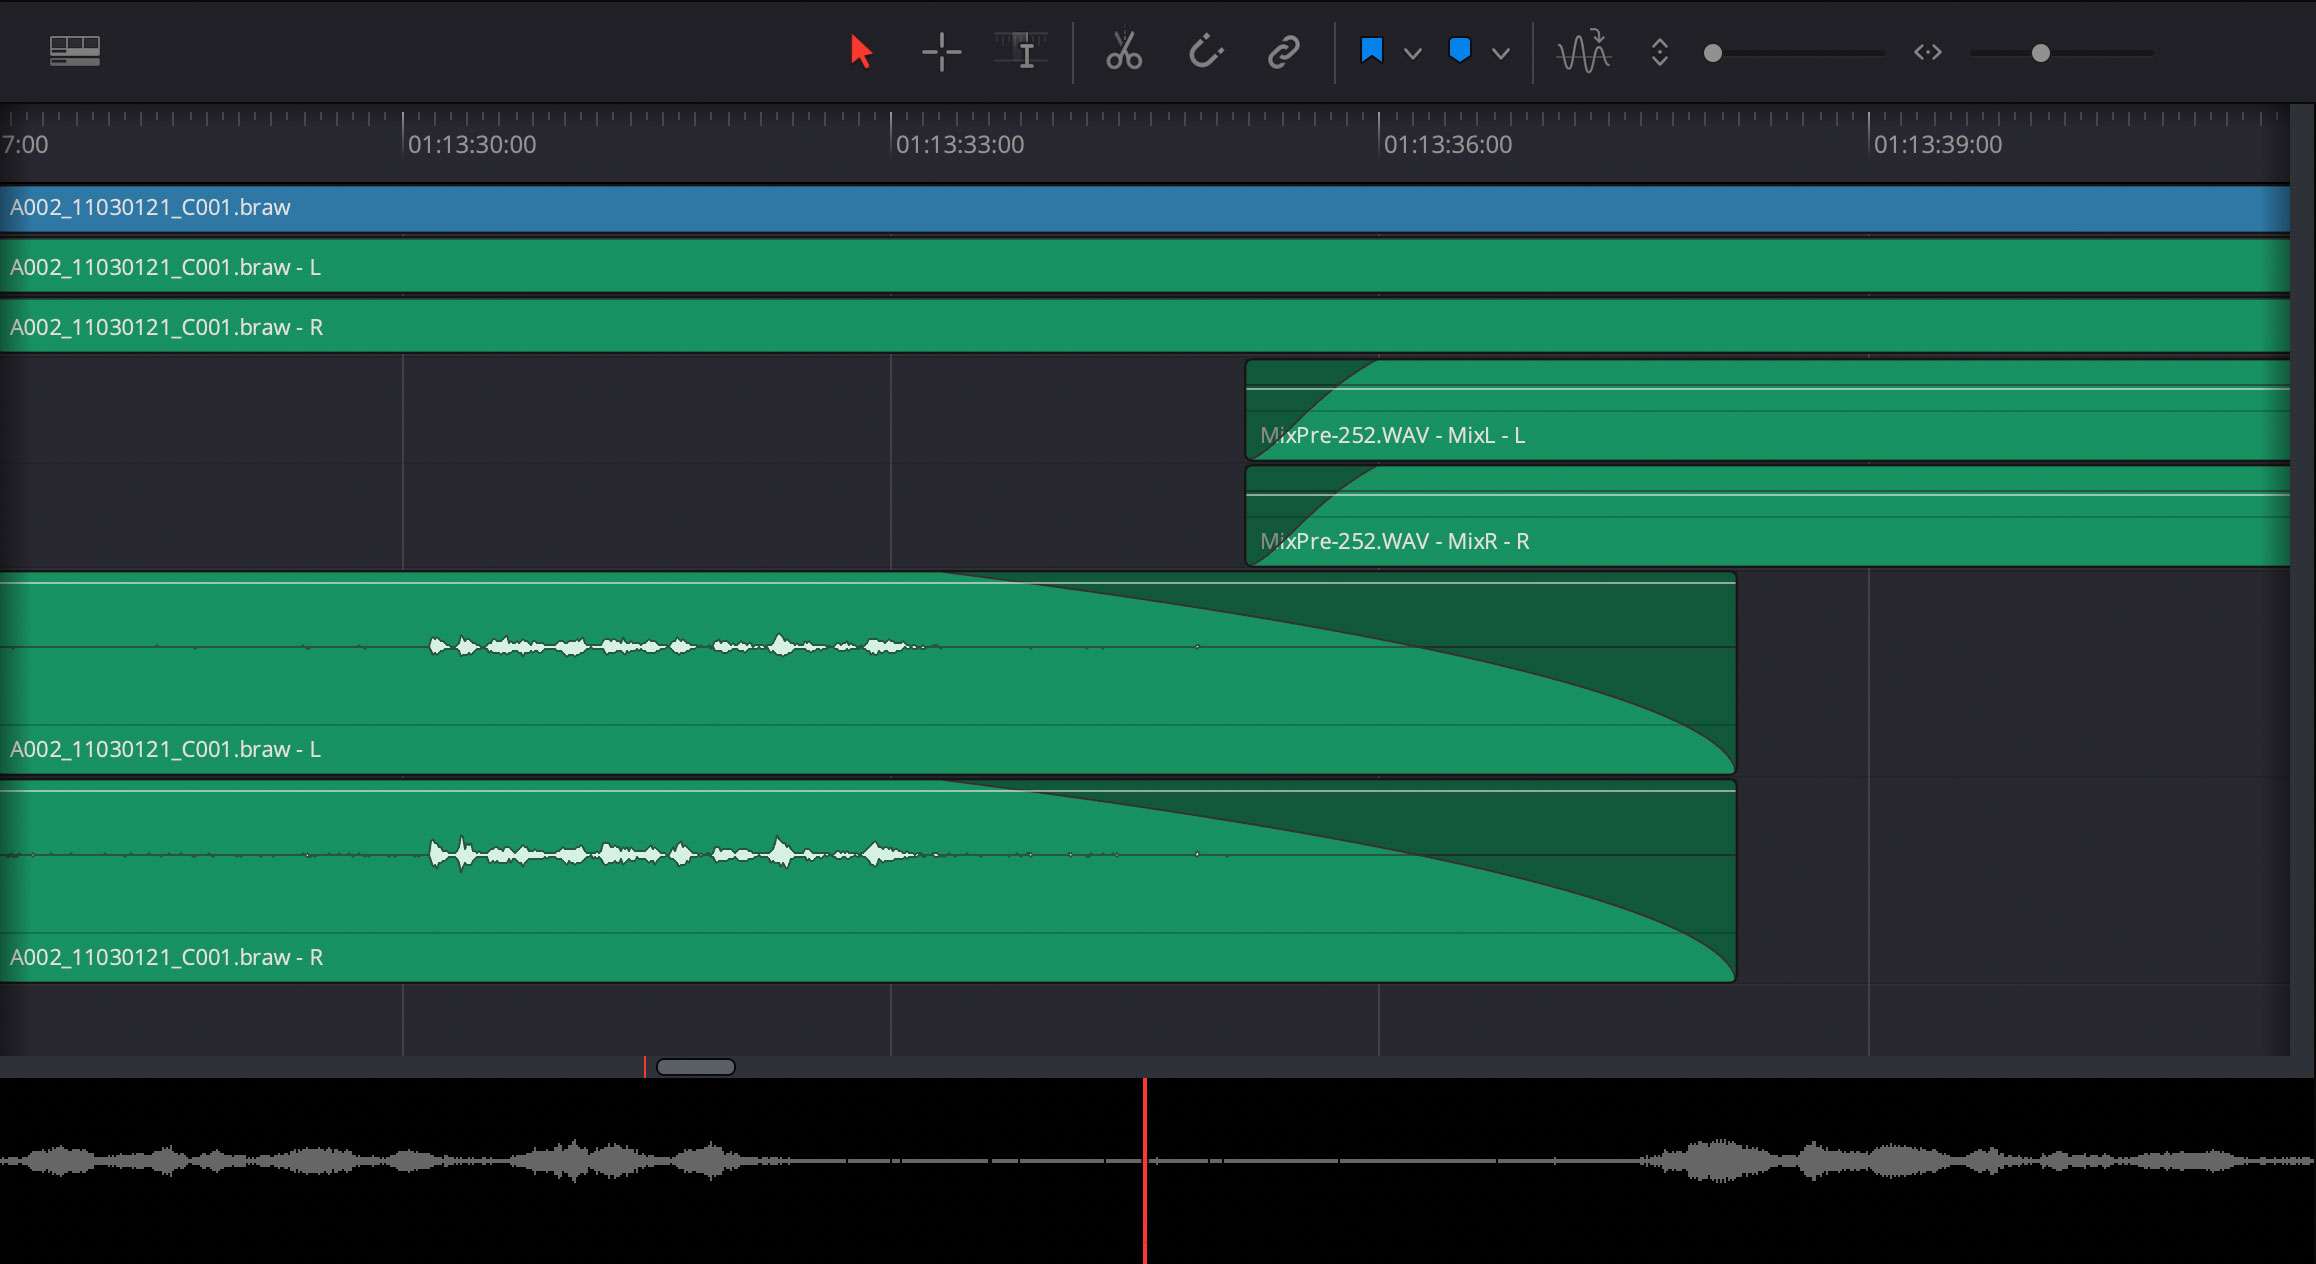
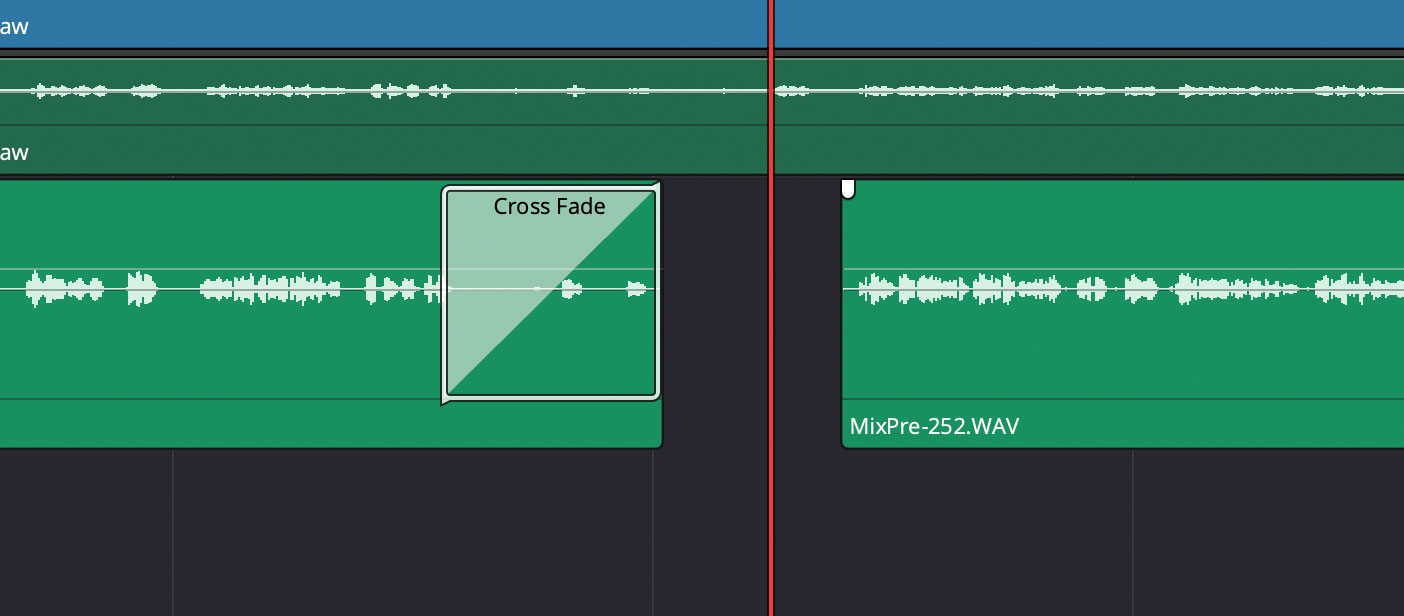
Now you can easily adjust the length and style of your audio fade using the white marker on the top of your track. Simply click and drag to shorten or extend the audio fade. You can also use the center dot on the fade to adjust the style of the audio fade.
4) Add Fade Using DaVinci Resolve Edit Page
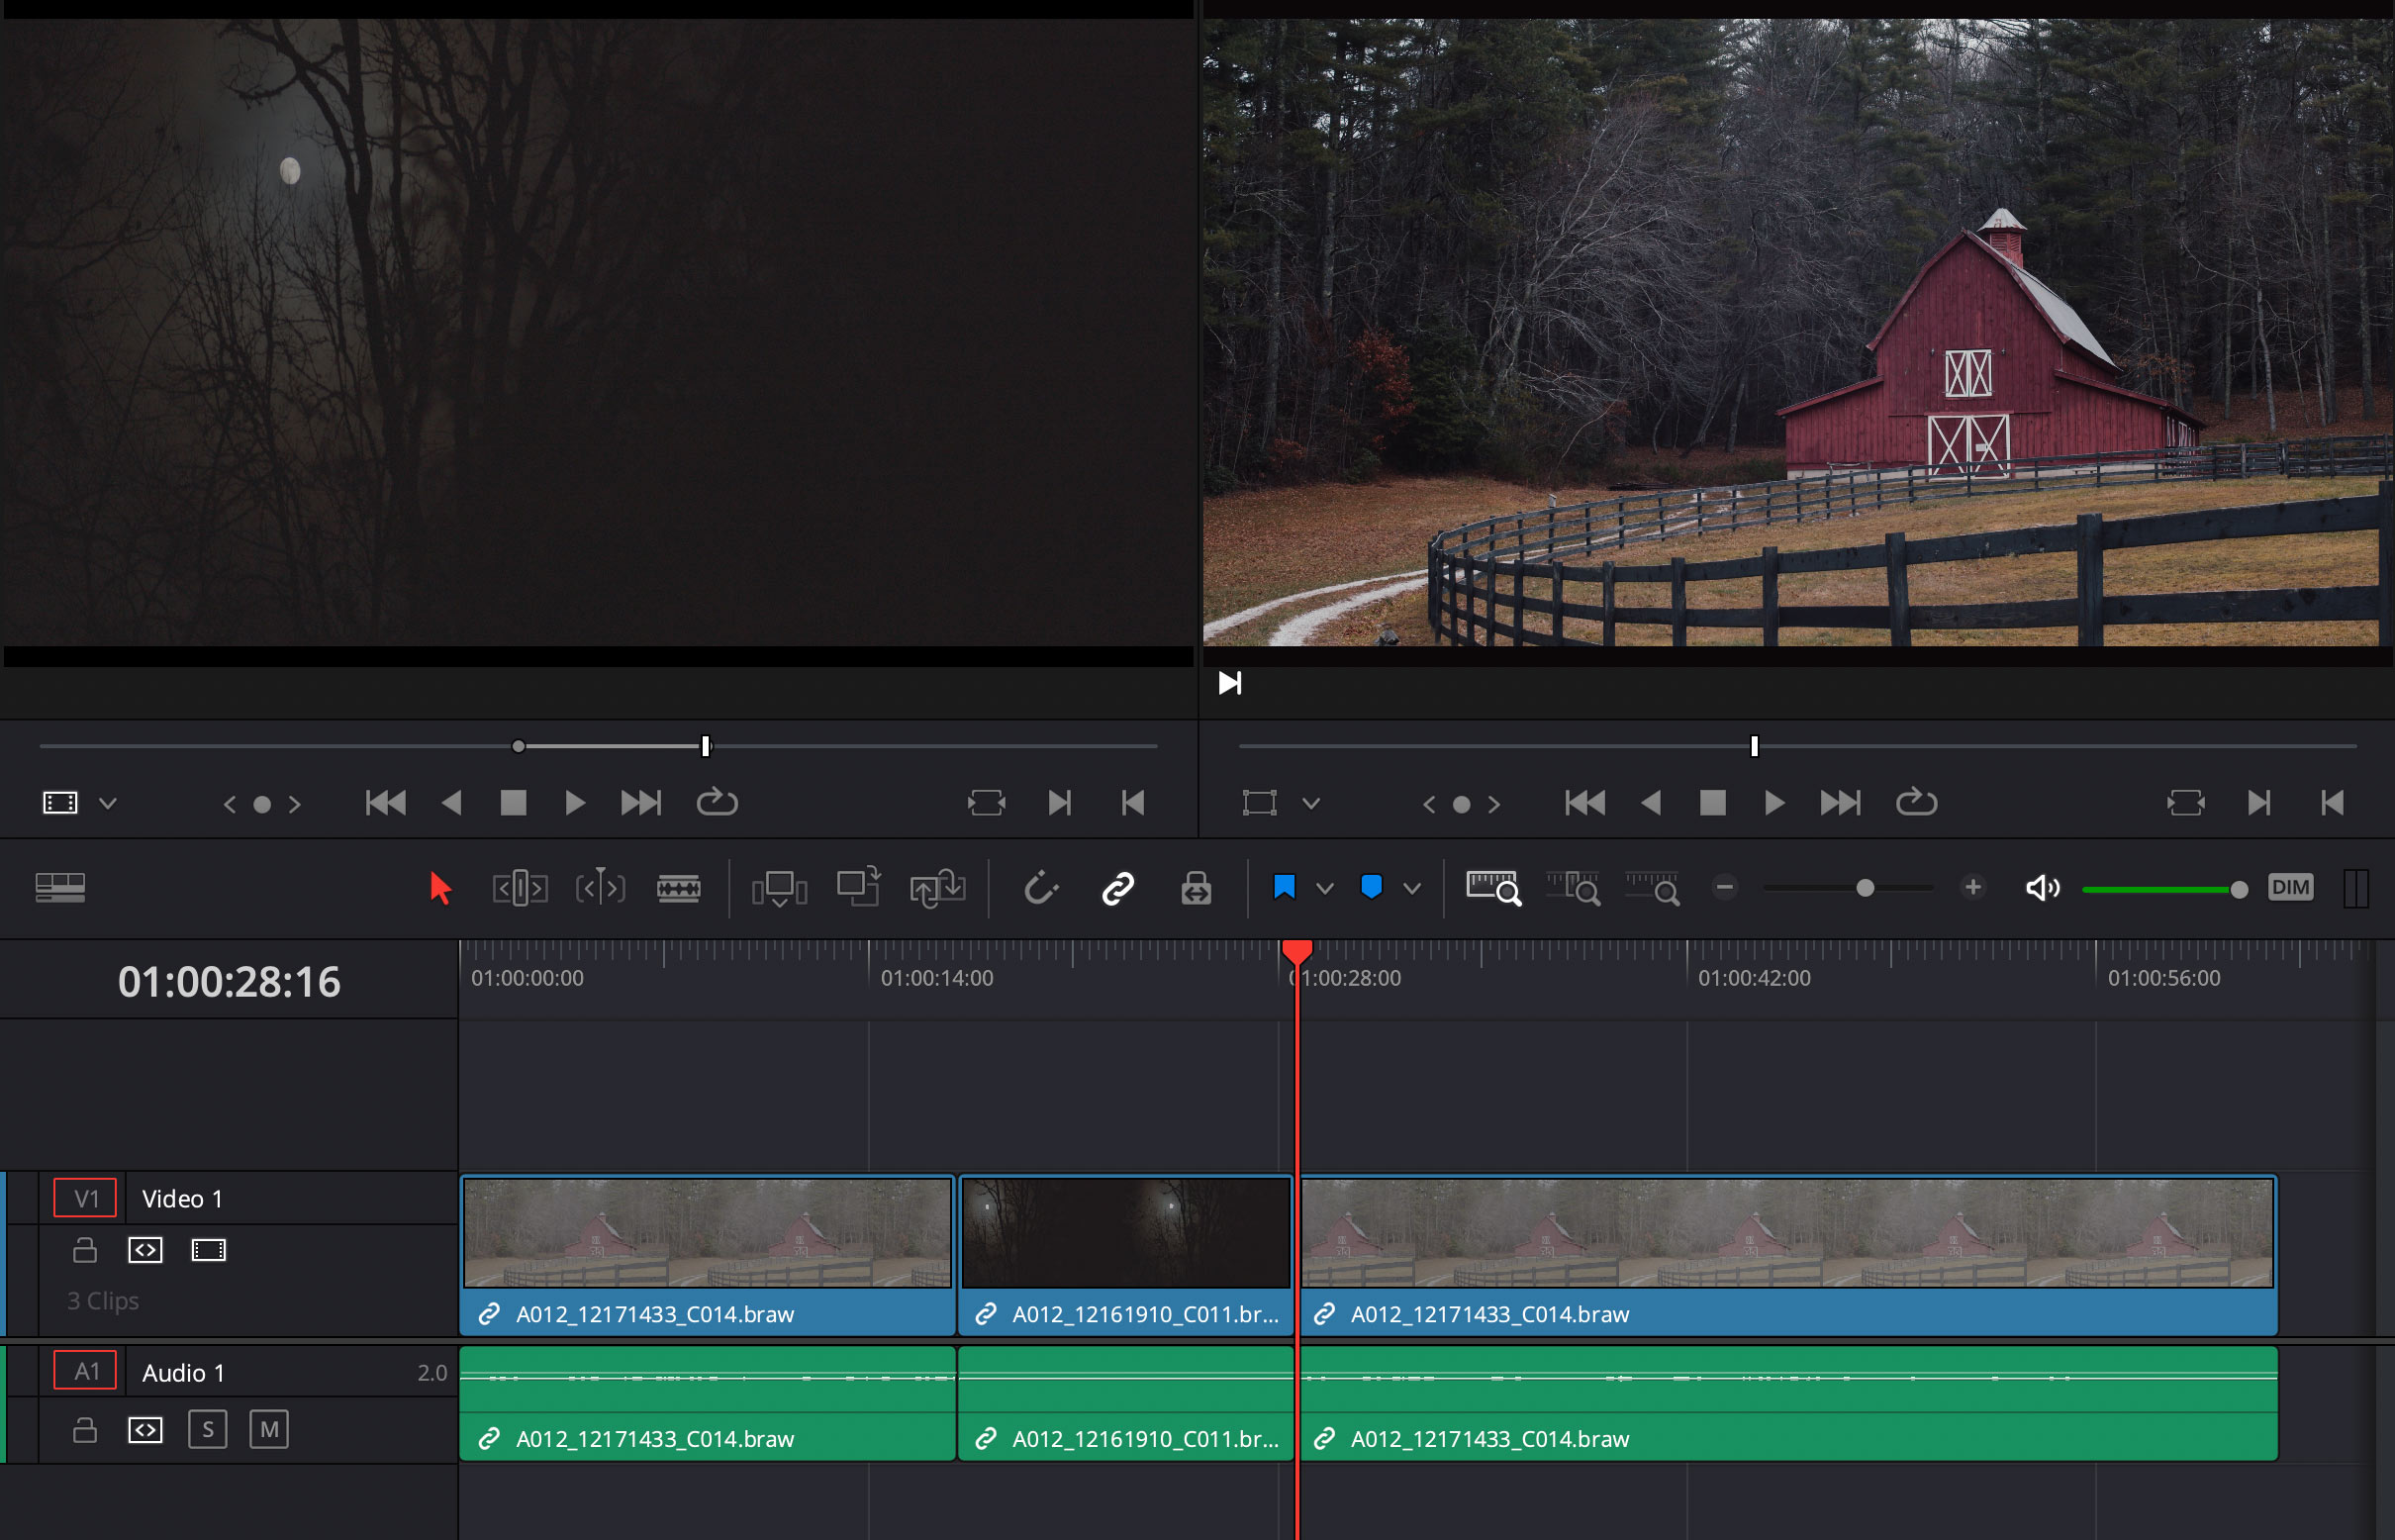
You can also work with fades on the edit page. Simply right-click or drag the white indicator as in Fairlight. You can also add them via the Effects palette, although this takes longer. First make sure the effects palette is open by clicking the Effects icon on the top right of DaVinci Resolve. Next, in the lower right effects palette, click on Toolbox. Here you can access various cross fades. Simply drag them onto your timeline in the desired spot.
The fades added via the Edit or Fairlight pages are accessible in each area. Personally, I like to keep all of my audio editing in Fairlight so everything is consistent. You also cannot control the type of fade on the edit page as you can within Fairlight.
Rubberbanding Audio in DaVinci Resolve
Another powerful method of manipulating audio is via audio keyframes. You might hear people call it “rubberbanding.” If you hear that term, they’re talking about adding keyframes to a clip of audio in the timeline. To add an audio keyframe in DaVinci Resolve or Fairlight simply option + click (alt + click in Windows) on the gain line of your audio clip. Be careful to click on the gain line otherwise it will not give you the key frame.

You can also use the Inspector to add a key frame from the DaVinci Resolve edit page, but the keyboard method is much faster.
And there you have it! Again, crazy simple but with Resolve Studio 17 freshly installed and everything at defaults, not always intuitive. If you’d like to learn more simply check out other articles or visit the Write & Direct YouTube channel. For comprehensive training on writing and directing films, enroll in Write & Direct today!