What is exposure? It deals with controlling light to capture details in an image.
If you let too much light in you’ll over expose and lose details in the brights. If you don’t have enough light you’ll under expose and lose details in the darks.
I’m about to teach you how to get proper exposure using what I call the “exposure layers.” These are ISO, Shutter Speed, Aperture and Light.

First, there are two things you must understand:
Ansel Adams Zone System
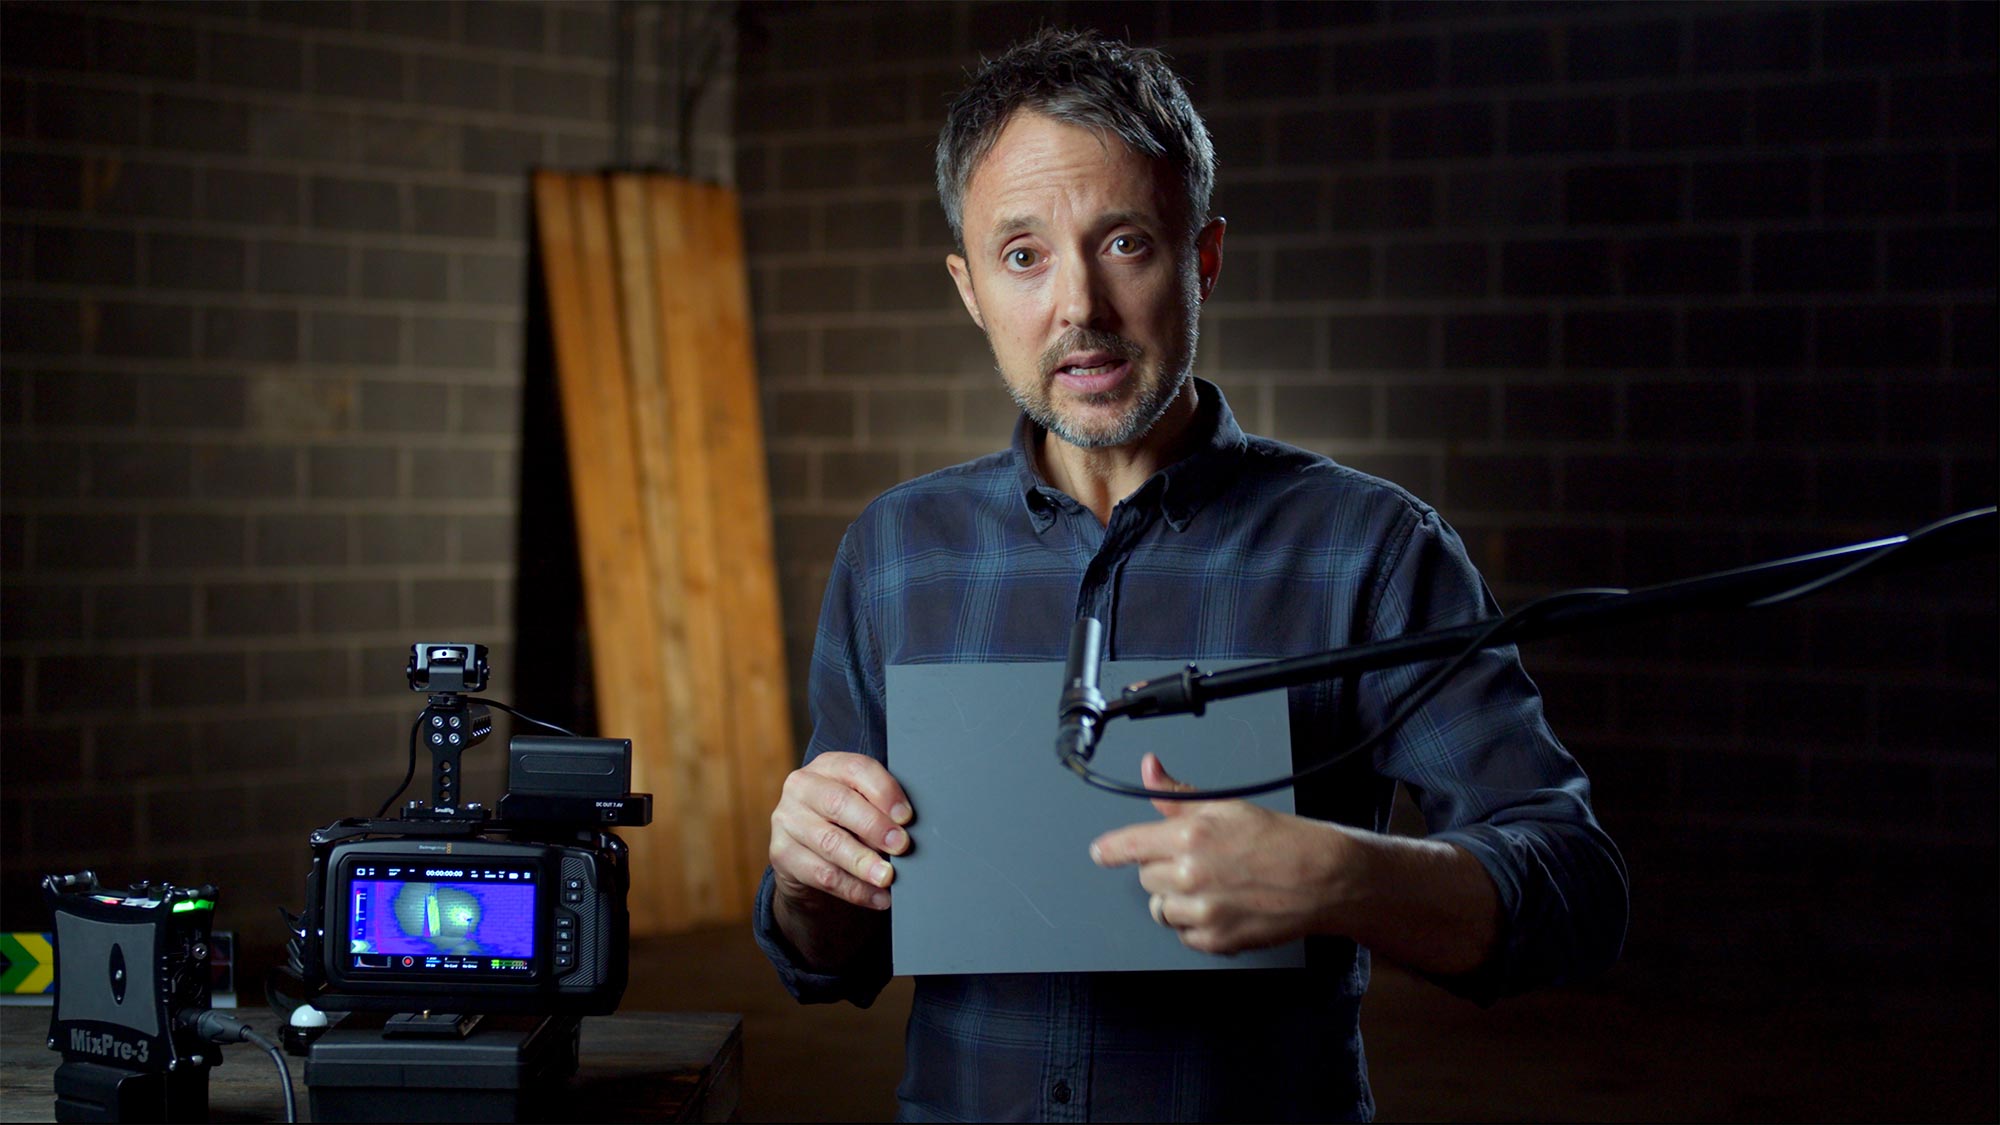
Ansel Adams, a famous black and white photographer born in 1902, developed an eleven zone-system that defined pure white to pure black with nine shades of gray in between. The exact halfway point of the zone system is called “middle gray” and it reflects 18% of light back.
For now, this all we need to know about middle gray. Next is a thing called dynamic range.
And btw, if you’d rather see a video version of this post, here it is:
Dynamic Range
The ratio between the brightest brights and the darkest darks in an image is called dynamic range.
Imagine this: The sun sets over a small town. A white billboard catches the rays while the lower streets are encompassed in the early shadows of night.
There is a large ratio or dynamic range in this image.
Dynamic range is measured in stops of light. The human eye can see 21 stops of dynamic range while cinema cameras don’t come close. For example, the Black Magic Pocket Cinema Camera captures around 13.1 stops of dynamic range while an Arri Alexa captures 14 stops. And there’s a $30K price difference between these cameras!
So what does this mean for us as filmmakers?
It means if we’re filming the city example, we won’t capture all the details in that setting. It’s literally impossible. We must decide where we want to compromise.
And this leads us to our first exposure layer.
ISO (International Standards Organization)
ISO is the foundation layer of the exposure stack. It’s also the most complicated layer to initially understand, but you’ve gotta wrap your head around it so everything else makes sense.
Back in the days of film, ISO dealt with a film stock’s sensitivity to light. Also called the speed of the film. A production would decide on a certain film speed based on their needs for the scene. Film with an ISO rating of 300 is less sensitive to light than film with a speed of 800.
Digital cameras also have an ISO setting that can begin at 50 and go up into the thousands, depending on the camera. And similar to film, the ISO setting on a digital camera deals with the camera’s sensitivity to light.
Well, sort of.
You can nerd out on ISO like crazy and run down the rabbit hole of analog and digital gain, etc. But for us aspiring directors, it’s overkill.
Here’s what you need to know:
Let’s jump back to the concept of middle gray, but instead of the eleven zone-system we’ll reference the full dynamic range of the human eye.
From purest black to purest white with middle gray in the center.
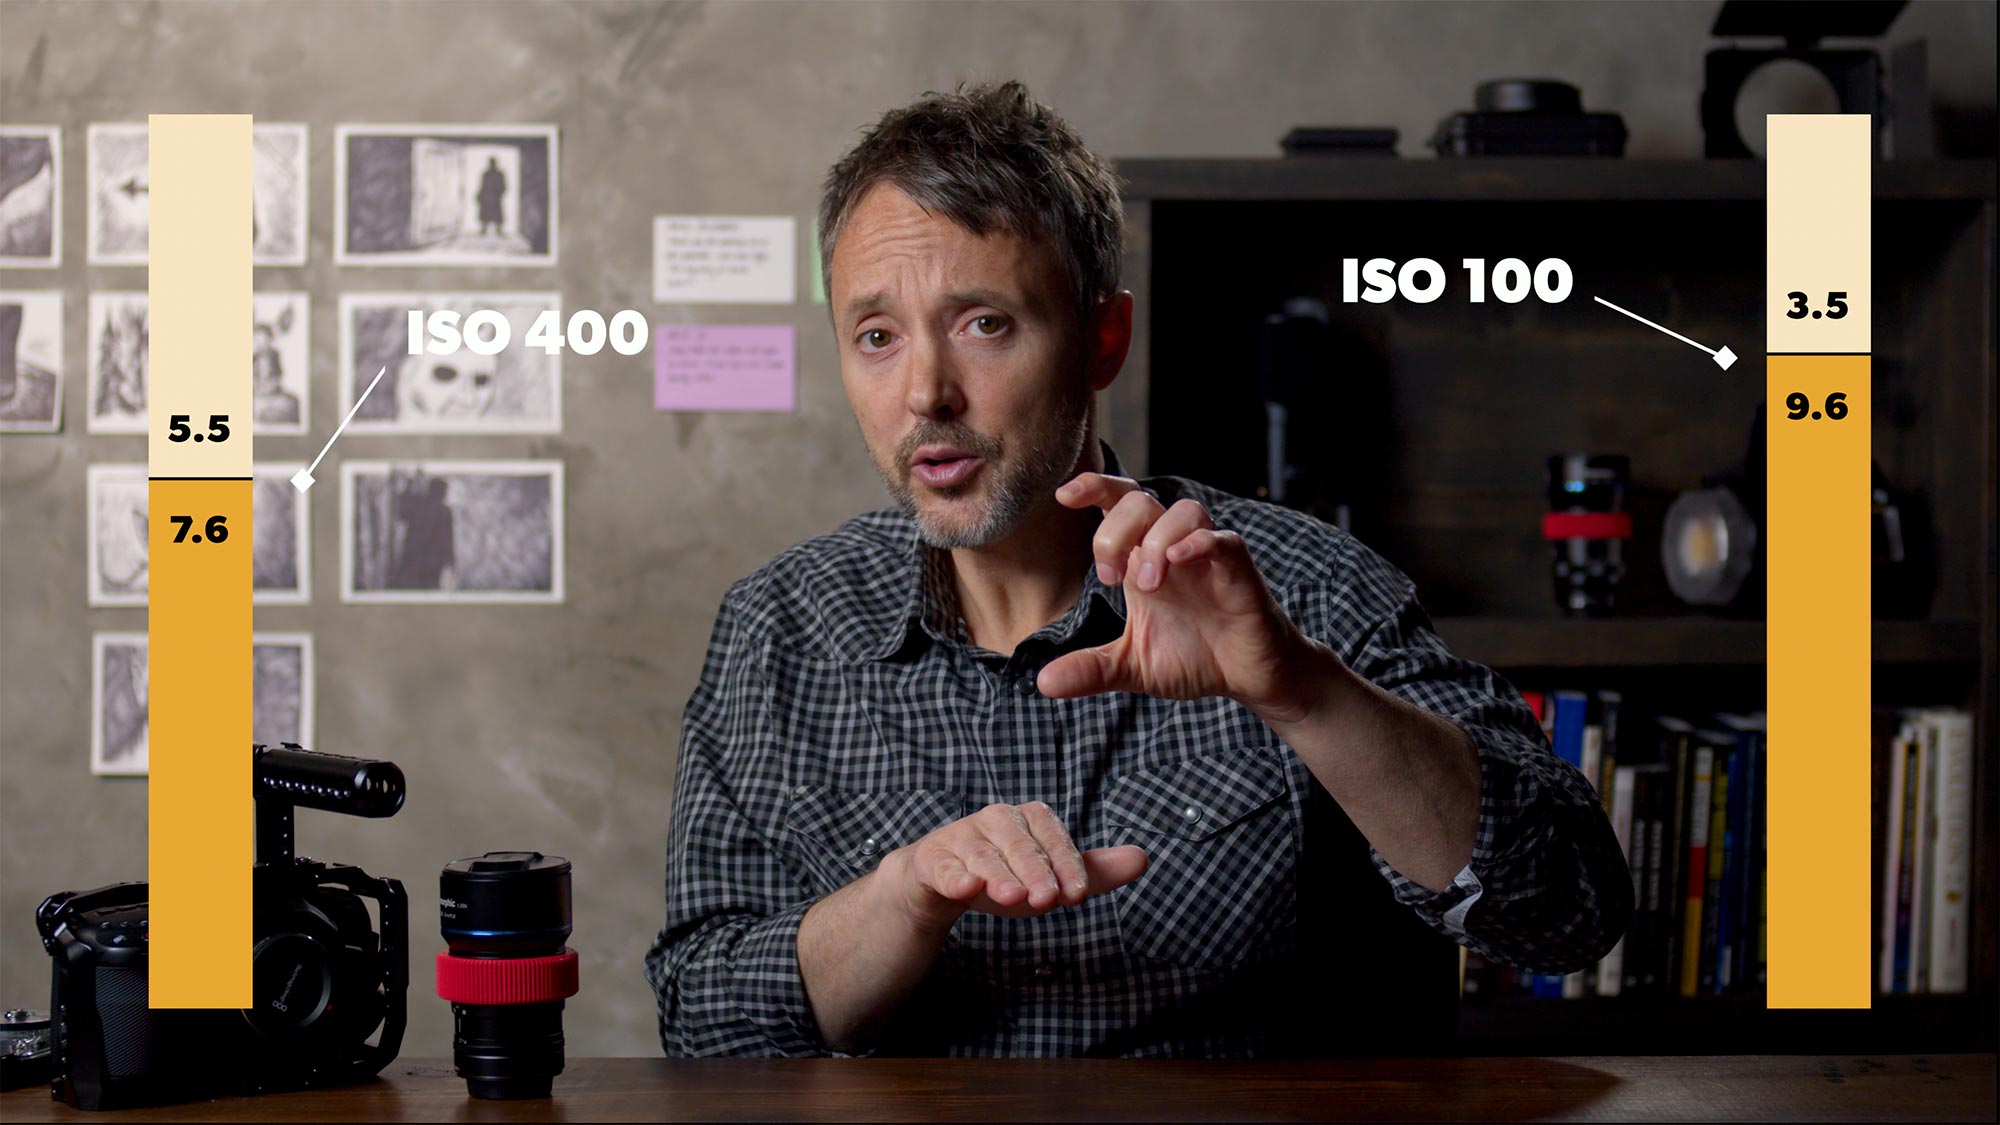
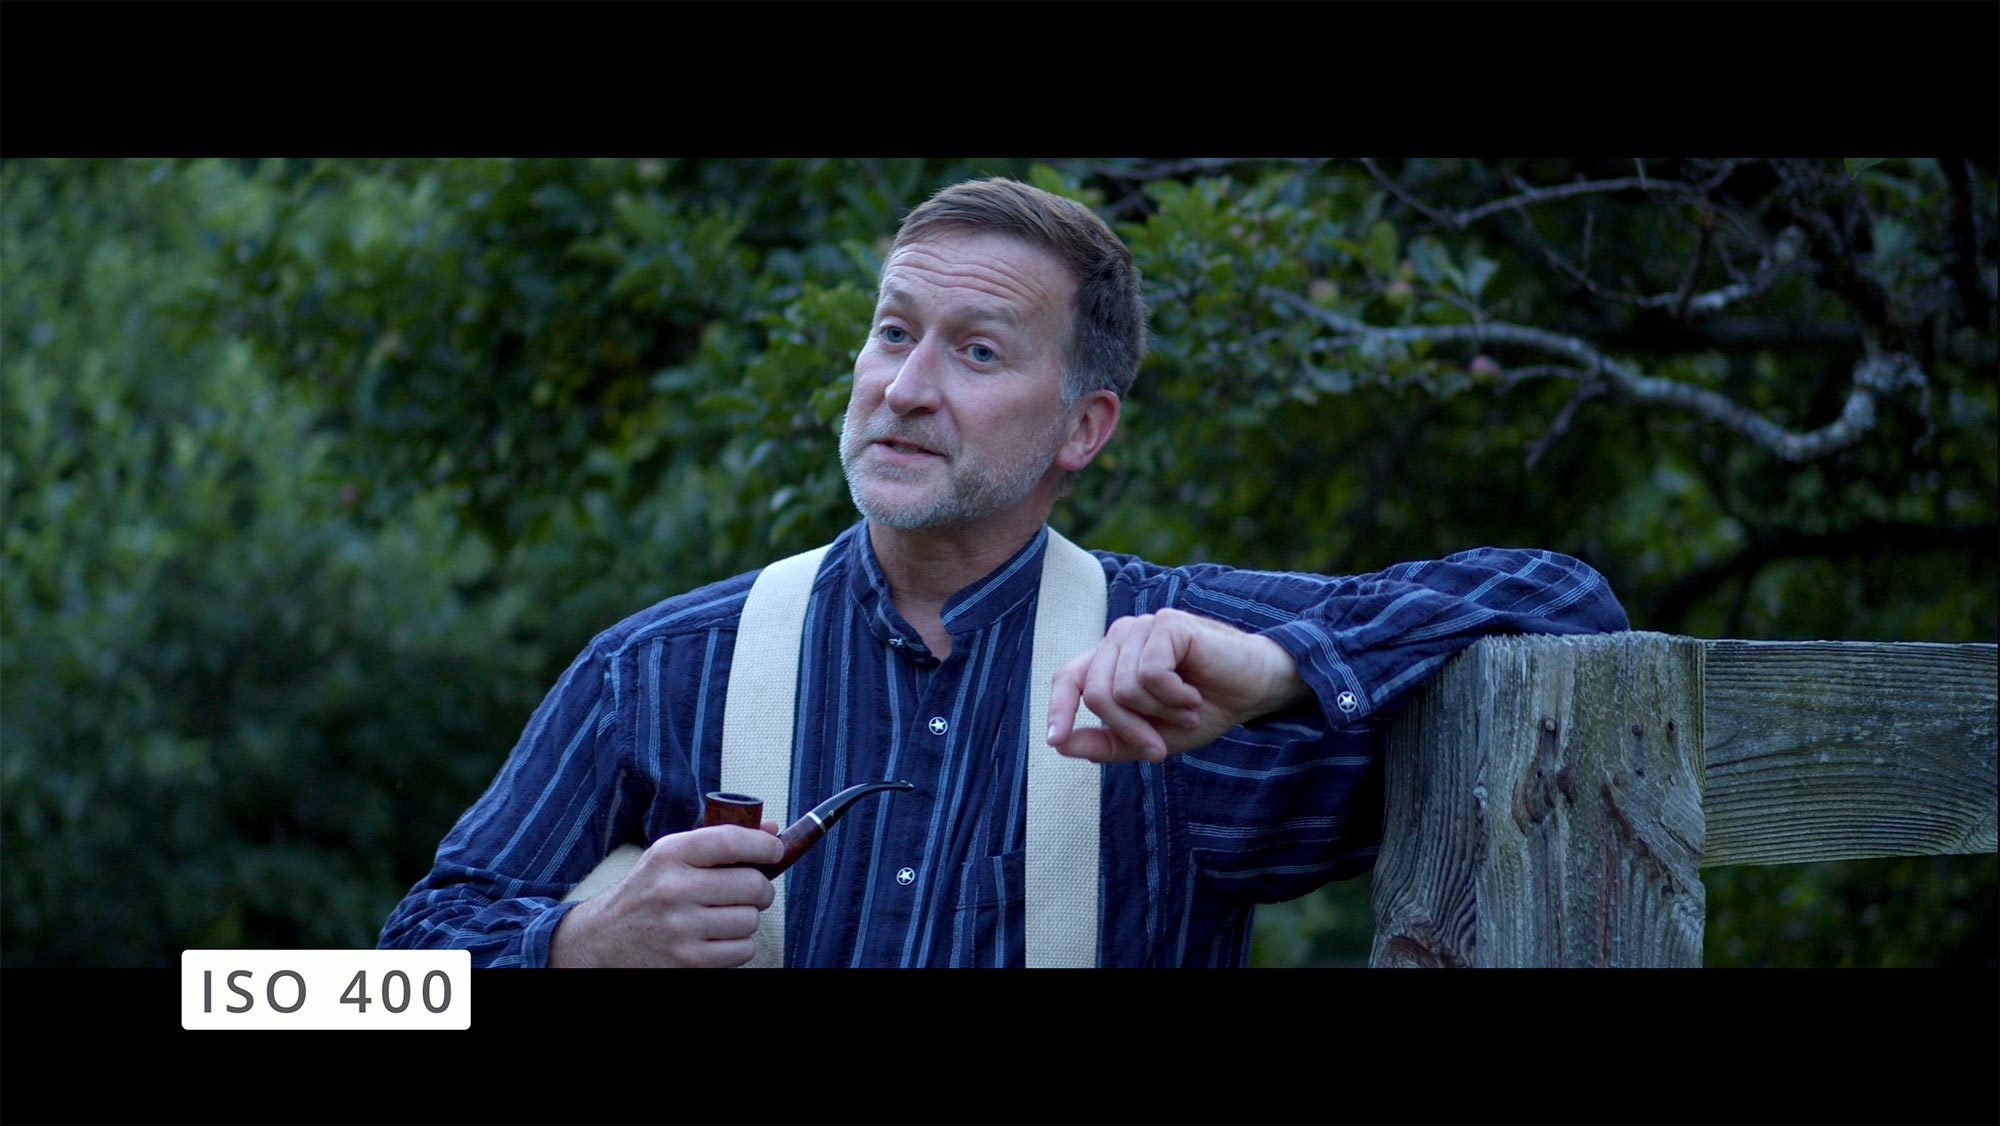
If my camera has 13.1 stops of dynamic range, I have a certain amount of stops above and below middle gray. ISO controls this. See the image below for the Pocket Cinema Camera’s 13.1 stops of possible dynamic range for ISO 400 vs ISO 100.
Are you tracking with me?
Cinema cameras have what they call a “native” ISO which is the camera manufacturer’s recommended ISO setting for the best range above and below middle gray (given proper exposure).
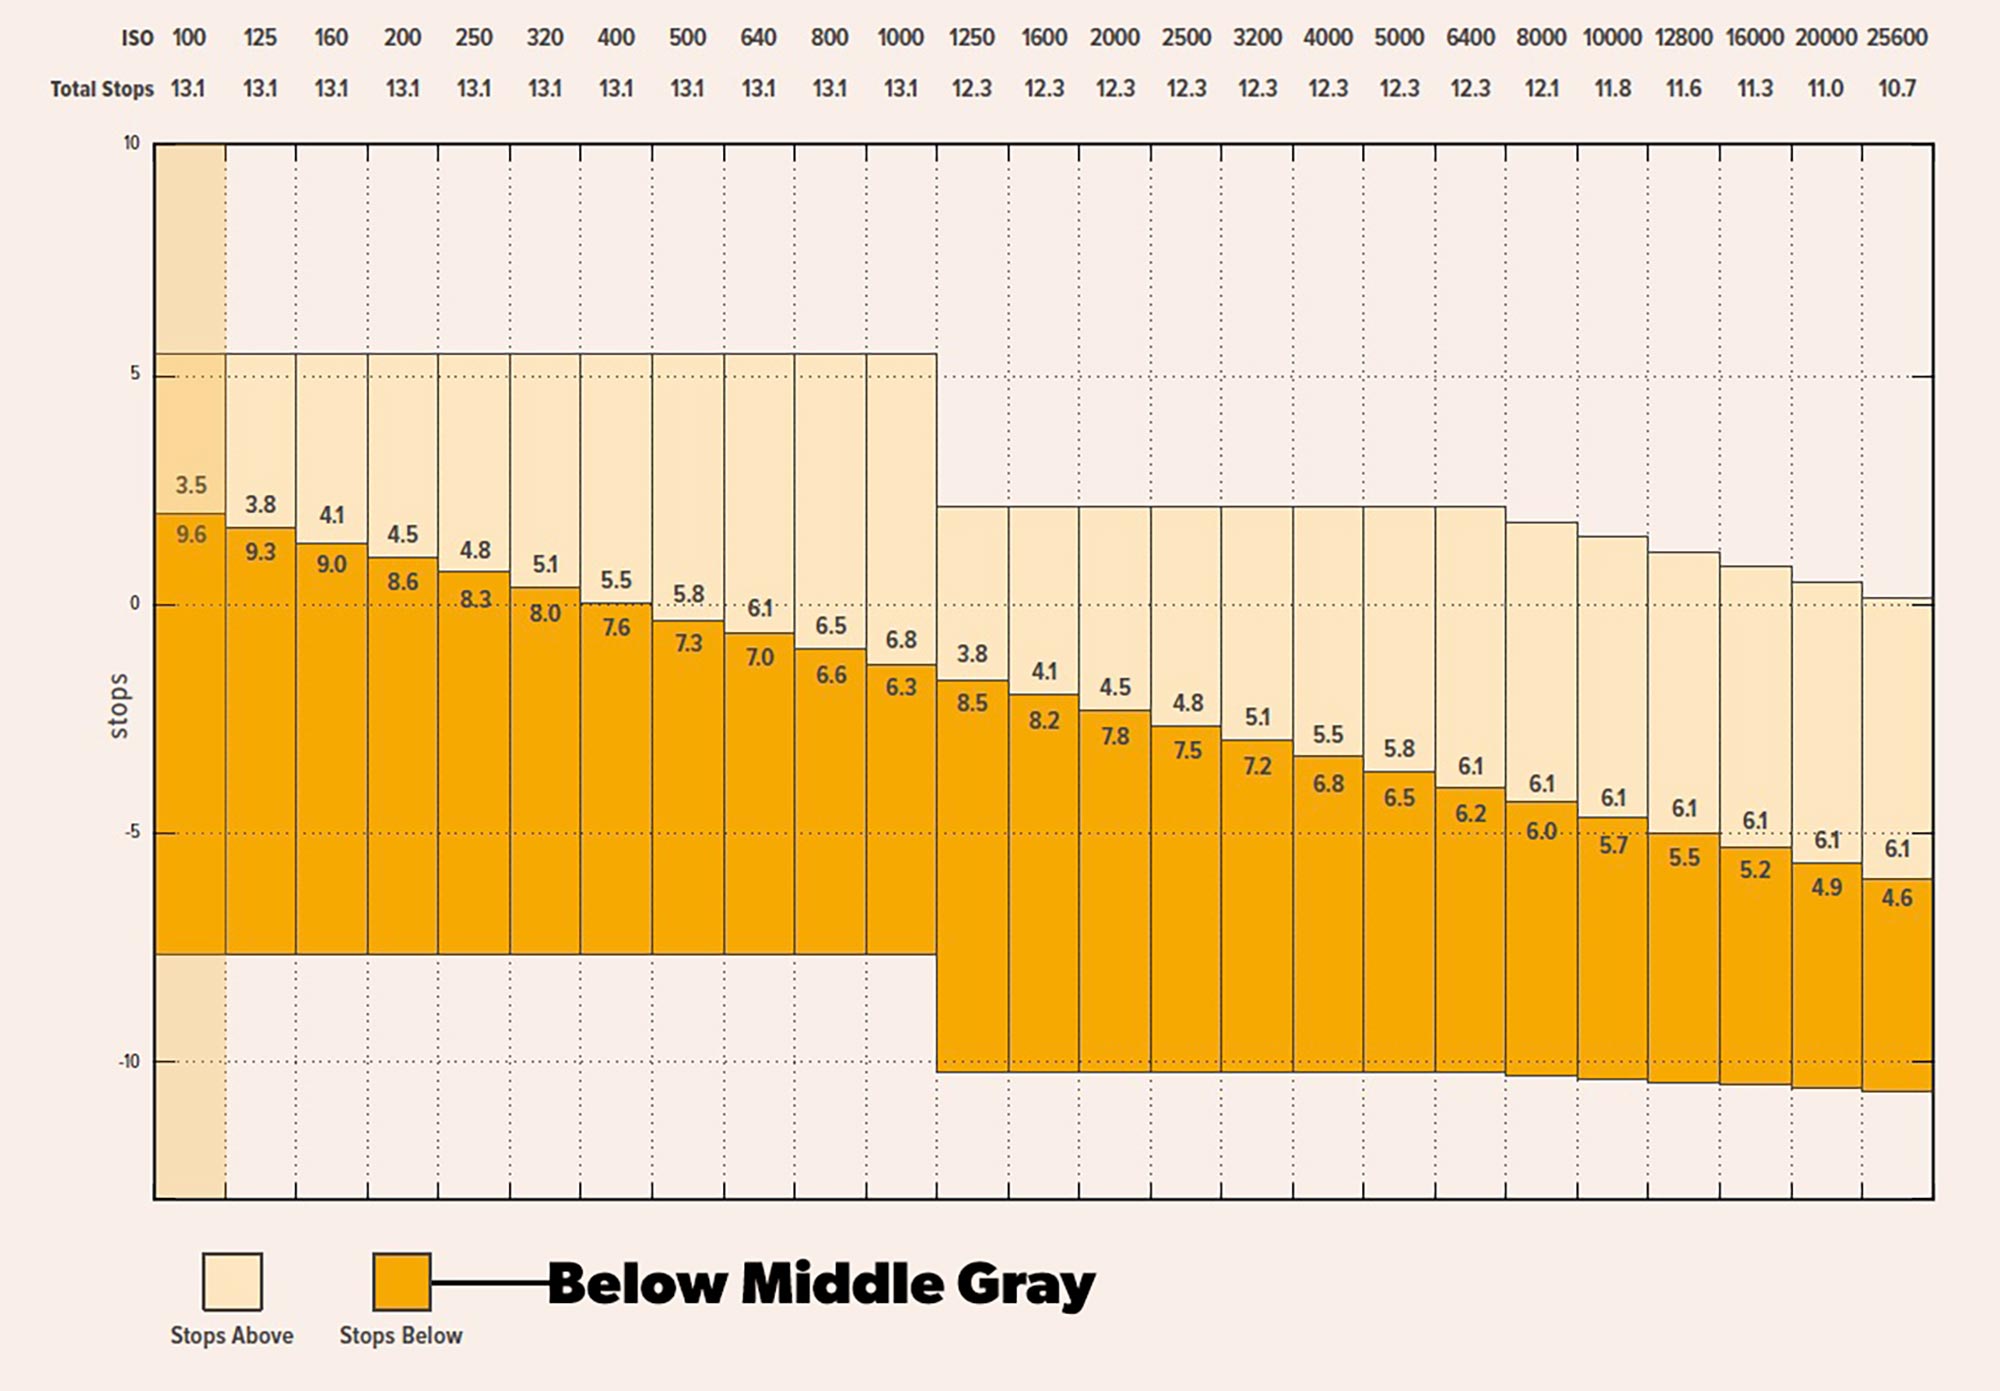
The Pocket Cinema Cameras have a native ISO of 400. At ISO 400 I have a theoretical 5.5 stops above middle gray and 7.6 stops below middle gray of image detail that can be captured. If I move the ISO to 100 it changes to 3.5 above and 9.6 below (see the above image).
So let’s review: More stops below middle gray does what?
It captures more details in the shadows.
However, dropping my ISO down to 100 doesn’t work any miracles. I still have to expose to this setting.
We’ll get to this in a second.
For now, just know that as a filmmaker we typically shoot at the native ISO of a camera unless we have a specific reason not to. The foundation layer of the exposure stack is not an exposure tool. Instead we expose to our ISO setting.
Cool? The next layer in the exposure stack is…
SHUTTER SPEED
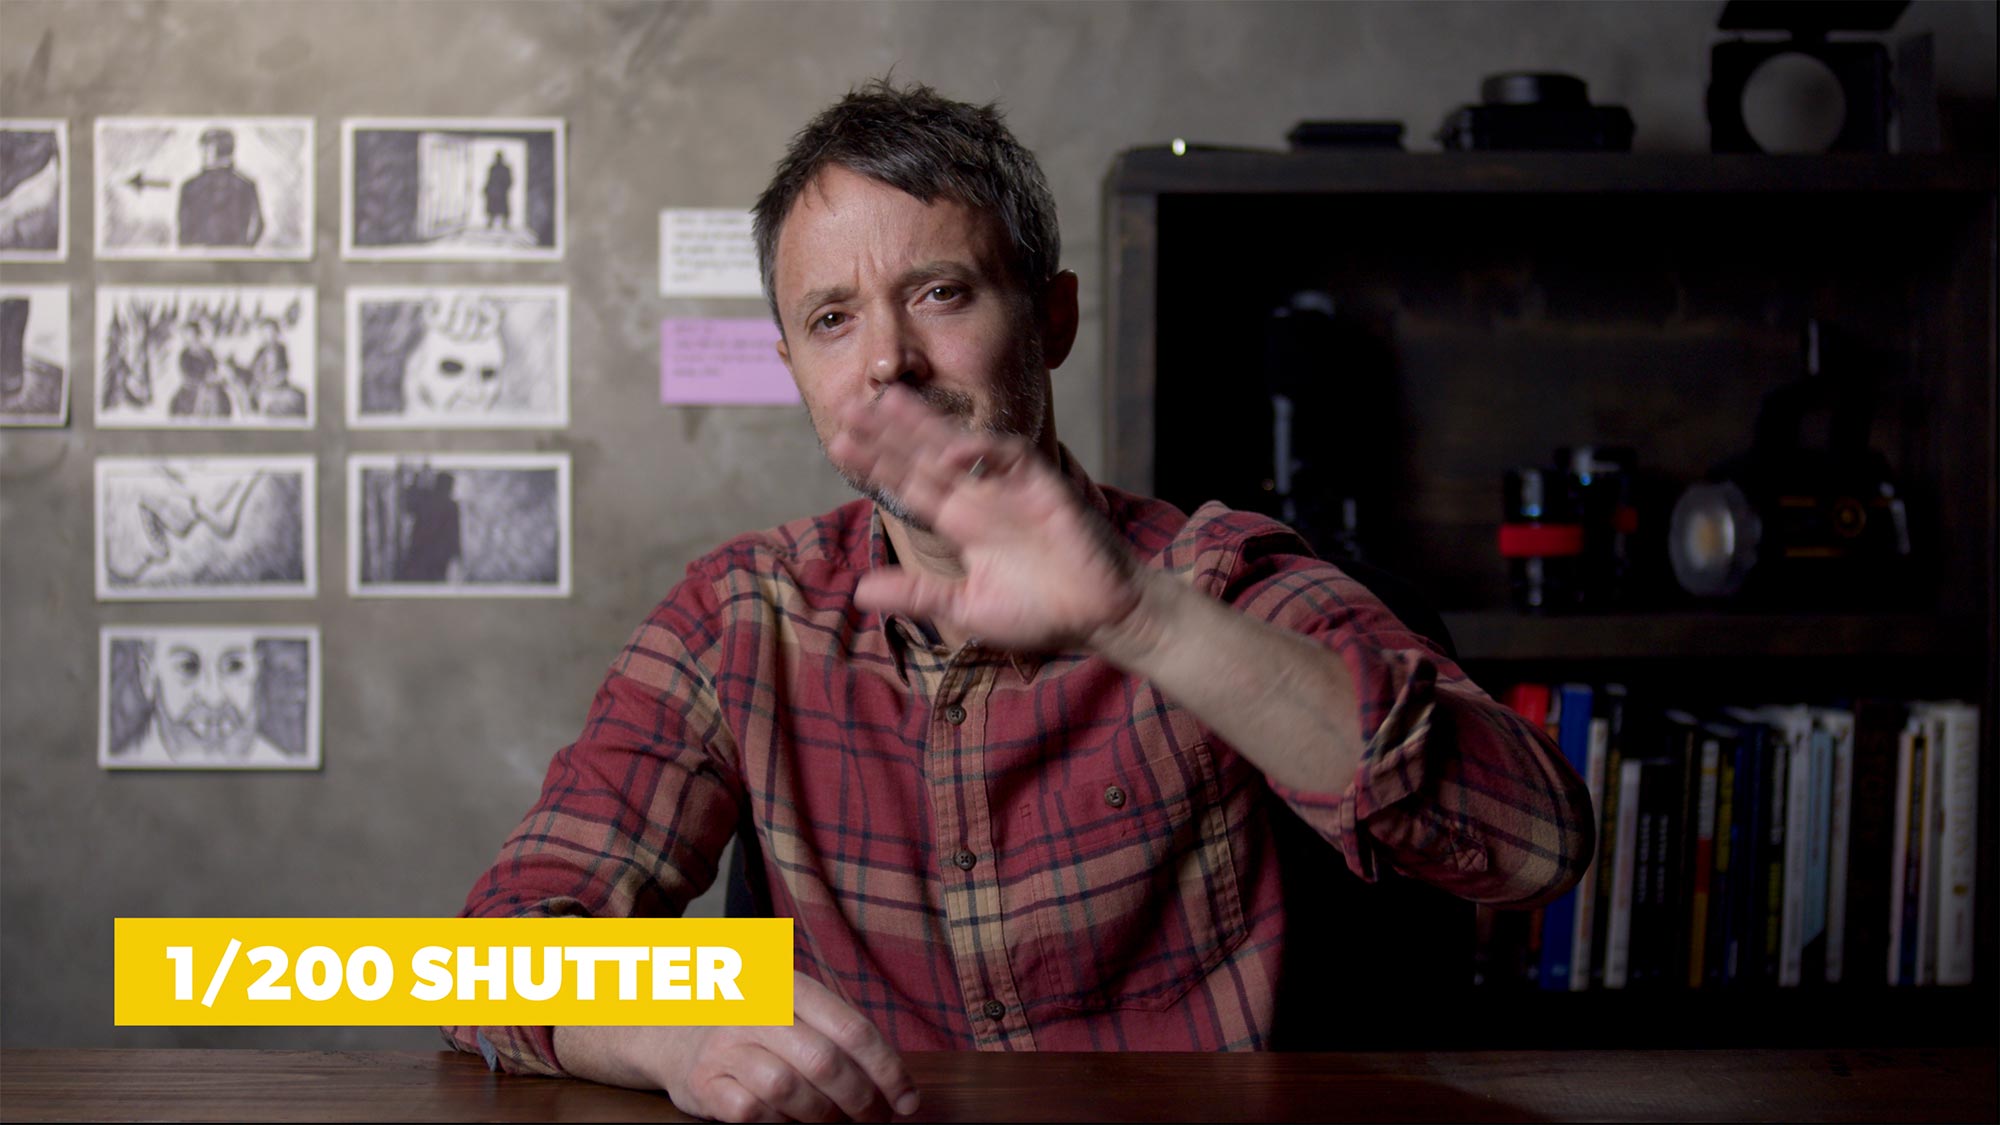
The camera’s shutter controls how long the sensor is exposed to light.
Shutter speed is measured in parts of a second. A 1/200 shutter is open for one two hundredth of a second, and would be considered a fast shutter. A fast shutter cuts down on motion blur and produces a crisper image. A slow shutter introduces motion blur.
Although the shutter controls how long a sensor is exposed to light, it’s not an exposure layer we can use to actually control exposure. Why not?
Cinematic motion blur.
We often shoot narrative film at 24 frames a second for a cinematic look and feel, right? There’s another part to that. It’s an associated cinematic motion blur defined by the 180 degree rule.
Film cameras used to have rotating shutters that exposed each frame of film to light based on a degree of the shutter’s opening. For proper cinematic motion blur, the shutter angle was set to 180 degrees.
To achieve this same motion blur with digital cameras you multiply your frame rate by two.
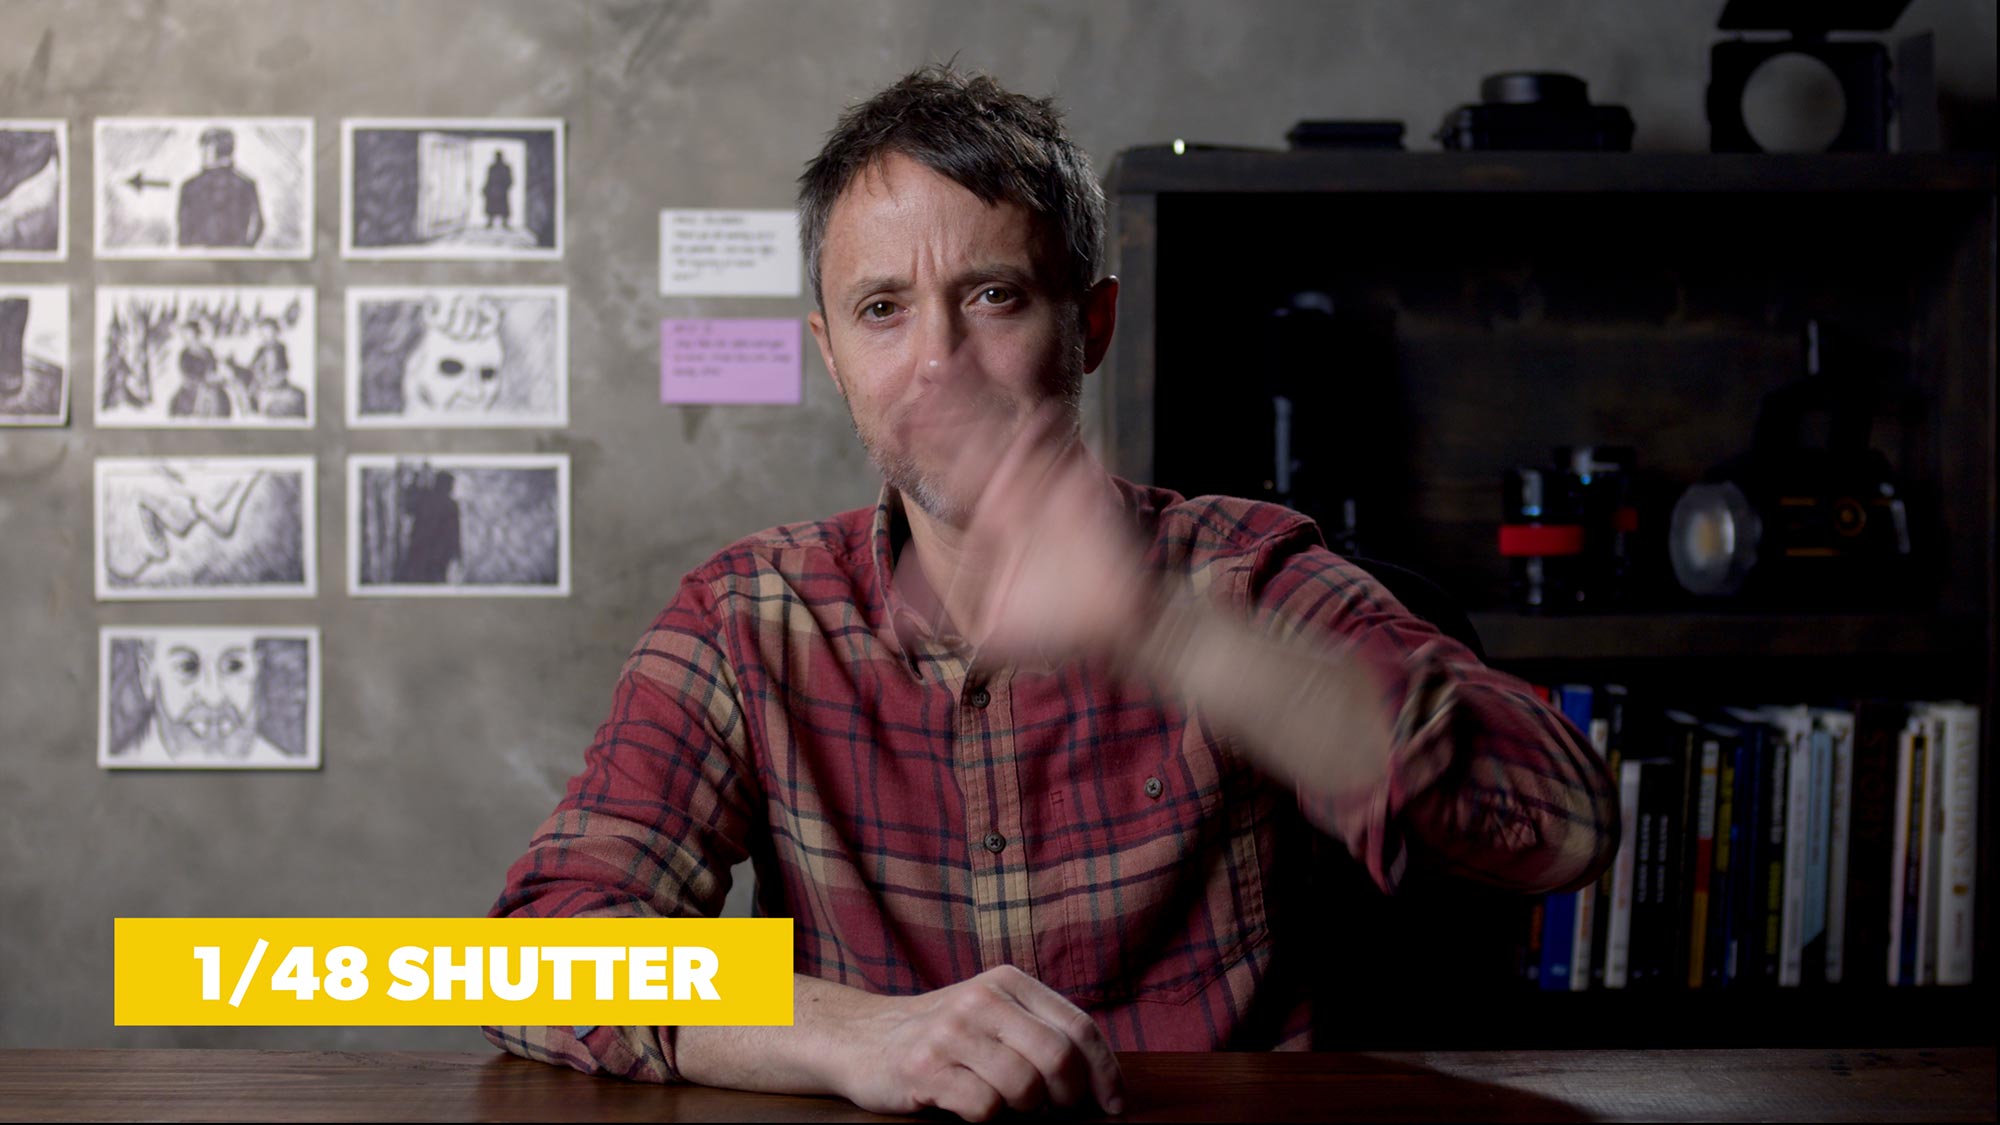
24 x 2 = 48
If we’re shooting 24 frames our shutter should be set to 1/48th of a second. Shooting 24 frames with a faster shutter would not deliver the cinematic feel that we’re after.
Some cameras (like the Black Magic Pocket Cinema camera) allow you to set the shutter by parts of a second or by angle. This doesn’t change the mechanics of the camera, but simply allows you to do it either way.
The advantage of angle is that you’re guaranteed the right motion blur regardless of your frame rate. For example, if you were shooting a higher frame rate for slow motion for part of the project, the 180 degree setting does the math for you.
Right, so even though the shutter speed technically does affect light hitting your camera’s sensor which affects exposure, it can’t be used as an exposure tool due to the 180 degree rule.
Seriously??? What’s next?
APERTURE
For aperture we leave the camera and move into the lens itself.
A lens has an entrance pupil similar to the human eye. The entrance pupil opens to allow light in and closes to cut light out. The mechanics that open and close is called the iris, and the actual opening itself is aperture.
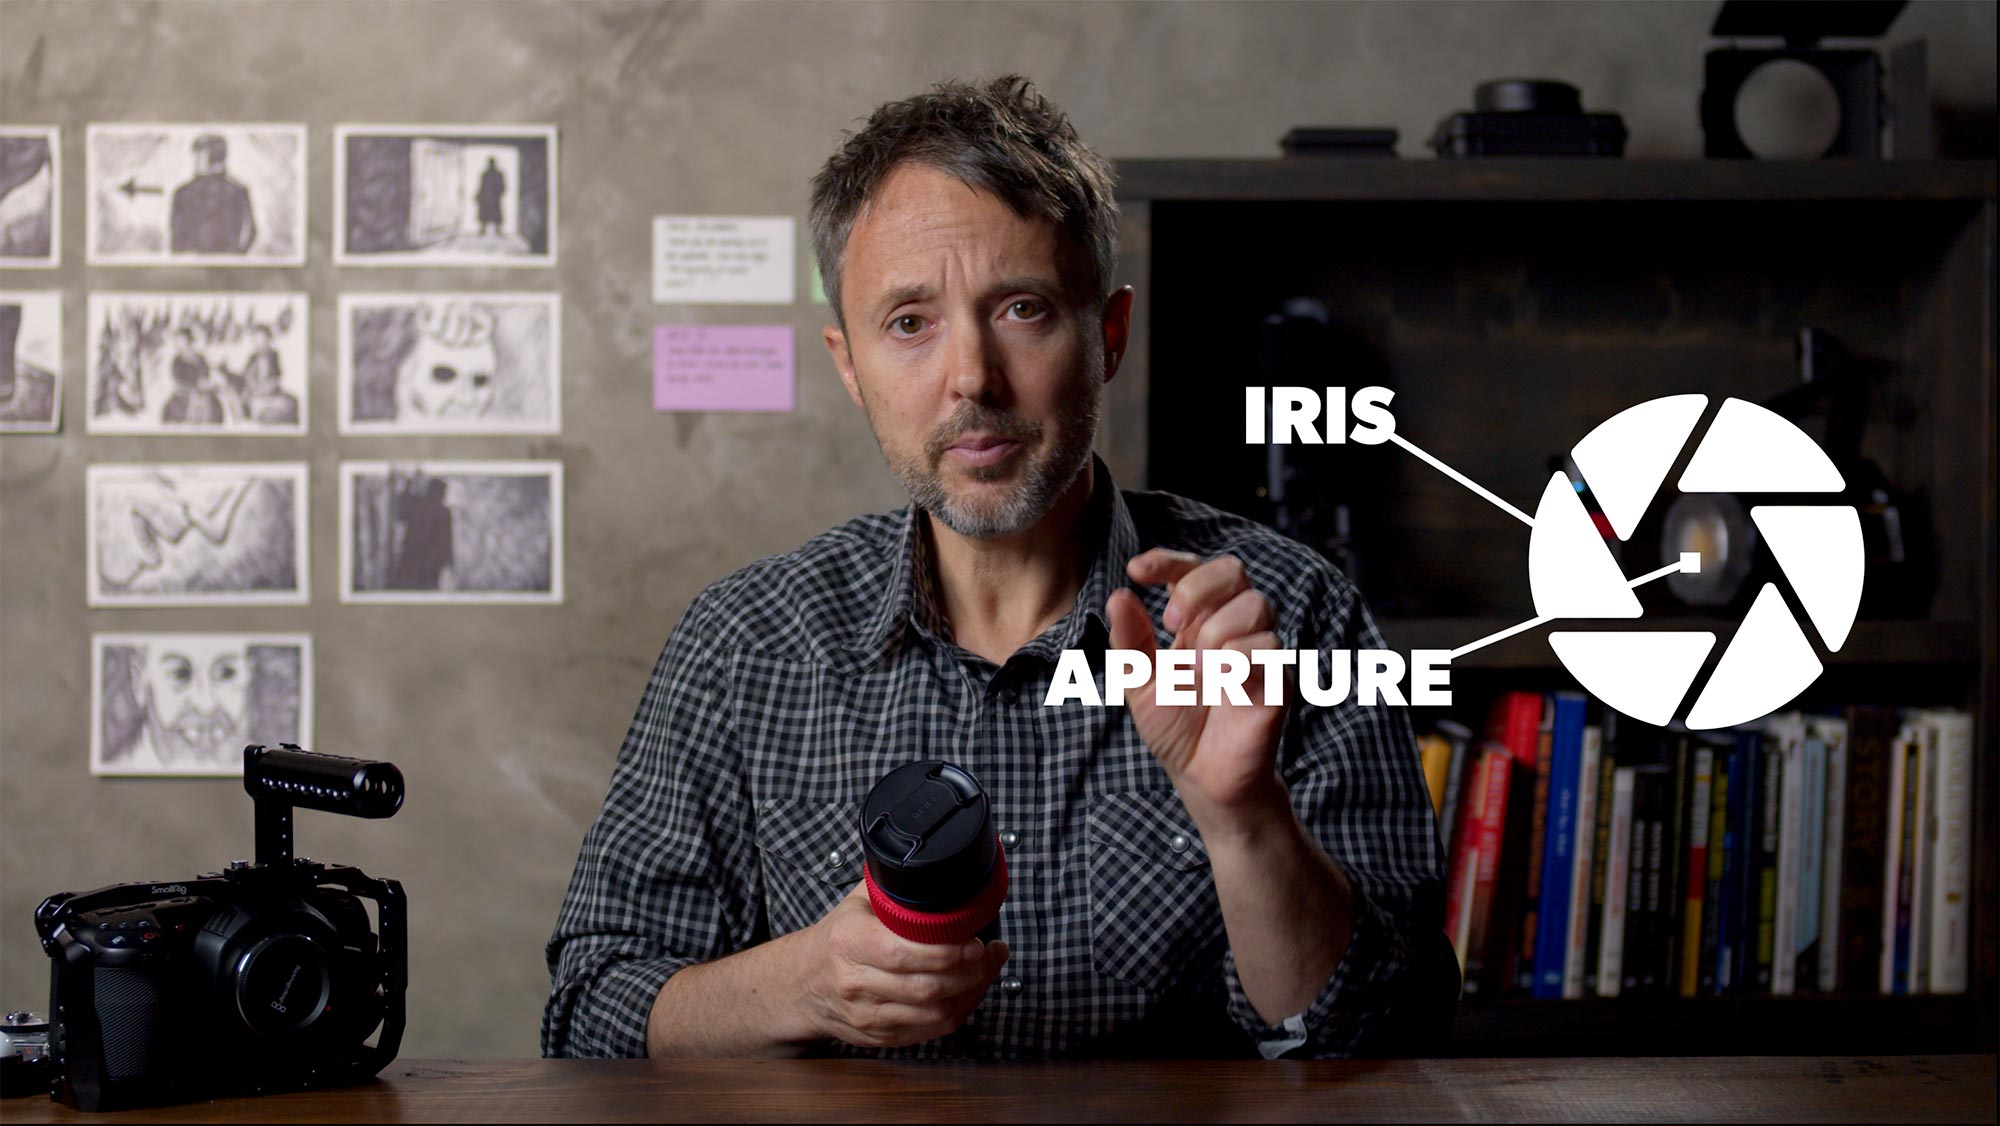
Aperture is measured in stops of light, and these are called focal stops or F-STOPS on the lens.
The lower the F-STOP the wider the aperture. If you ever hear someone say “I’m shooting wide open” it means they’re at the lowest F-STOP value for that particular lens. This means they’re letting in as much light as possible.
Nice! We finally have an exposure layer that helps control exposure.
Actually, not so fast.
What’s the other thing aperture affects? Depth of field.
Opening and closing the IRIS on a camera mimics a distance change to your subject which affects your depth of field. The lower your F-STOP the shallower your depth of field. If you’re shooting a scene with a couple actors in it, your minimum F-STOP is gonna be 5.6 or greater. Otherwise you’ll have them falling out of focus way too easy.
So what does this mean?
It means another layer of the exposure stack is sometimes not available to us for exposure.
Crazy right? So what’s next?
LUMINANCE (LIGHT)
Our final exposure layer is light, and this is often the only layer available to us as filmmakers that directly affects camera exposure.
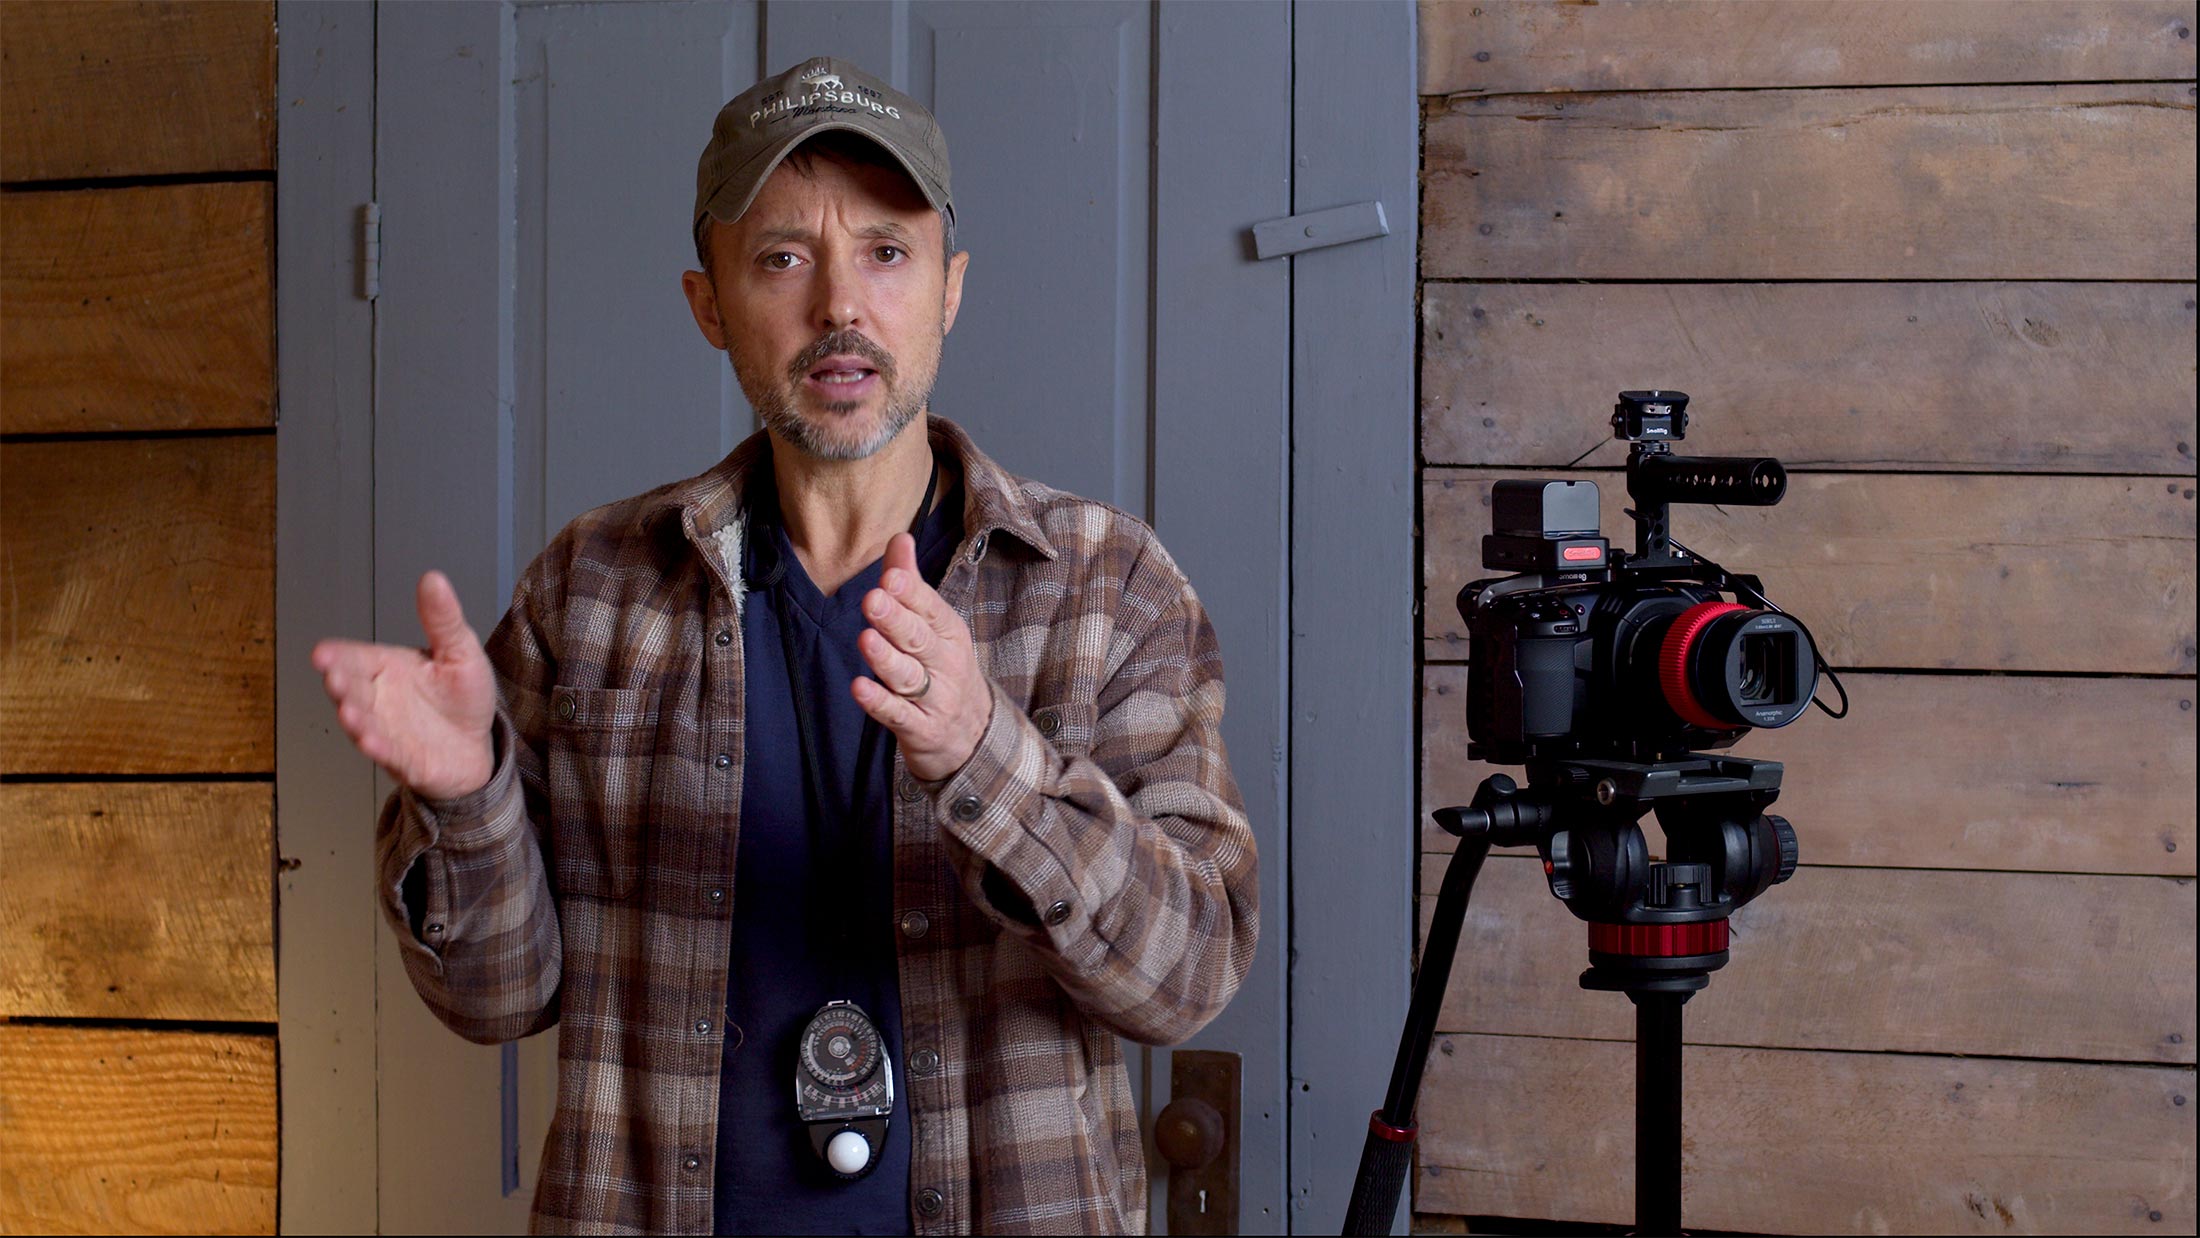
Let’s look at a real world example:
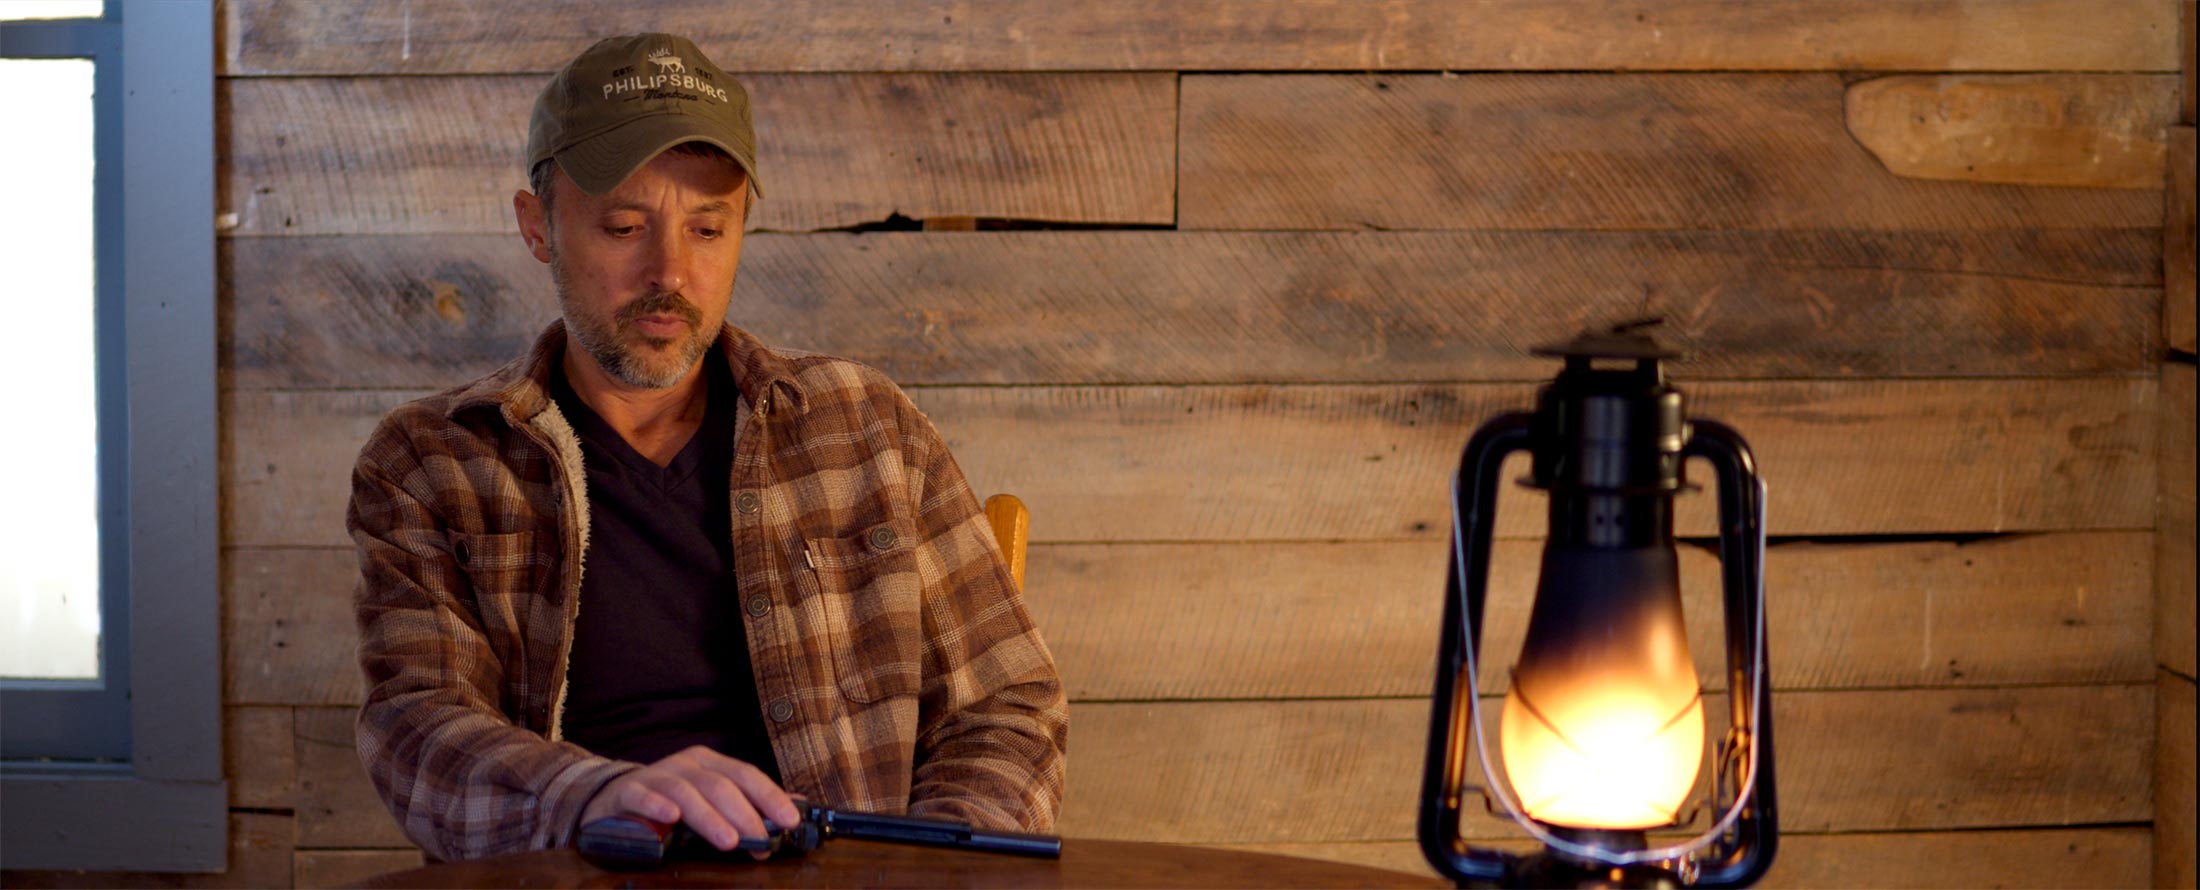
Let’s say the above image is our set and I’m the actor. After we find our motivated light and setup key, fill and background lights (at a minimum) to dial in the mood and add depth we’re ready to work through our exposure layers. To do that we grab a light meter and begin with the foundation:
ISO
For ISO we’ll go with the native ISO of 400 for the Black Magic Pocket camera. This will give us a good balance of dynamic range above and below middle gray. If we can get exposure at the native ISO, unless we have a specific reason otherwise, this is what we do (more on this in a second).
SHUTTER SPEED
We’re shooting 24 frames a second so our shutter is set to 1/48 or 180 degrees.
APERTURE
I’ll grab an incident light meter and take a reading. It tells me the current lighting is 40 foot candles.
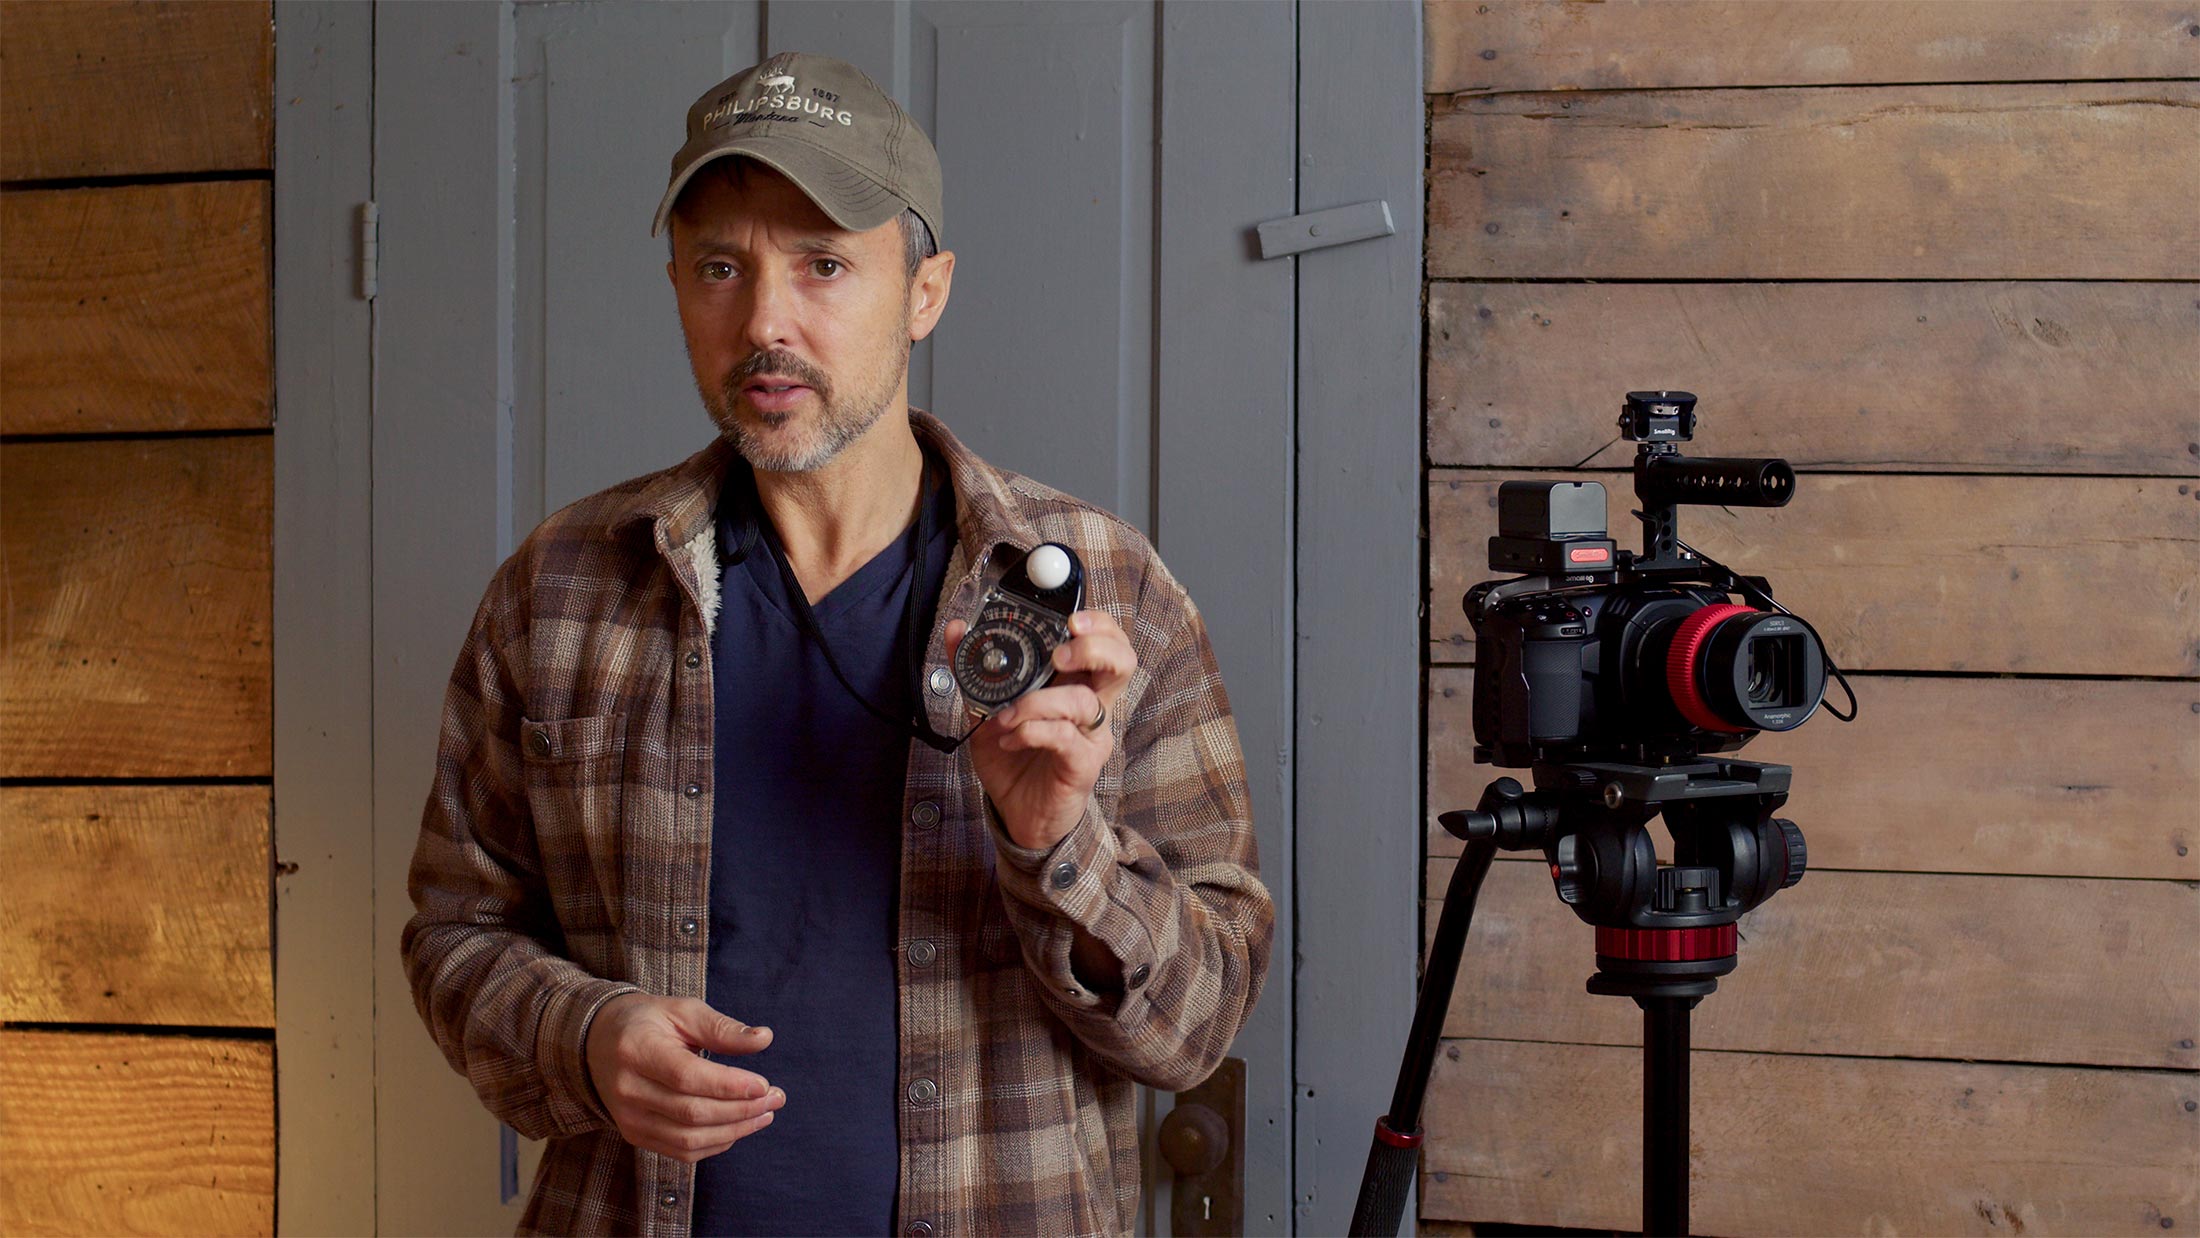
I’m shooting 24 frames so this has me at an F-STOP of 2.8 for proper exposure (according to the light meter). So if I set my lens to 2.8 that’s it. I’m done! I’ll have proper exposure.
Easy right?
So even though layers 1 and 2 weren’t used for exposure specifically, layer 3 allowed us to dial it in.
But what if this scene had 2 or 3 actors? As mentioned we need to be at an F-STOP of at least 5.6 or higher for a proper depth of field. If I move the light meter to the desired 5.6 F-STOP it will indicate my foot candles rating needs to hit 160. Quite a bit brighter!
The only way to get proper exposure in this scenario would be to modify our final layer: The lighting on set. We’d need to go to our key light and increase it until we get a light reading of 160. And we’d also have to adjust fill and background lights to keep the balanced look we have.
Then and only then would I have proper exposure at an aperture of 5.6.
Make sense? Let’s take another example:
OUTSIDE: Too Much Light
Let’s assume we’re outside on a cloudy day. We’re again shooting on the Black Magic Pocket Cinema camera, and we’re using a SIRUI anamorphic lens with an F-STOP range of 2.2 to 16.
We’ll stick with the native ISO on the camera and set the shutter to 1/48. Next we’ll take a light reading. Let’s say it says it tells us we need to be at an F-STOP of 16 to get proper exposure. We close down to 16 and we’re good!
But that’s also a very deep depth of field. What if we didn’t want that?
We need to operate at our fourth layer…but we can’t control the sun.
What to do?
A large silk could be used to remove stops of light. Or an easier method would be to use an ND filter. “Sun glasses” for your camera. ND filters can be added to a lens (the 6K Pro has internal ND) and such a filter removes stops of light allowing us to open up.
OUTSIDE: Not Enough Light
We’re still outside but losing daylight.
This happened to me on my latest film RECKONING. It was evening. I was opened up all the way to 2.8 on my particular lens, but still didn’t have enough light.
What was the solution?
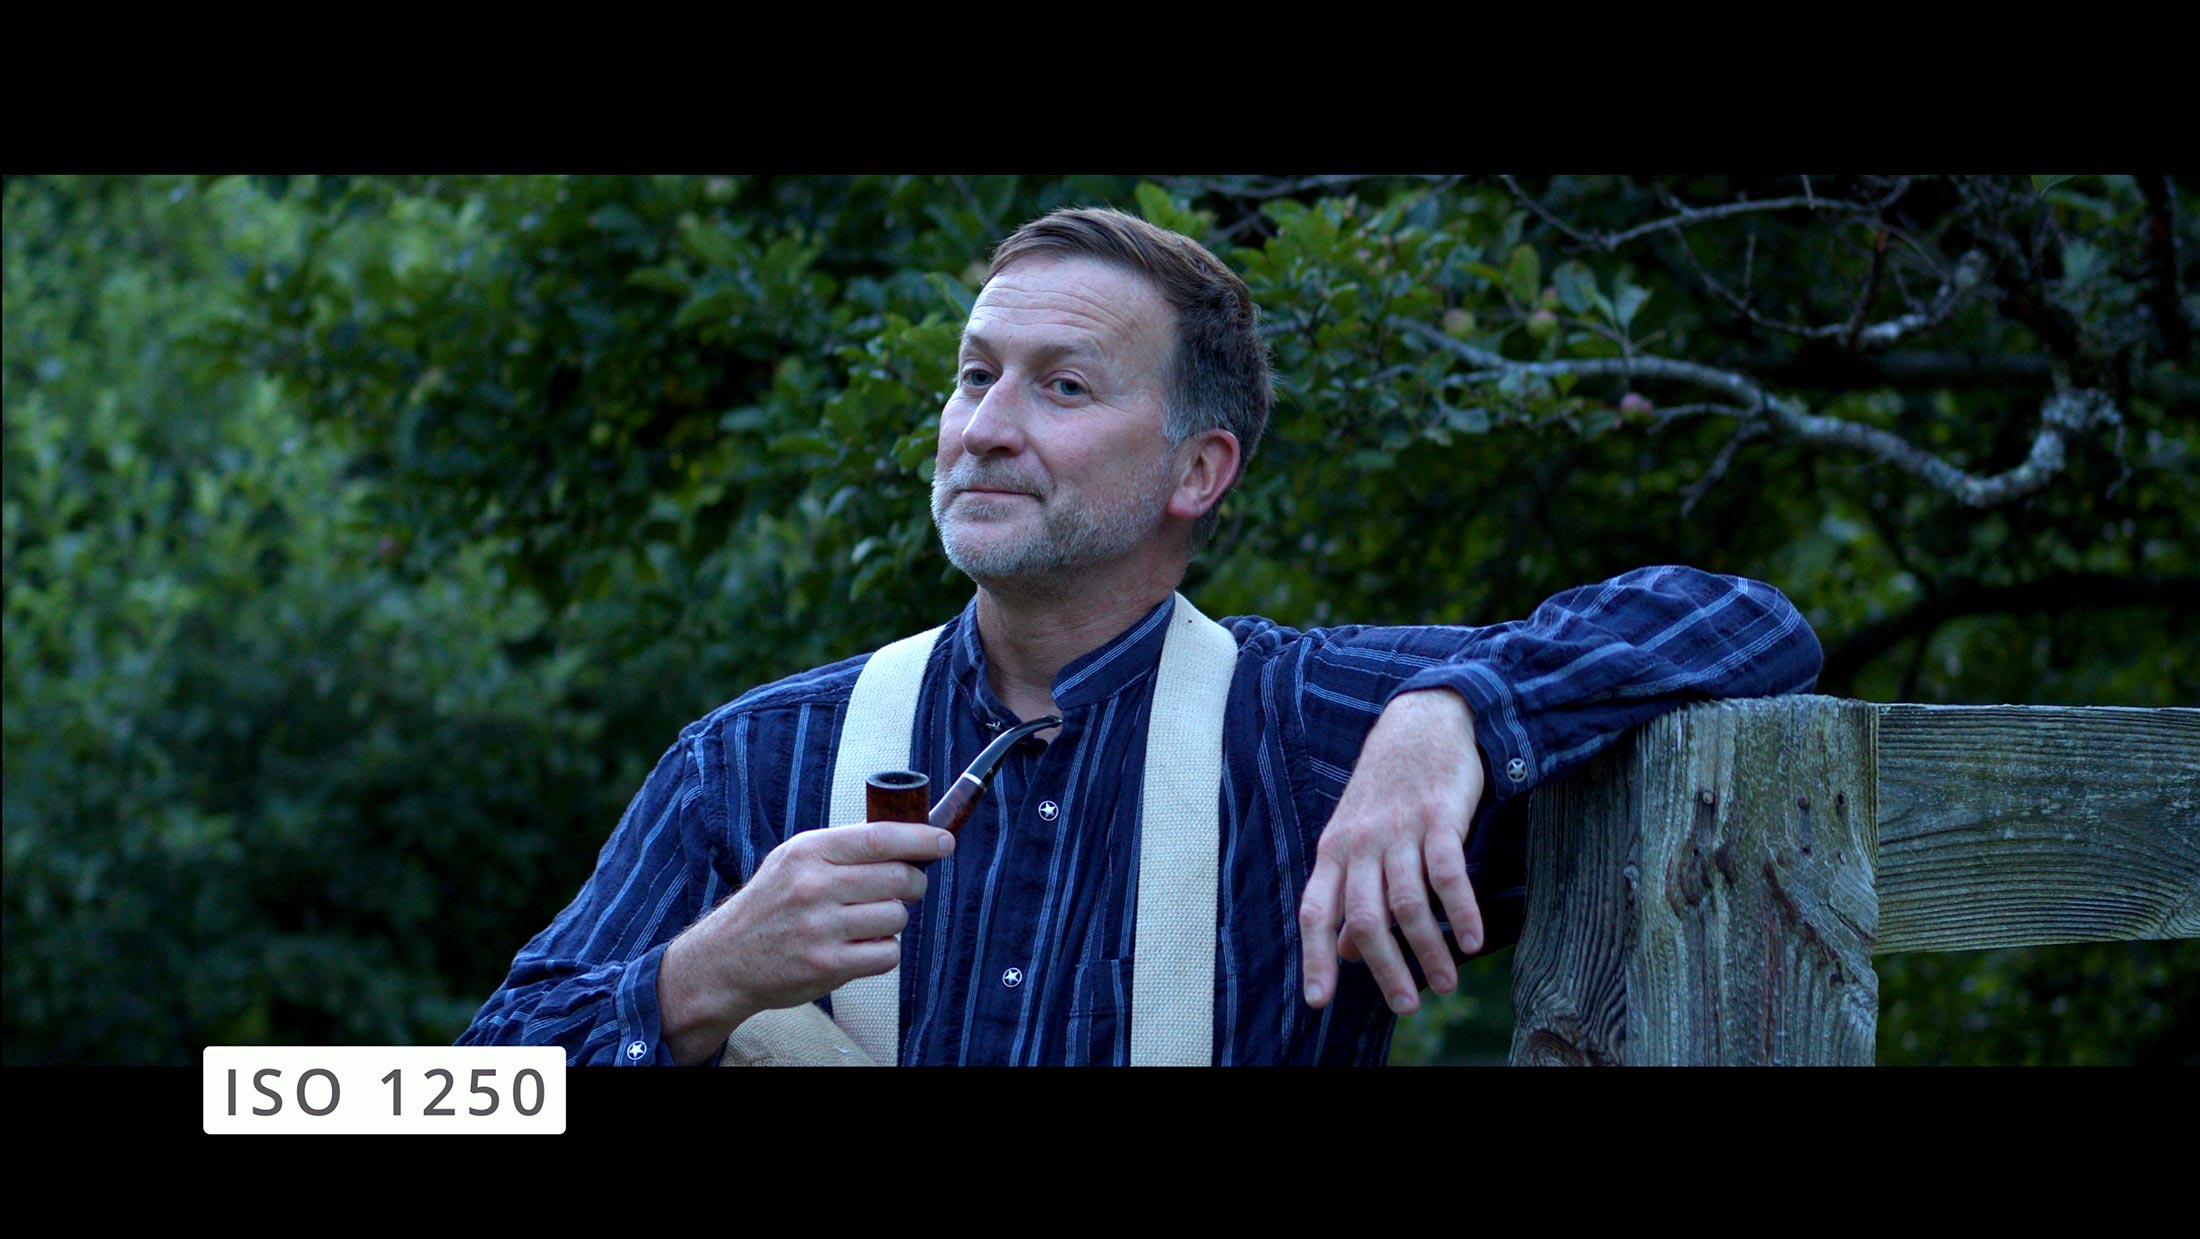
I had to go back to my foundation layer. A secret weapon on the Black Magic Pocket Cinema camera is called dual native ISO.
We’ve already seen how ISO moves the camera’s dynamic range above and below middle gray, right? Cranking up the ISO to make the sensor “more sensitive to light” doesn’t work as it introduces noise in your footage.
Black Magic Design built a second native ISO bank to help with this. It’s literally like introducing another camera to your workflow. The second ISO bank on the Pocket 4K starts at ISO 1250 with 3200 being the “native” ISO or the best compromise on dynamic range for the second ISO bank.
So as the sun set and sucked away my daylight, I switched to ISO 1250 and used false colors on the camera to adjust my aperture back down so I didn’t over expose.
Check out stills from the footage:
In this instance, our foundation layer was actually used as an exposure tool. But only because of the dual native ISO. And remember, when you change the foundation layer you must ensure layers 3 and 4 fall in line.
Let’s look at a final example:
CONTROLLED SET: Low Light Details
Let’s say you’re shooting a scene for a thriller that takes place in an old house at night. You want to capture a lot of details in the shadows. This means we want to move our camera’s dynamic range further below middle gray.
The obvious thought is to drop our ISO down to 100 (see the chart from Black Magic Design below). An ISO of 100 delivers the most stops of exposure detail below middle gray for the Pocket 4K.
But here’s the thing: Setting your camera to ISO 100 isn’t a miracle worker.
Example: We’re in the old house. Let’s say I need a decent depth of field so my actor doesn’t fall out of focus. So we’ll set our F-STOP to 5.6. Cool.
Now if I set my lighter meter to an ISO of 100 and an aperture of 5.6, the light meter tells me I need to be at…wait for it:
640 foot candles.
Whoa! That’s an insane amount of light.
Once again we’re relying on the light layer to get proper exposure based on the foundation we are exposing to, which is ISO 100.
Telling the camera to be at ISO 100 is only a dynamic range positioning tool, not an exposure tool.
Hopefully this makes sense.
So what’s our main takeaway as filmmakers?
1) There are four main exposure layers: ISO, Shutter Speed, Aperture and Light.
2) ISO is typically not an exposure tool. It’s more of a dynamic range selector.
3) Our Shutter must be at a multiple of 2 of our frame rate.
4) Aperture can be used for exposure, but may be limited by depth of field requirements.
5) Often our final layer, the light layer, is how we obtain proper exposure. And the tools at this layer are of course lights, ND filters, silks, scrims, etc.
Once you truly understand exposure and have a quality light meter, dialing it in is no longer a gamble.
If you’re an aspiring filmmaker, the Write & Direct online film school can save you years in your pursuit of the craft!
Check out our FAQ page, or contact us with any questions.
Or if you’re ready to “change your stars” (A Knight’s Tale) then enroll in Write & Direct today!