
An NLE must give a filmmaker the tools to rapidly insert and manage media in the timeline. DaVinci Resolve does not disappoint with their ripple overwrite, insert, replace and fit to fill editing tools!
If you’re like me, you’ve spent a lot of time working in various non linear editing systems. They each have their own way of doing things. The first thing I do on a new NLE is familiarize myself with how to do the common tasks I need to do in order to edit quickly. Few things are used more than inserting media into the timeline!
The fastest way to place a clip in the timeline is to visit the Cut Page and drag the clip from a bin down to the timeline. However this is impractical most of the time.
Let’s look at some of the most common methods you’ll use from the Edit Page:
When you have a working timeline full of existing clips, sound FX and other items, you can’t just drags clips in. A common way to get a new clip into the timeline is to insert it. DaVinci Resolve calls this a ‘smart insert’ as it will push everything down the timeline to make room for the new clip.
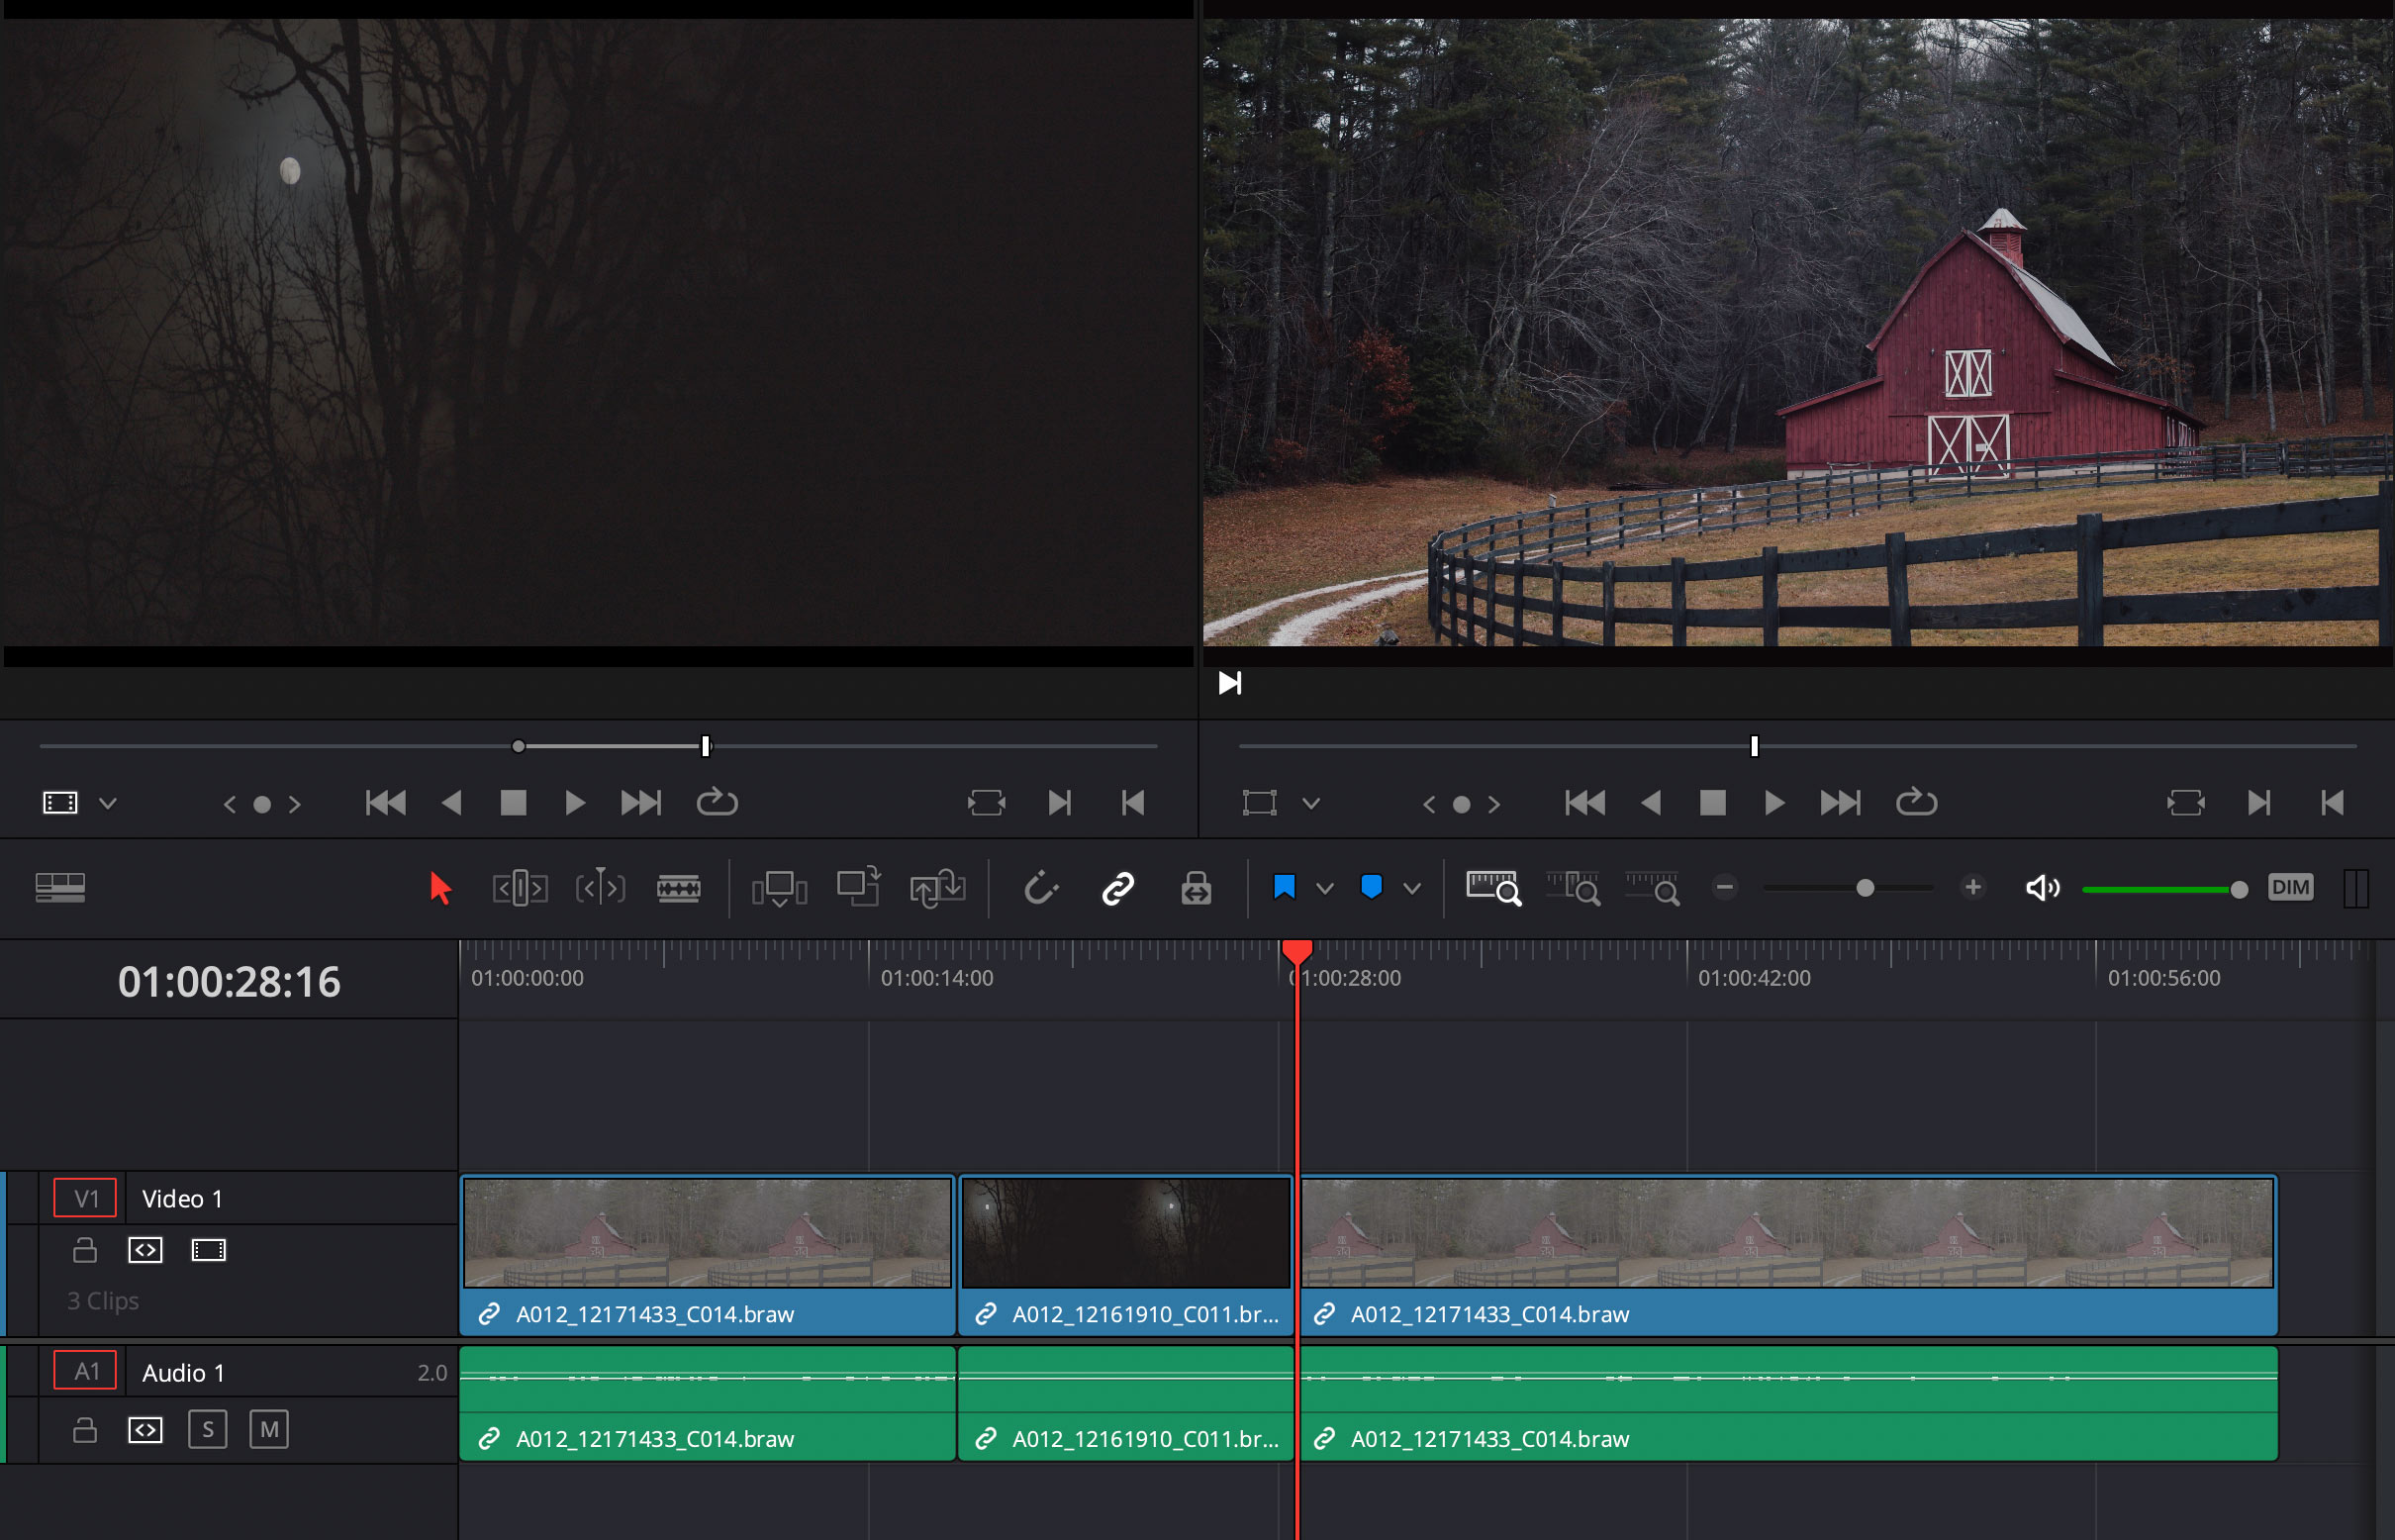
Using smart insert will keep everything in sync on your timeline as all tracks will be pushed down to make room for the new clip.First, make sure the right video and audio tracks on your timeline are active (red box). Next mark an in and out in the source clip (I and O). Then position your playhead where you want the clip inserted and hit F9.
And btw, as much as I appreciate Resolve’s default mappings, I prefer my own. You can fully customize the Resolve keyboard.
Instead of inserting footage, you can overwrite existing footage from your source clip. With the same in and out marks selected, hit F10 to overwrite existing material in the timeline. Instead of moving everything down to make room for the new clip, it will simply overwrite whatever is on the tracks that you have selected.
The replace footage feature is similar to overwrite, but used to replace only a certain area on the timeline. If you select an in on your source clip and then position the playhead over a section and hit F11, DaVinci Resolve will overwrite timeline footage either between to edit points on the timeline, or between a marked in and out.
Another option similar to replace is Fit to Fill. If you have two edit marks and you’re inserting source material that is shorter than the desired section on the timeline, you can use Fit to Fill to fill the entire space by slowing down the source clip. Obviously this only works in certain situations. Use Shift + F11 to insert source material as Fit to Fill.
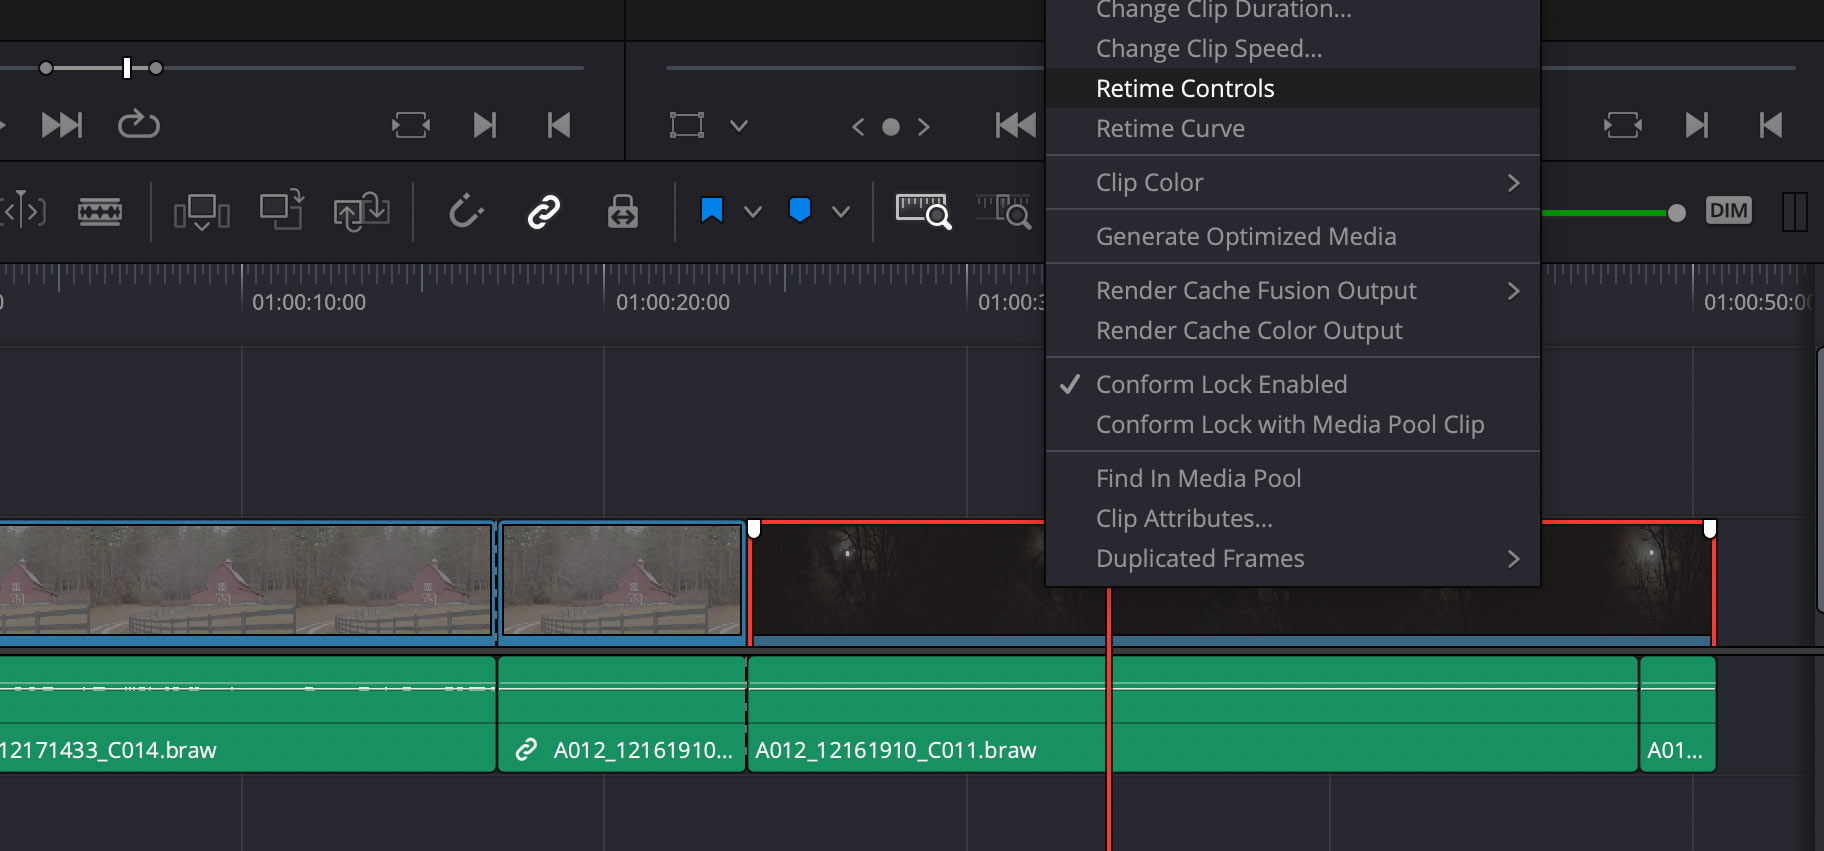
Once you’ve inserted the source material if you right-click on the section in the timeline and choose Retime Controls you can see detailed information on how much the clip was slowed down, etc.
Tip: To access all of these tools when dragging a clip into the timeline, simply drag the clip from your bin to the right, over the timeline monitor window. Various insert options will show up on the right.If you select a clip in the timeline, or mark an in and out in the timeline and then hit the ‘delete’ key on your keyboard, DaVinci Resolve will lift the material from the timeline and leave a gap where it used to be.
Using the same scenario for delete selected, ripple delete will remove the material from the timeline and also remove any remaining gaps. Every track in the timeline will be kept in sync with a ripple delete.

The ripple overwrite tool is like combining normal overwrite with ripple delete. It overwrites existing content, but if the clip is longer or shorter, the timeline is either extended or the remaining gap is removed. Use Shift + F10 on the keyboard for Resolve’s ripple overwrite.
These are not the only ways to add media to the timeline in DaVinci Resolve, but these are my favorites! And I love that you can map all of them to shortcut keys on the keyboard.
Coming from a decade of using Avid Media Composer, I’m shocked at the tools available in DaVinci Resolve at such an affordable price point. I will always love Avid, but Resolve is making it possible for new filmmakers to tell their stories without the price tag of other solutions.
If your answer is yes, Write & Direct is your inciting incident. It's your catalyst in the journey to becoming a filmmaker. There's nothing else quite like it. Enroll today or find out more below: