Video editing is demanding on I/O (input output) devices. If you’re cutting a 4K or 8K film, you need fast throughput. SSD drives are lightning fast, but also still very expensive when it comes to the terabytes required for movies.
A RAID array is typically the way to go. Why?
A RAID Array is FAST
An array of disks has an advantage over a single hard drive. When you copy your camera and audio data to the drives, the files are “striped” across all the disk drives in the array. The advantage of this is when accessed for playback, the video and audio files are read from all the disks simultaneously vs an individual disk drive. The speed increase is monumental.
RAID Can Provide A Safe Guard
RAID stands for random array of independent disks. What this means for us as filmmakers is an extra layer of protection if we choose to setup our drive array as RAID 5 (there are various RAID options). In a RAID 5 array files are striped across all the drives along with parity information. If you have a drive fail mechanically, the parity information on the remaining drives is used to completely rebuild the lost drive when you replace the failed drive. It’s amazing.
SanDisk Professional G-RAID
My favorite brand of external drives is G-Technology. When I first started as a filmmaker, I witnessed drives from various manufacturers crash and burn. People lost valuable data. My G-Drives were rock solid.
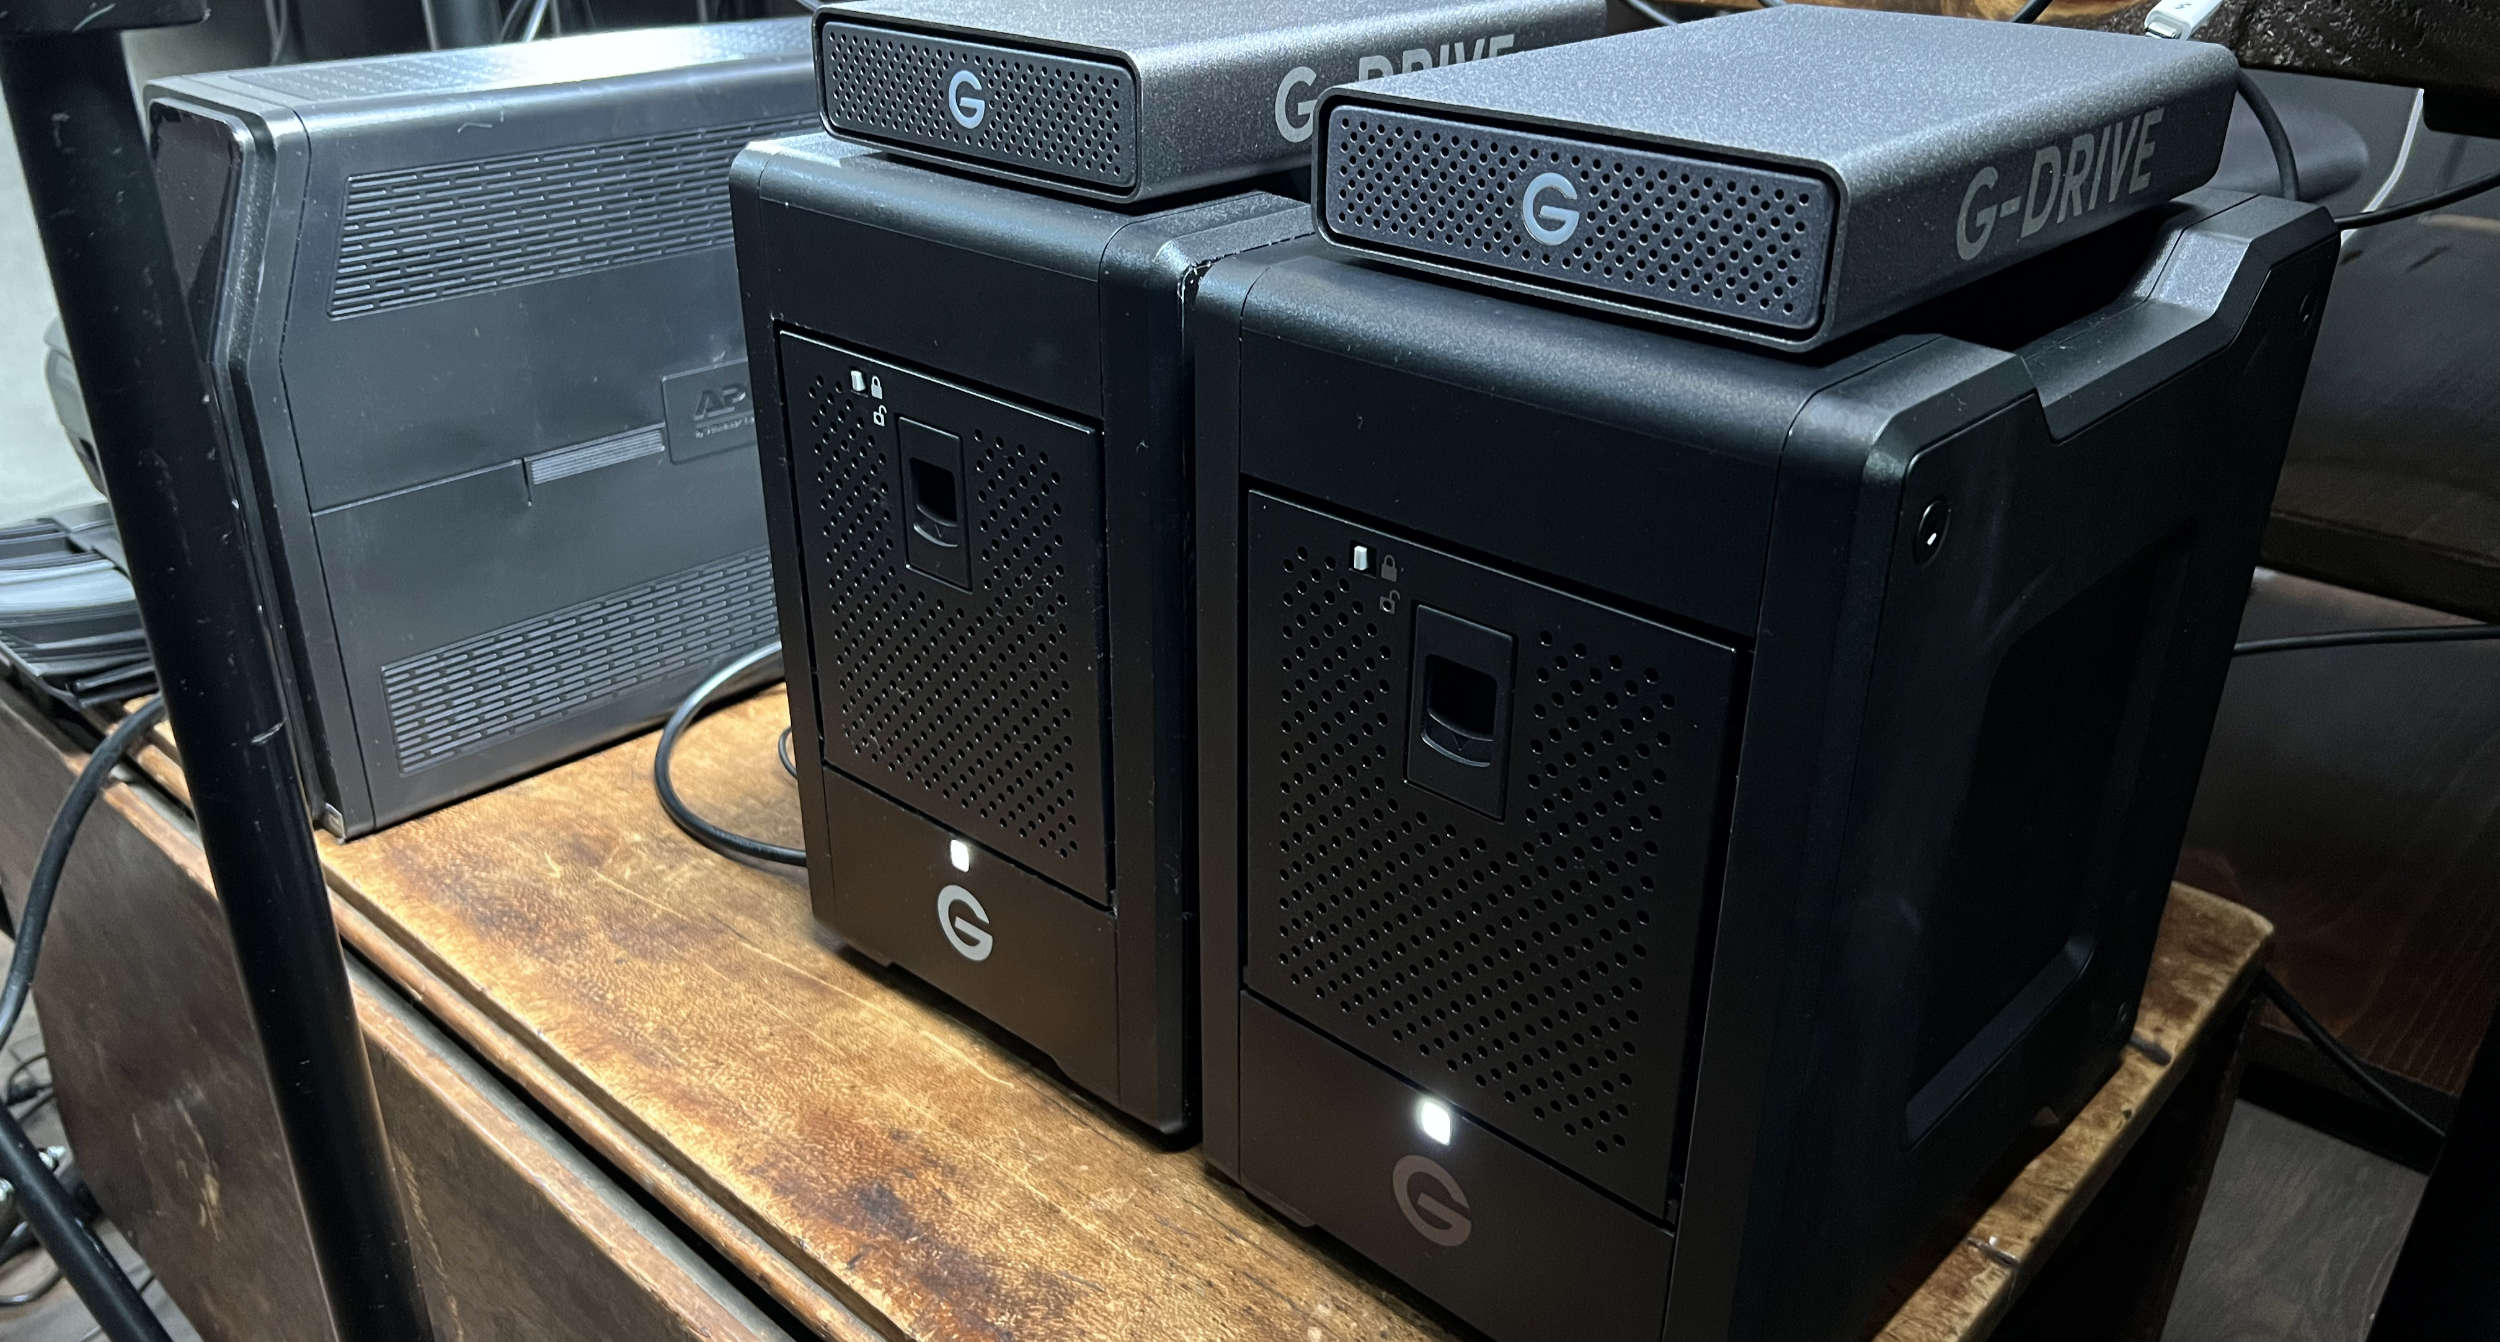
Now G-Technology is owned by Western Digital and resides under the SanDisk Professional product line. A popular option for filmmakers is the G-RAID Shuttle which can have 4-8 spinning disks configured in various RAID arrays. And it connects via Thunderbolt 3.
G-RAID Configuration
Now to the purpose of this article: Stripe size and sector size!
When you hookup a new G-RAID to your computer and open the G-RAID Software Utility you can setup a new disk array and then a new logical drive on the array. You can also use the wizard to this for you.
WARNING: If you use the first two wizard options, you’ll lose out on a major performance option.
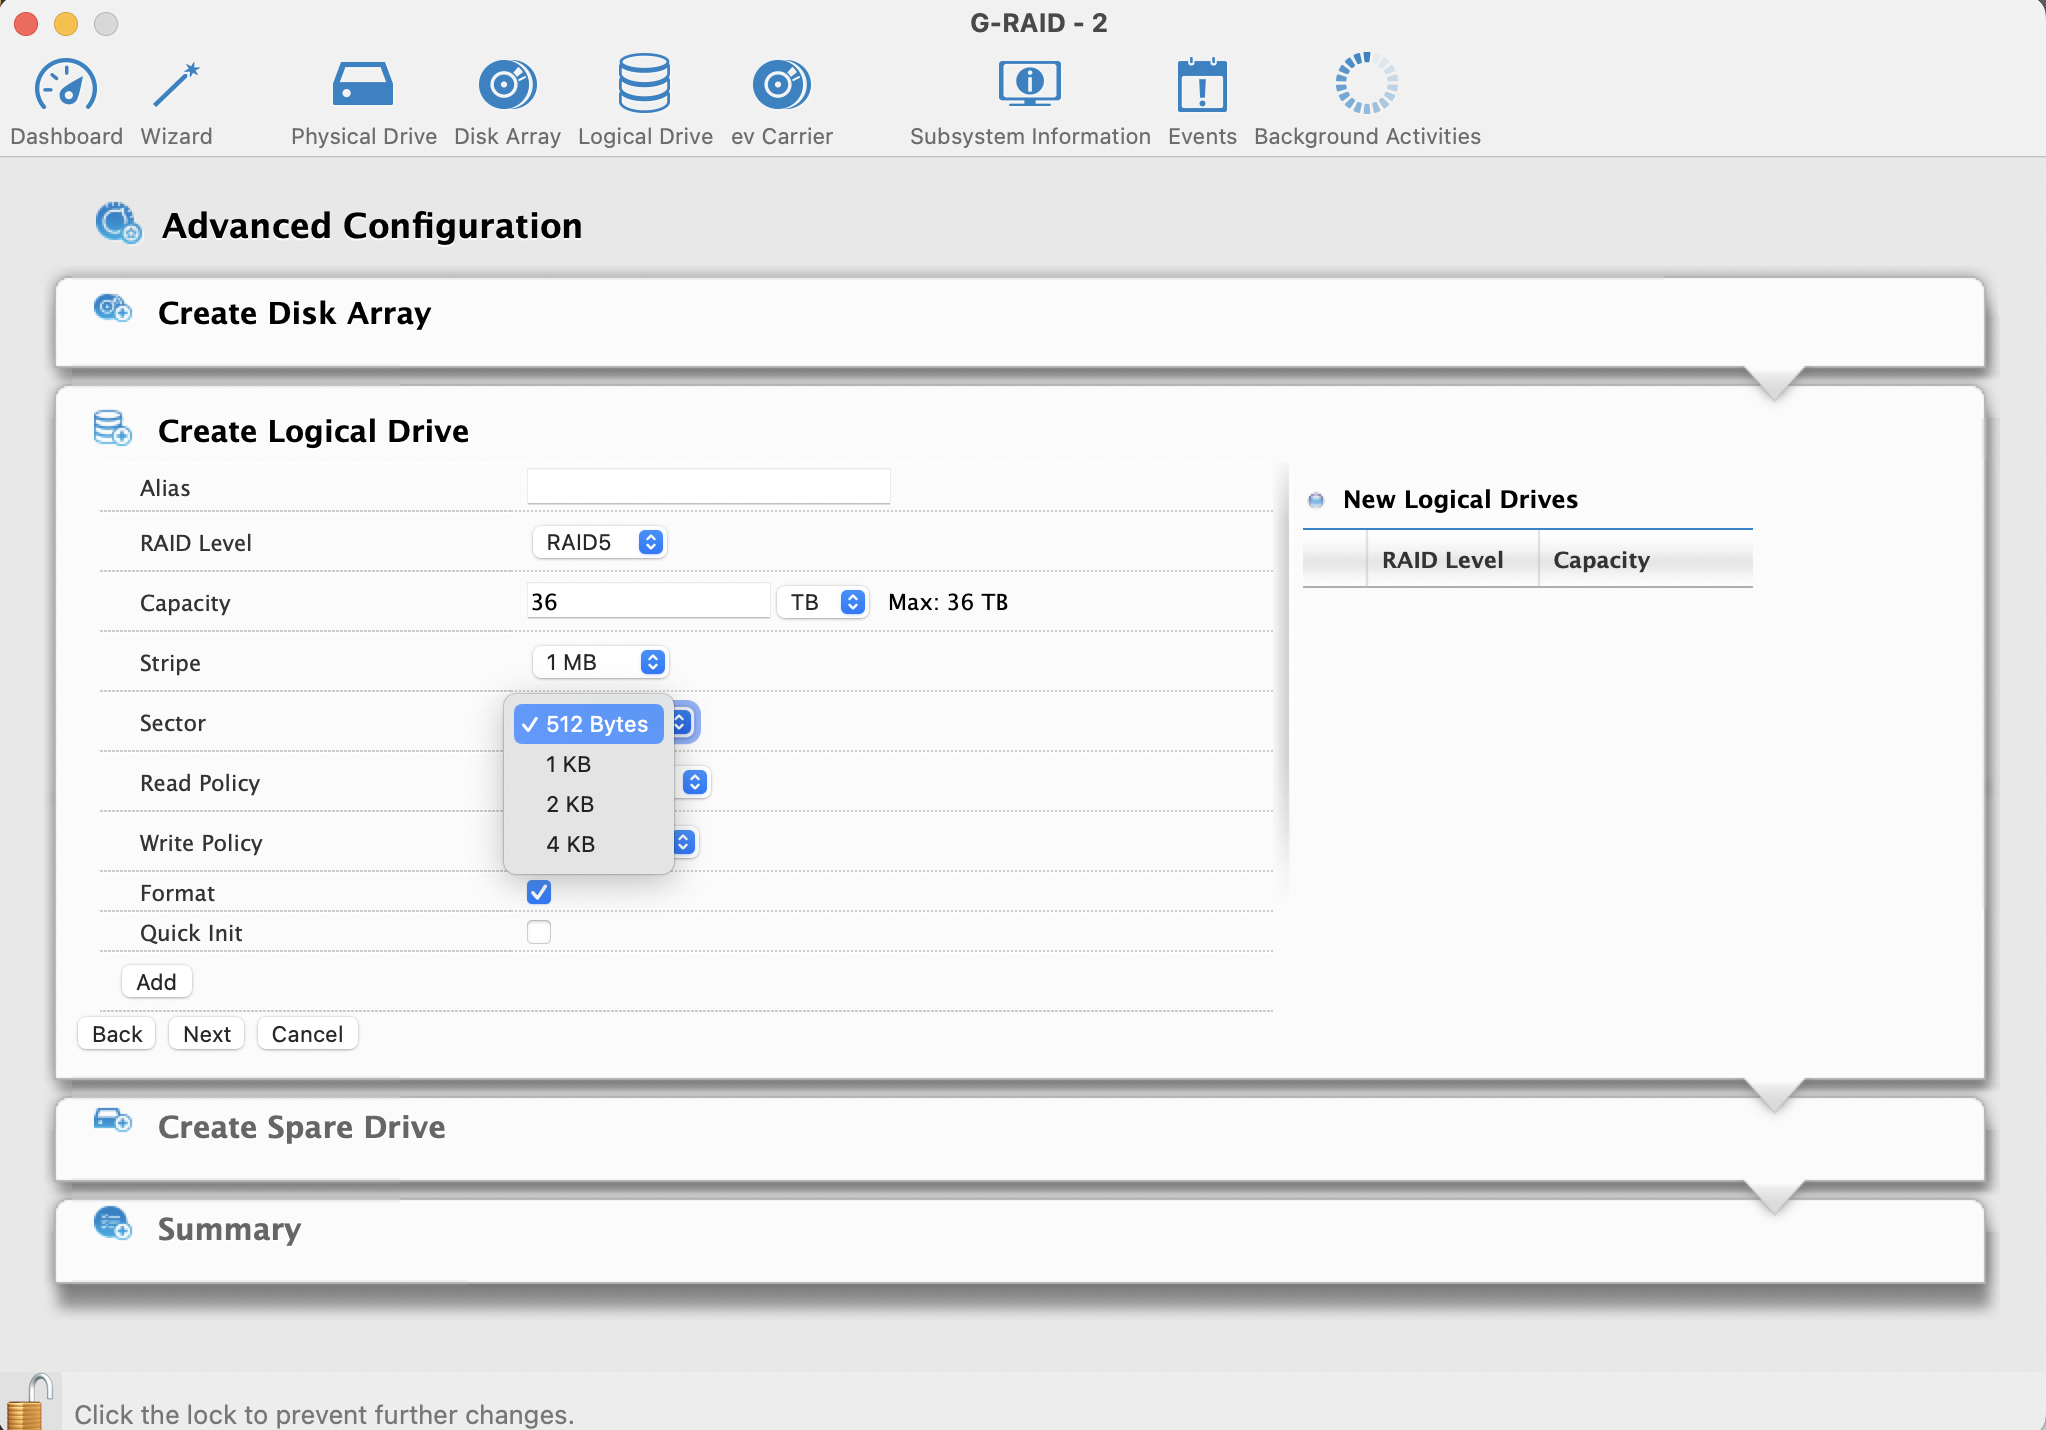
Use the 3rd option in the wizard which allows you to configure specific details of your array and logical drive, or manually create the array and then add the logical drive. Regardless of the method you choose, you’ll be presented with two choices that are key to performance:
Stripe Size and Sector Size as shown below.

Stripe Size
Stripe Size is the size of each block of data written as your video and audio is striped across your array of disks. For large files like camera and audio data, you want the largest stripe size you can configure so the data can be read and written with the least amount of work from the hard drives. A small stripe size means the disk arm have to perform more read operations to serve up the files.
Sector Size | 512 byte or 4K?
This is the one that isn’t documented very well. A sector is the smallest data area on a hard drive. All your files are split up into tiny sectors. Sectors make up the stripes of data.
Should you choose 512 or 4K for your logical drive on a SanDisk G-RAID?
You’ll notice the default sector size for G-RAID is 512 bytes. This was the most common size years ago for hard drives. However, the drives in your G-RAID support the newer 4K sector size. And just like the stripe size, a larger sector size means less work from the drive when you’re writing and reading data.
In my quest to determine the ideal configuration for G-RAID I contacted SanDisk Professional Support (i.e. Western Digital). They told me to use the 512 byte sector size as this would be better for efficiency and performance of the array.
But…I decided to do my own test.
I setup an array and logical drive using 1MB stripes and 512 sectors. Copied a file from an SSD drive to the array, and then back again. Since SSD is faster, this ensured an accurate test. I then toasted the array and set it back up using 1MB stripes and 4K sectors. Did the same write and read with the same file. No cable changes.
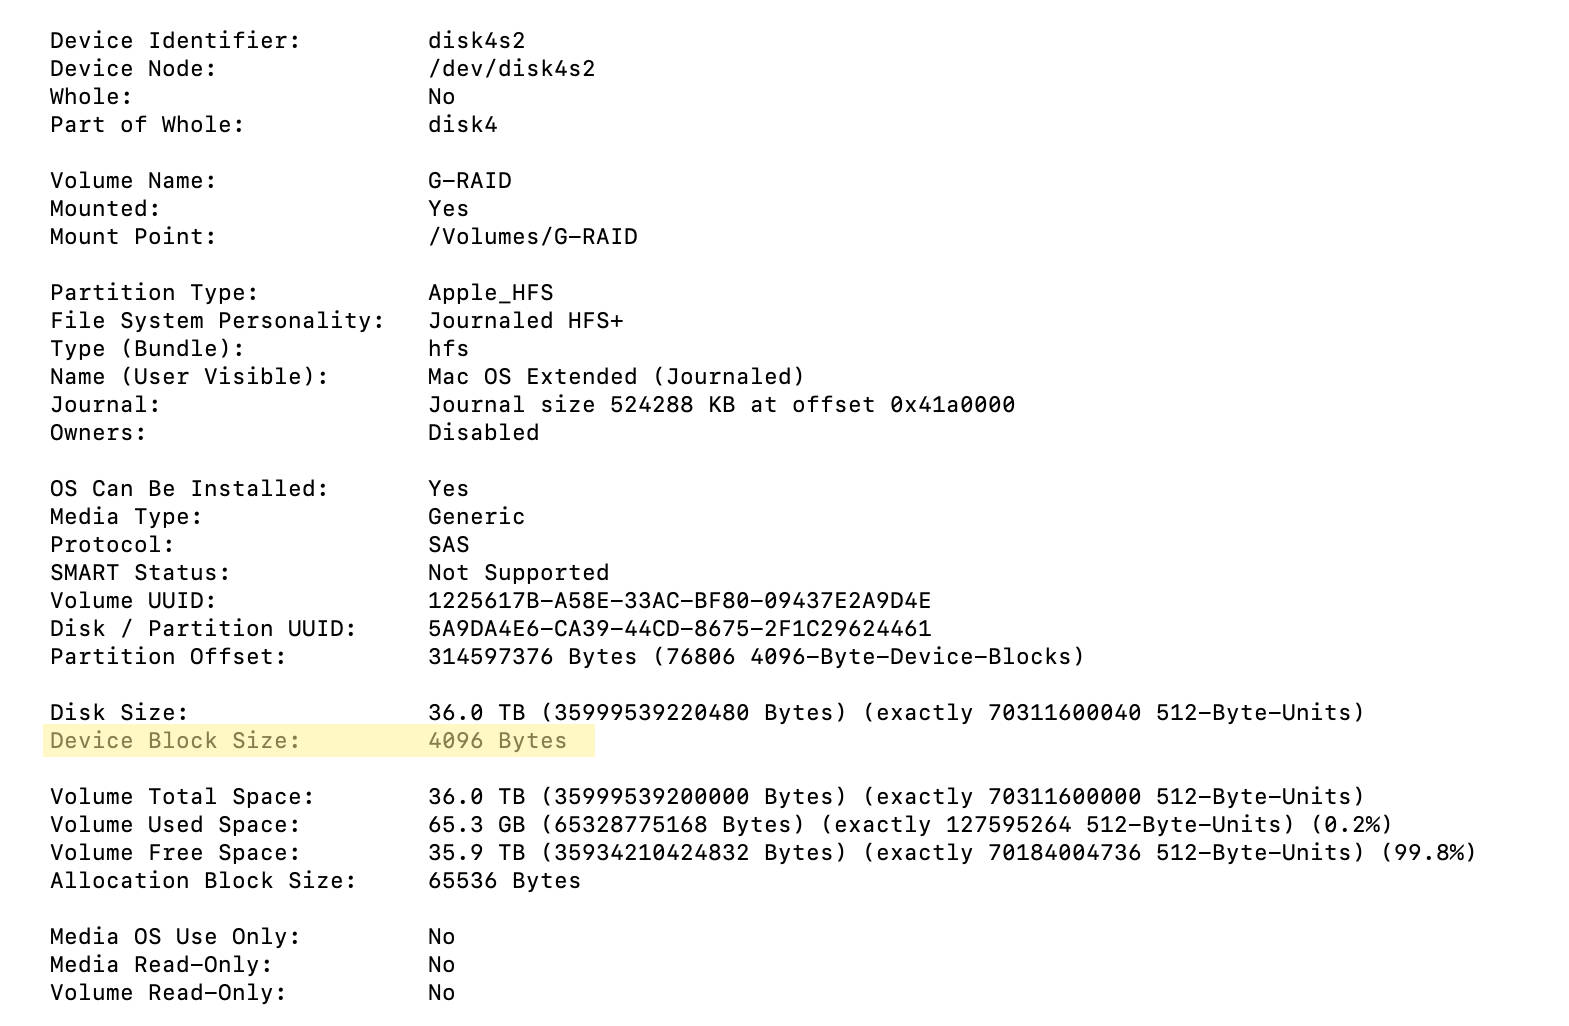
The file size was 60.41 GB. You can verify the setup from terminal (OSX) or with the G-RAID Software Utility by viewing info on the logical drive. From terminal, type:
diskutil info -all
Find your external drive to see the configuration details:

512 Byte Sector Size Results
The 512 byte sector test had a write time of 7 minutes and 57 seconds. Read time was 1 minute 35 seconds.
4K Sector Size Results
The 4K sector test write time was 1 minute 21 seconds. The read time was 1 minute 32 seconds.
I was shocked at the write time difference! It went from almost 8 minutes down to a minute and a half. That’s insane. And read time was also slightly better.
Even though the wizard (even if you select the video server option) and Western Digital support will push you towards 512 byte sectors for your logical drive on the array, my advice is to never do that. 4K will deliver the performance you need when cutting your movie!
If you’re an aspiring filmmaker and want to learn the craft from development through post production, click this link now: The Director’s Film School
