If you’re switching to DaVinci Resolve from another NLE or just new to editing in general, one of the first items to figure out is how to add edit marks in the timeline. Resolve offers several ways to get the job done.
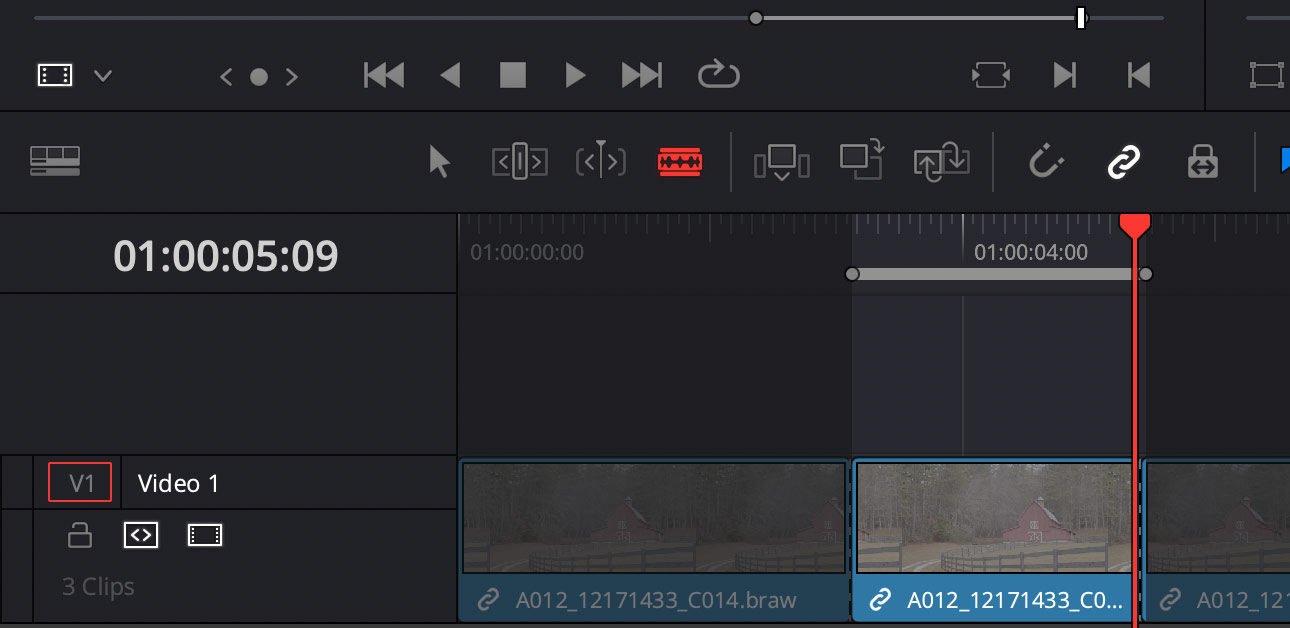
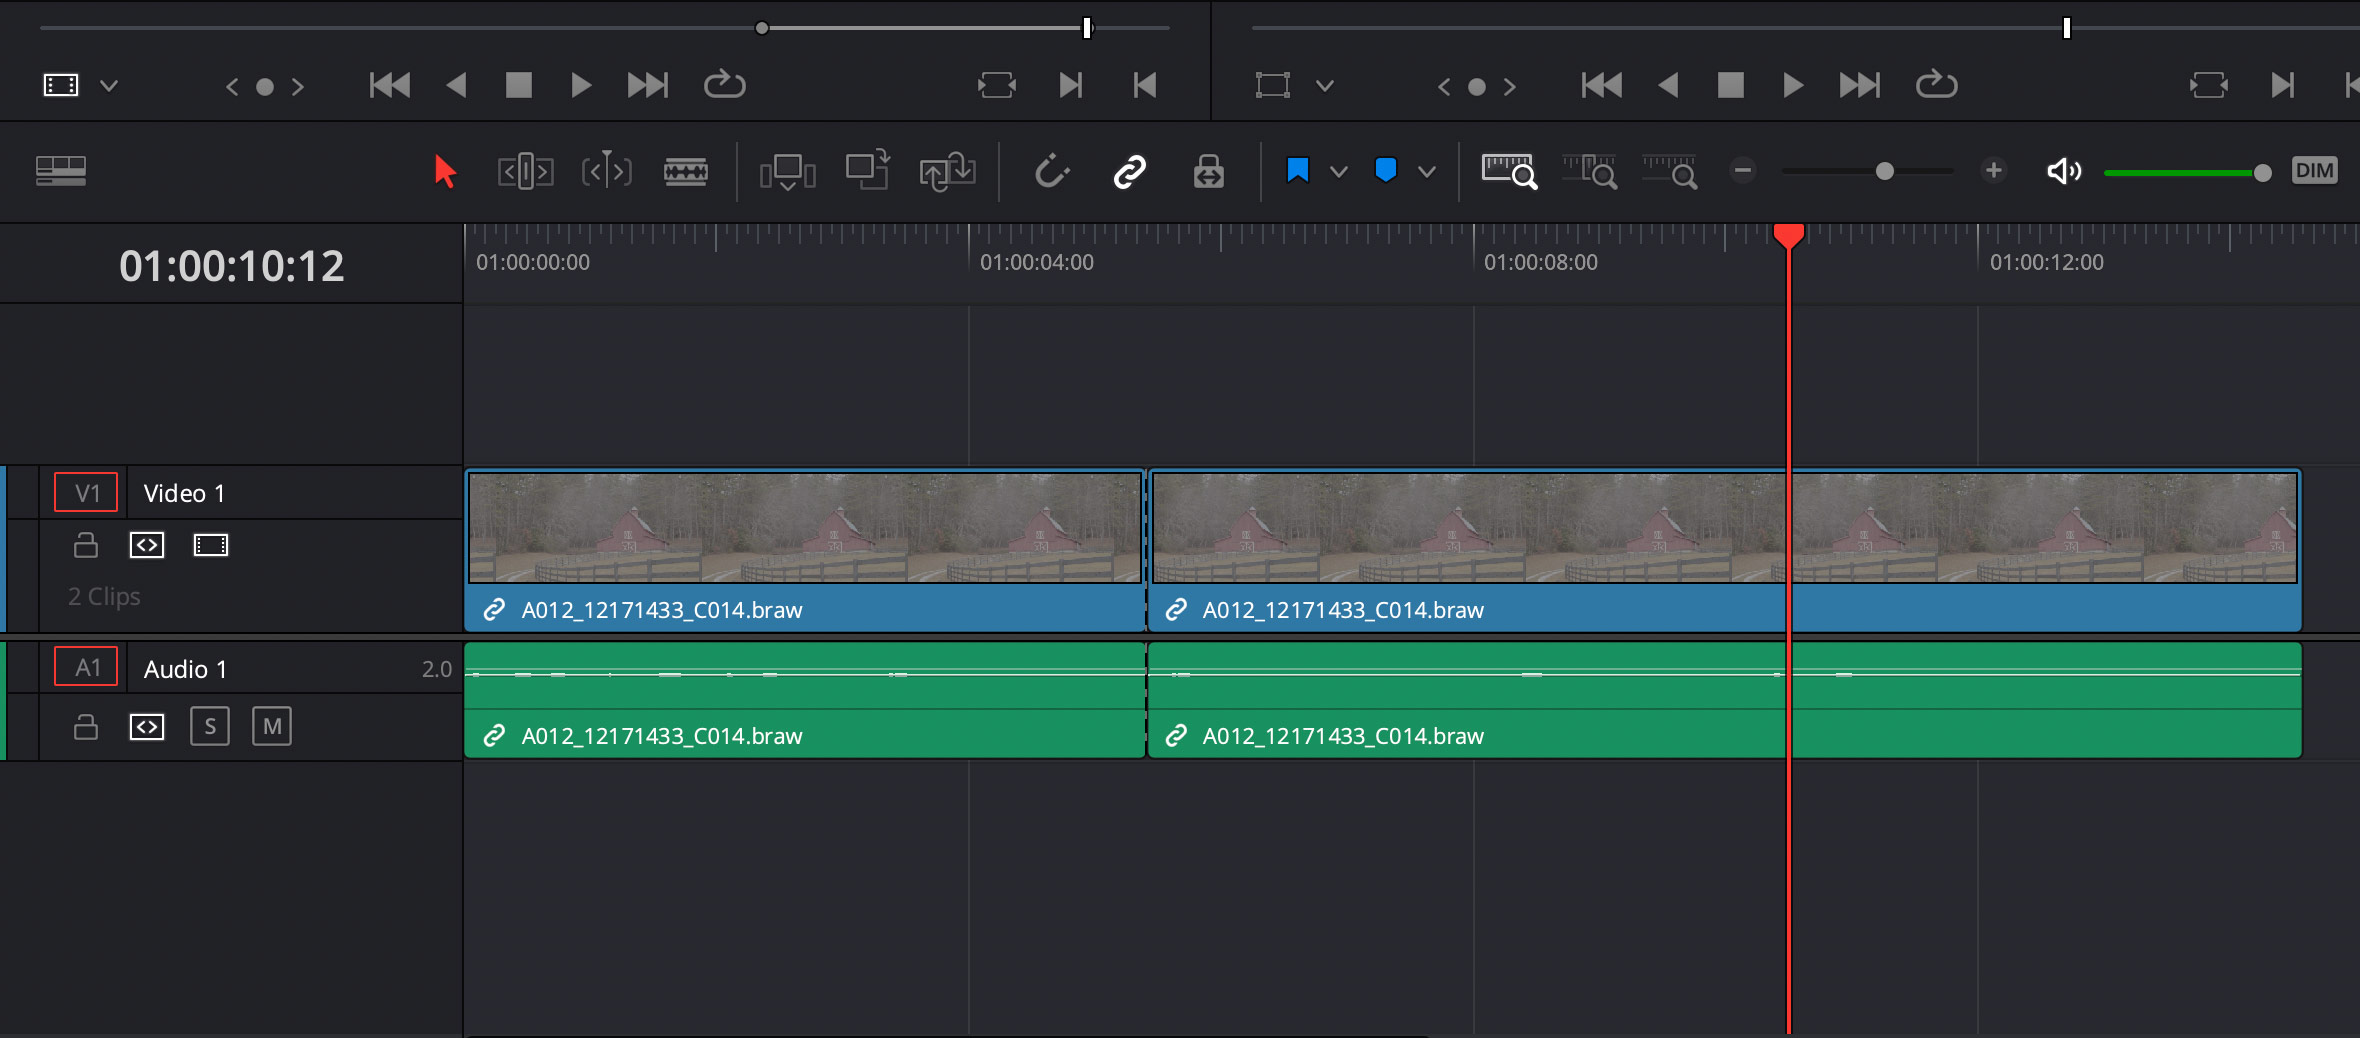
If you’re a filmmaker who cuts your own films, a common task using your NLE is to add edit marks in the timeline. In the world of DaVinci Resolve this is called ‘Splitting Clips’ or using the Blade Tool.
To quickly add an edit in DaVinci Resolve use the Blade tool. I’m assuming you already have media imported into Resolve and a timeline created with at least one clip. From the Edit Page in Resolve:

To disable the blade tool once enabled, simply hit "A" on your keyboard and it will deactivate.If you’d rather use the menu or the keyboard, from the Edit page:
Sometimes you need to remove an edit mark. The great news is that it’s easy to do:
A handy way to speed up cutting in Resolve is to use the split clip combined with the play head position to remove a complete section of a clip.

And yet another way to add an edit on your timeline is from the DaVinci Resolve Clip Page. Once on the clip page (second icon bottom of screen) position the playhead and then Control + Click on the very top. Then click the scissor icon to split the clip.
You may be wondering what the difference is between Razor, Blade and Split Clip. From everything I’ve seen, there essentially is no difference. They will all cut through multiple tracks at once. If you edit with the blade tool, you can still use the rejoin clip option from the menu.
Also, if you like to cut fast, mapping your own keys will make using the Blade tool even faster.
If your answer is yes, Write & Direct is your inciting incident. It's your catalyst in the journey to becoming a filmmaker. There's nothing else quite like it. Enroll today or find out more below: