What Hardware is Needed for Color Grading with DaVinci Resolve?

I’ve already discussed what’s required for a color grading room that won’t break the bank. If you missed it, check out our grading room post. Now we need to talk hardware requirements. Because like it or not, accurate grading involves more than just a nice computer and display. And when I say hardware needed for grading with Resolve, we’re not even talking about fancy tools like panels. The items discussed here are just to get us grading accurately.

Why You Need Color Grading Hardware

Modern computers and displays are very sophisticated. A Mackbook Pro will auto adjust the display based on ambient light. The GPU might boost contrast for a better image—you get it. All super cool stuff for our viewing experience. Lethal for accurate grading. To get your system dialed in for color grading, we’re going to look at 3 things: Display Capabilities, GPU and Display Calibration.

1) Display Capabilities

We discussed the CIE chromaticity diagram and how color spaces have chromaticity coordinates on the diagram called a color gamut for the color space. If that didn’t make sense, definitely check out our intro to color lesson as it will clear the fog.

Color gamuts also define what hardware can do. For example, does a particular grading display support Rec. 709, DCI-P3, Rec. 2020—you get it. With modern filmmaking, our Resolve timeline is typically DaVinci Wide Gamut (DWG). DWG is a very large color space that can encompass other High Dynamic Range (HDR) color spaces like Rec. 2020, etc.

Displays: HDR or SDR Monitoring?

How we monitor and deliver a film might be different than our timeline color space. For example, I often monitor in Rec. 709 which is a standard dynamic range (SDR) color space. Resolve takes my DWG timeline and any corrections done with HDR tools and graciously displays them as Rec. 709. Many of the 4K videos you see on YouTube are in fact Rec. 709, including the videos I have linked up here.

You might be thinking, “Why not monitor in HDR?” One reason—the hardware required for quality HDR monitoring is PRICEY. And if you’re an indie filmmaker watching costs, this is a big deal. Another reason? Not everyone has HDR capable stuff yet. So you can’t deliver in just HDR only—eventually we’ll get there! And again, if you have questions on how SDR differs from HDR see our intro to color post.

Displays: 100% Support Color Space

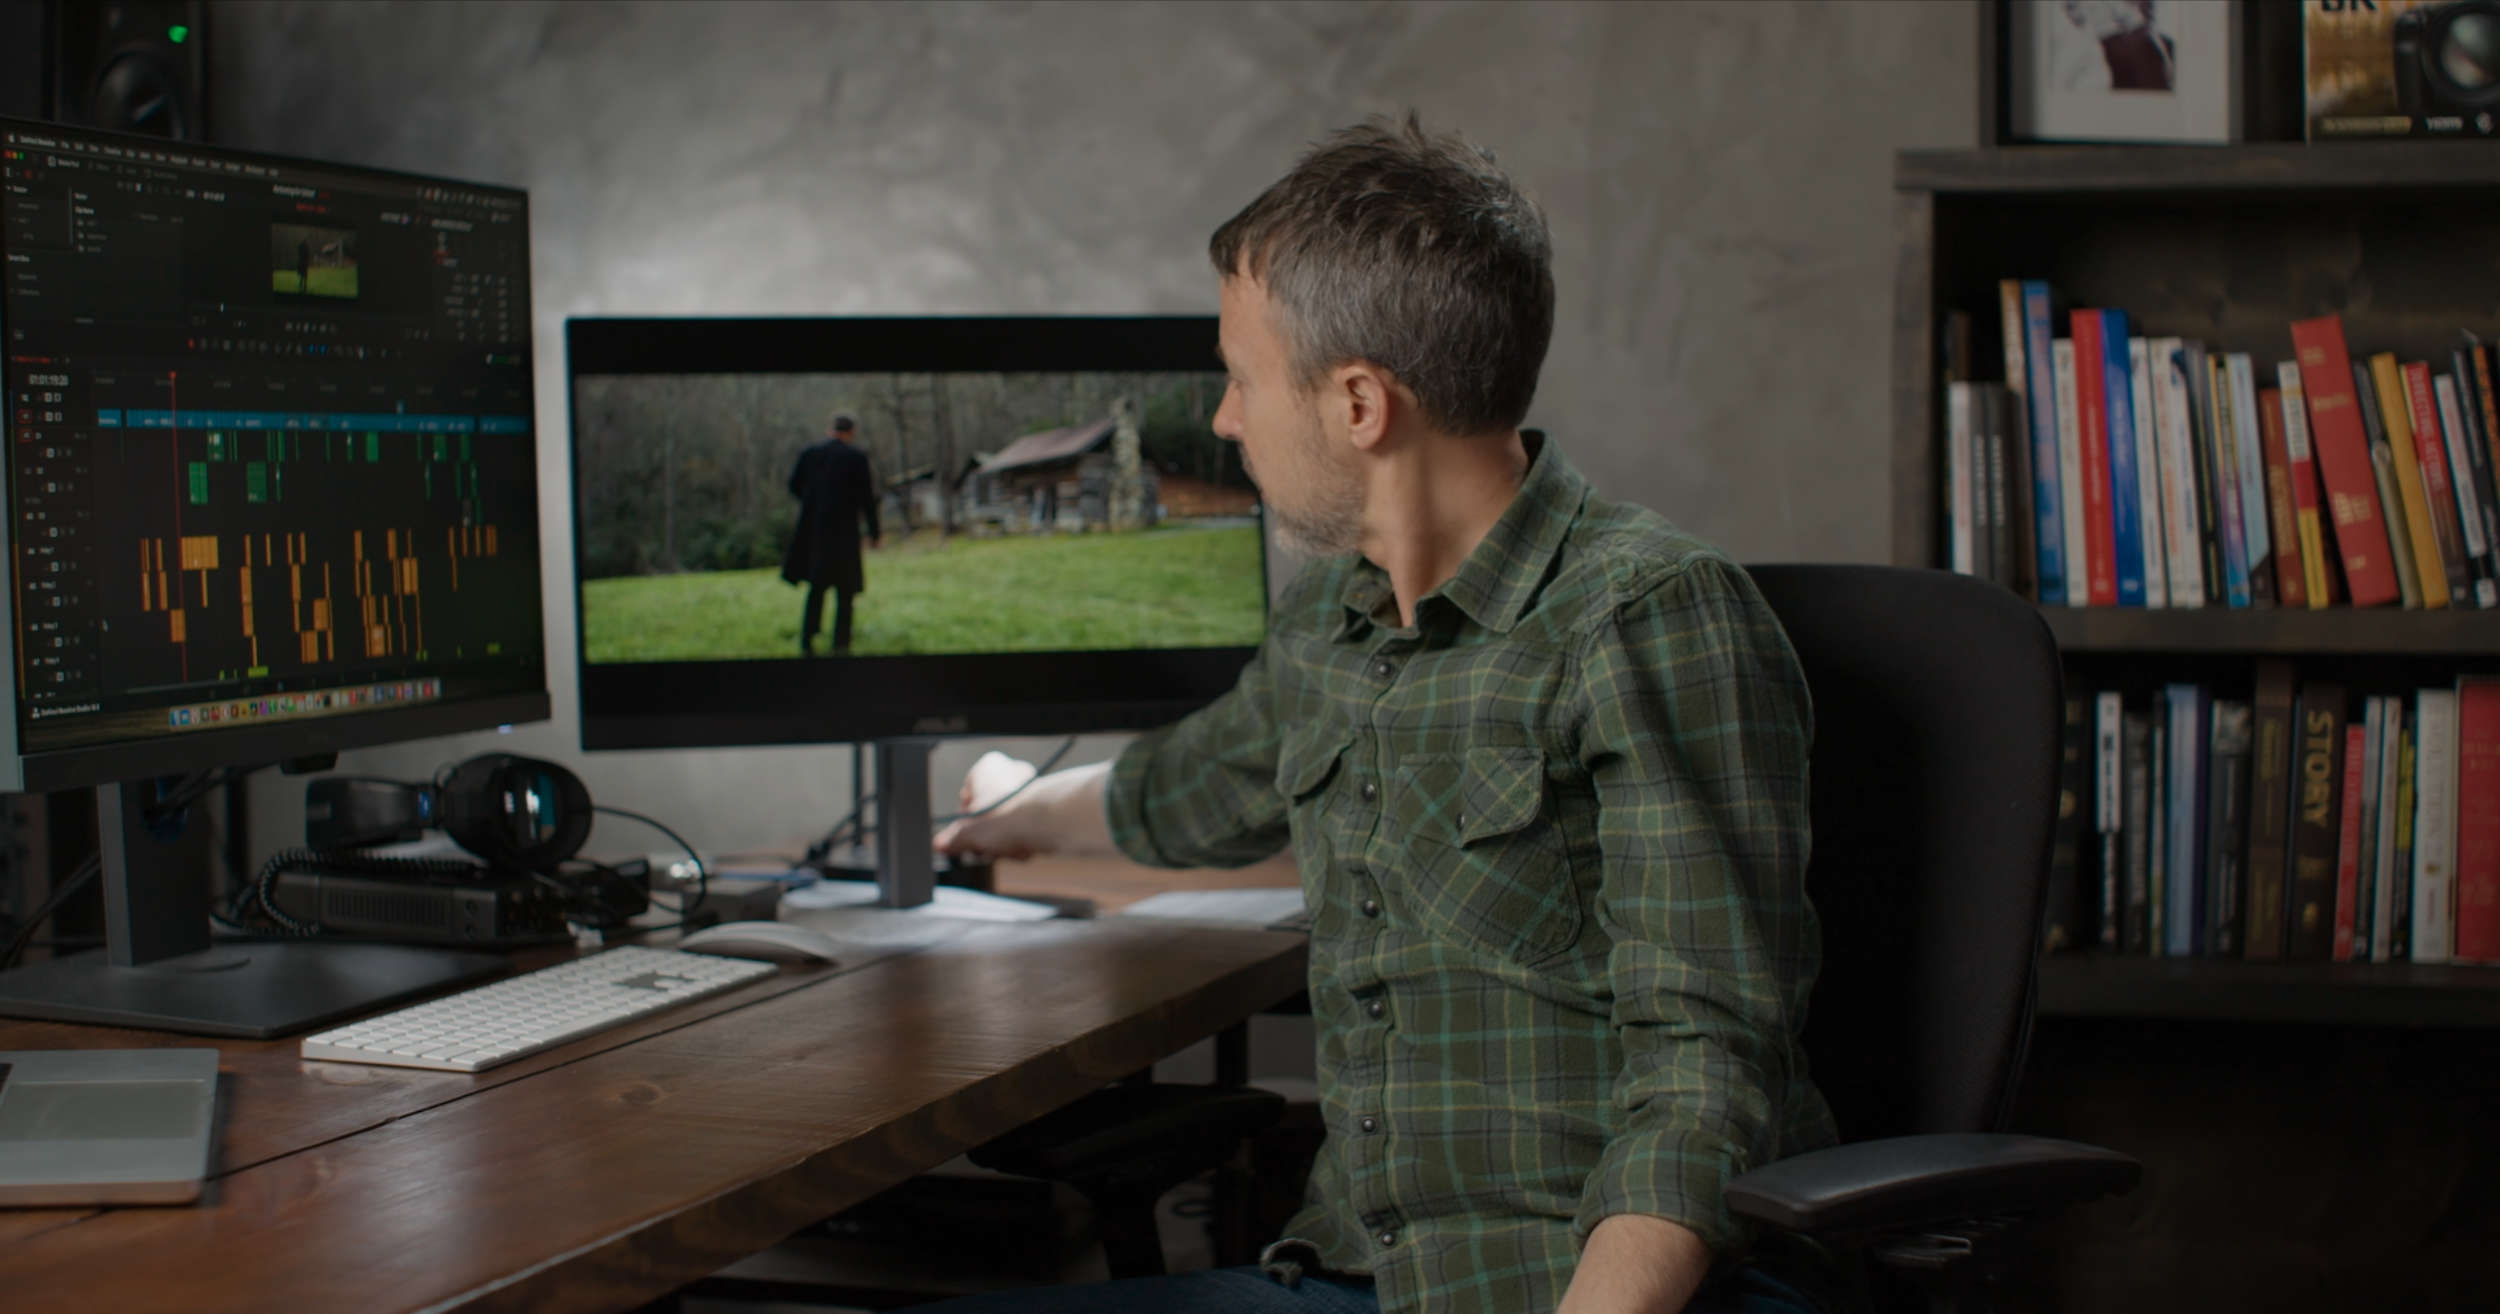
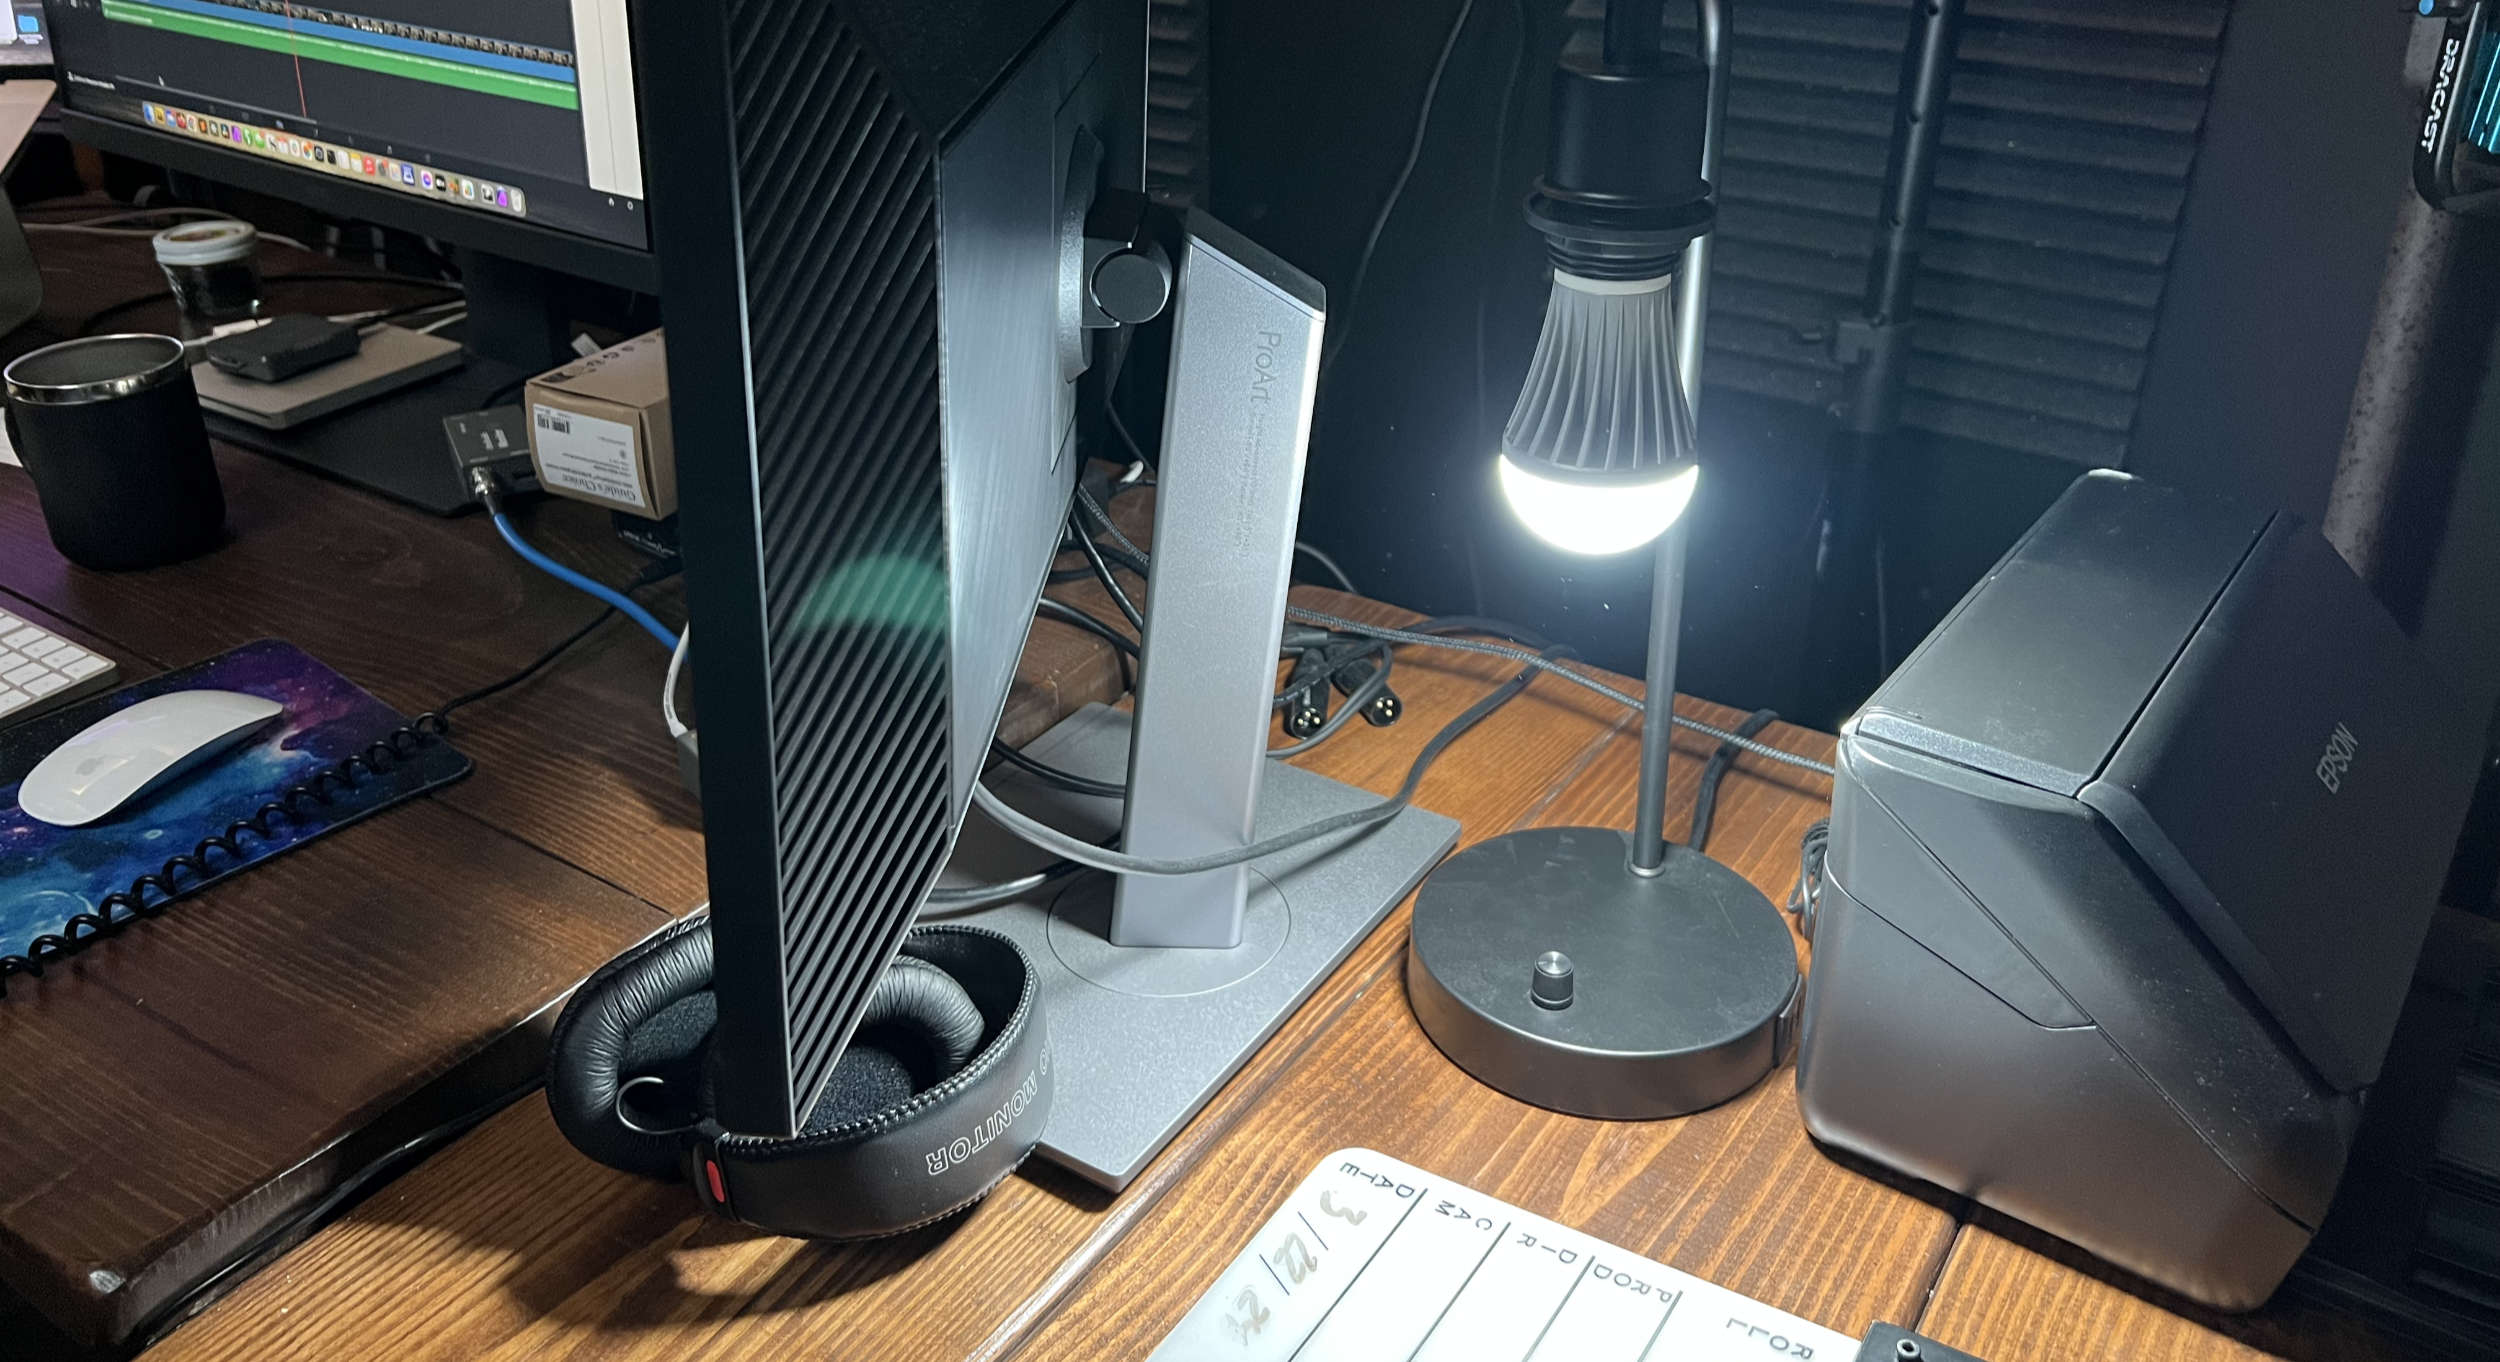
All of that to say, whatever color space you decide to grade in, your display must support it 100%. Manufacturers tell you what color space a display supports, and how much it supports it. For example, my grading display is an ASUS ProArt PA247V. According to ASUS it has 100% support for Rec. 709. This display is adequate for my grading. It fully covers the Rec. 709 color gamut and also supports gamma 2.4 which deals with luminance. Other Rec. 709 displays may report only 98% support. Or only sRGB support, etc. Whether you monitor your grade in Rec. 709 or Rec. 2020, your display must provide 100% support for the color space.

Displays: Quality

Displays will report their support for a color space. But cheap displays are still not going to give you a good image. For example, the display gamut might say 100% support for a color space, but then not give a good enough contrast ratio. For Rec. 709 you need a 2000:1 contrast ratio. Many Rec. 709 displays are only 1000:1. The price goes up for 2000:1 displays. And that’s just SDR. HDR has significant requirements to see a grade accurately. Netflix, for example requires their HDR grading to be done on displays that have a 200,000:1 contrast ratio (see their specs). Many who grade in HDR use displays from Flanders Scientific that cost thousands of dollars.

So that’s displays in a nutshell. As you can imagine, there’s a lot more to this than what we’ve discussed. The distilled version is you need to decide whether you’re monitoring and delivering in SDR or HDR and then purchase a display that truly supports this in both color gamut and luminance (contrast ratio).

2) Bypass The GPU

For the rest of this article we’ll assume monitoring and delivering in Rec.709 gamma 2.4. Now let’s assume we’ve purchased a capable display. 100% support for the Rec. 709 color gamut, support for gamma 2.4 and it has 2000:1 a contrast ratio. We’re ready to go!

Not quite yet.

This new display is still connected to the computer’s GPU (graphics processing unit). Whatever you see on your laptop or desktop display is handled by the computer’s GPU. As discussed, modern GPUs are doing things like adding contrast, adjusting color temperature, stuff like that.

So why does this matter?

Let’s say I’m grading, but in the low light of the grading room, my MacBook Pro warms up the image. Now I’m grading an image where the color temperature has already been tweaked to make it warmer. This is going to throw my grade WAY OFF. I’ll might unconsciously cool things down to compensate for what the GPU did to the image. Then when I look at my movie on another display, it’ll look like Minority Report (which was very cool look for THAT movie).

So what’s the answer? There are certain things you can turn off in your computer to try to keep the GPU from doing stuff, but you never have a 100% guarantee that it’s not messing with things. So the safest bet is to get products from Blackmagic Design to bypass your GPU entirely.

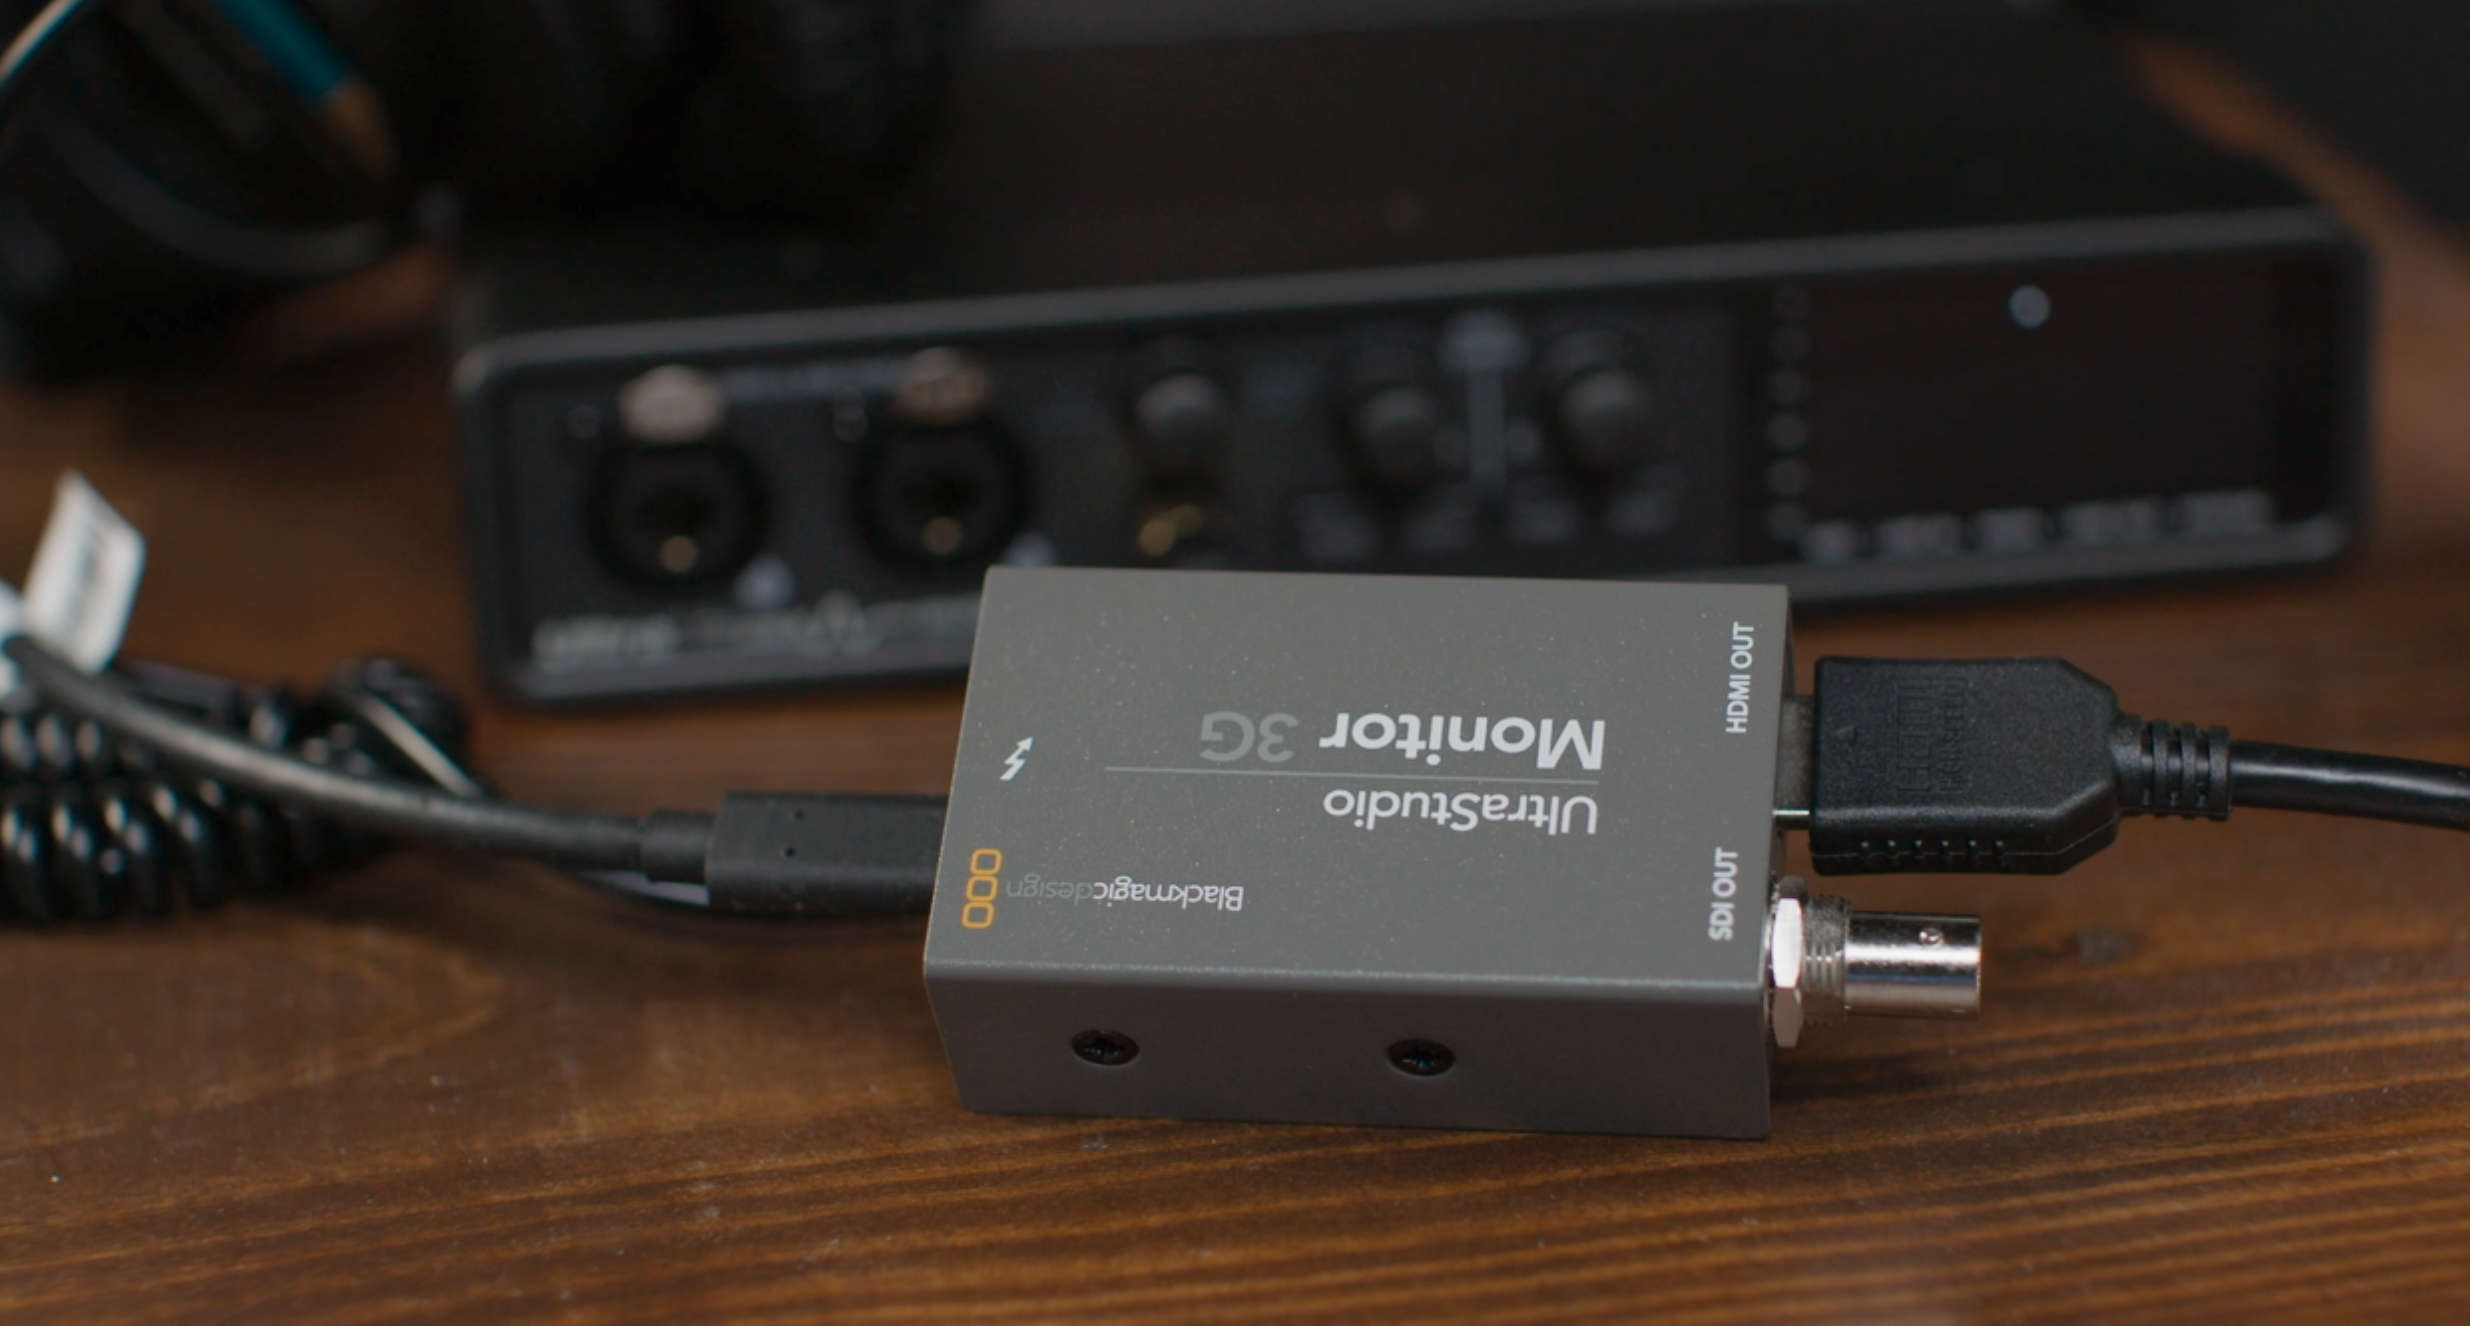
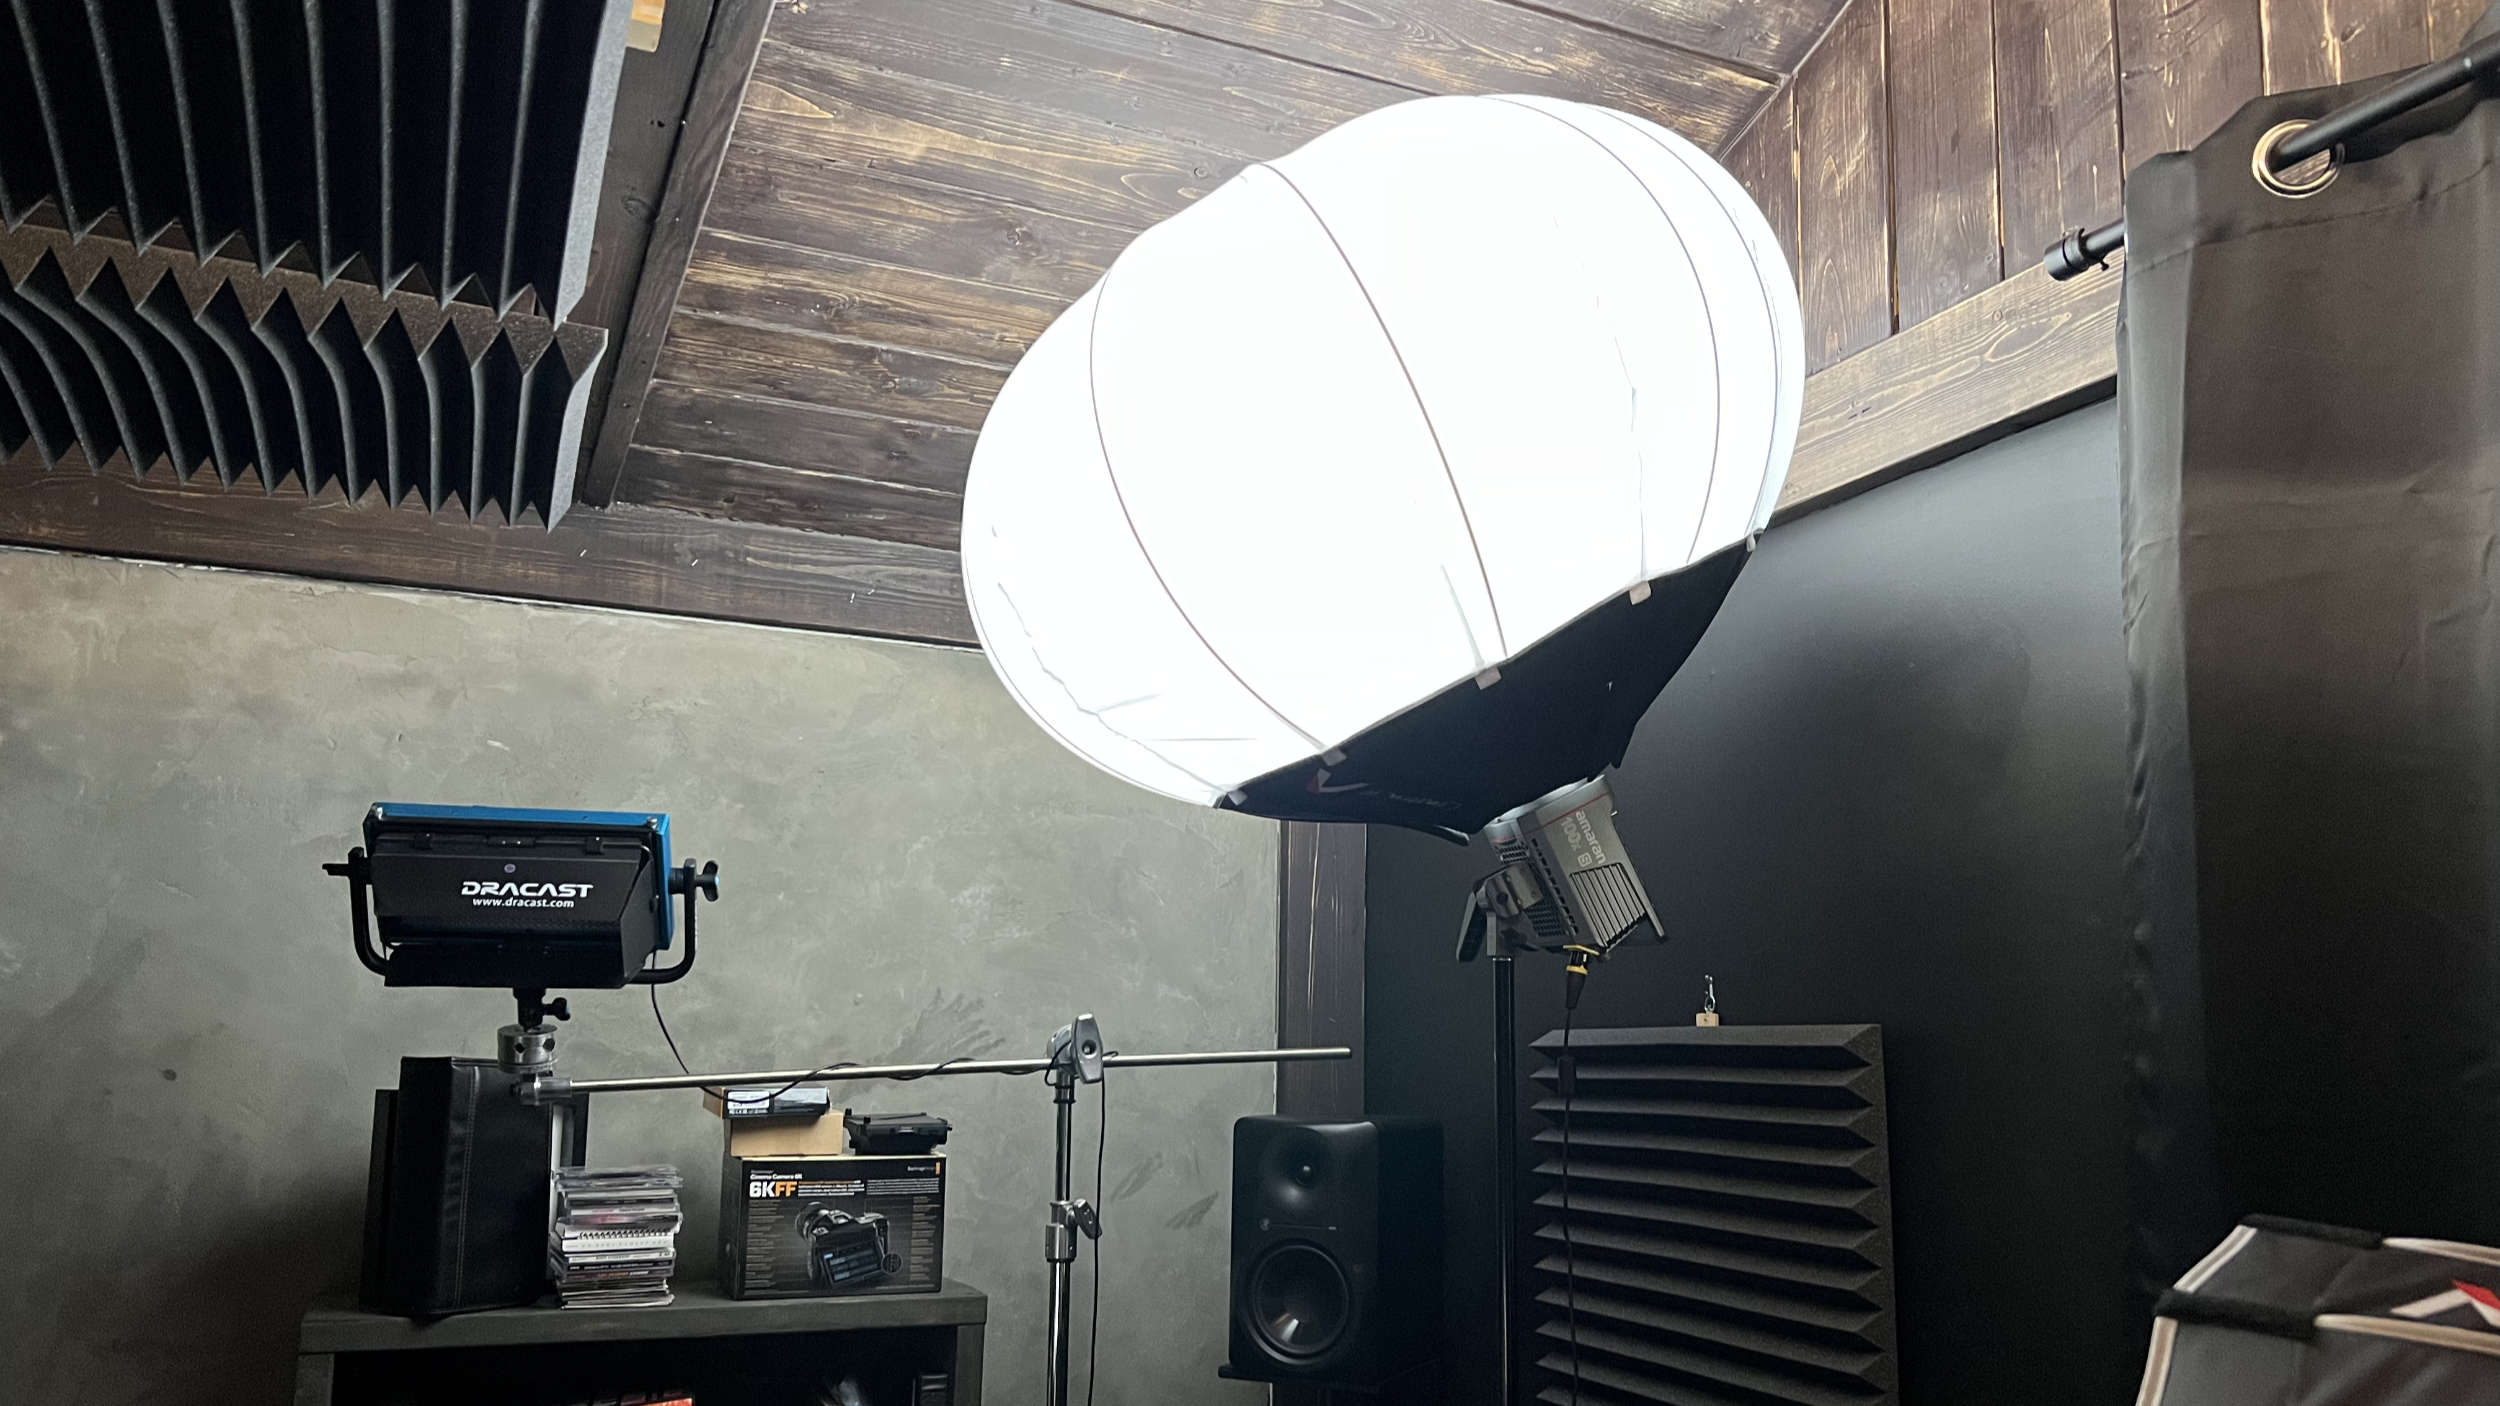
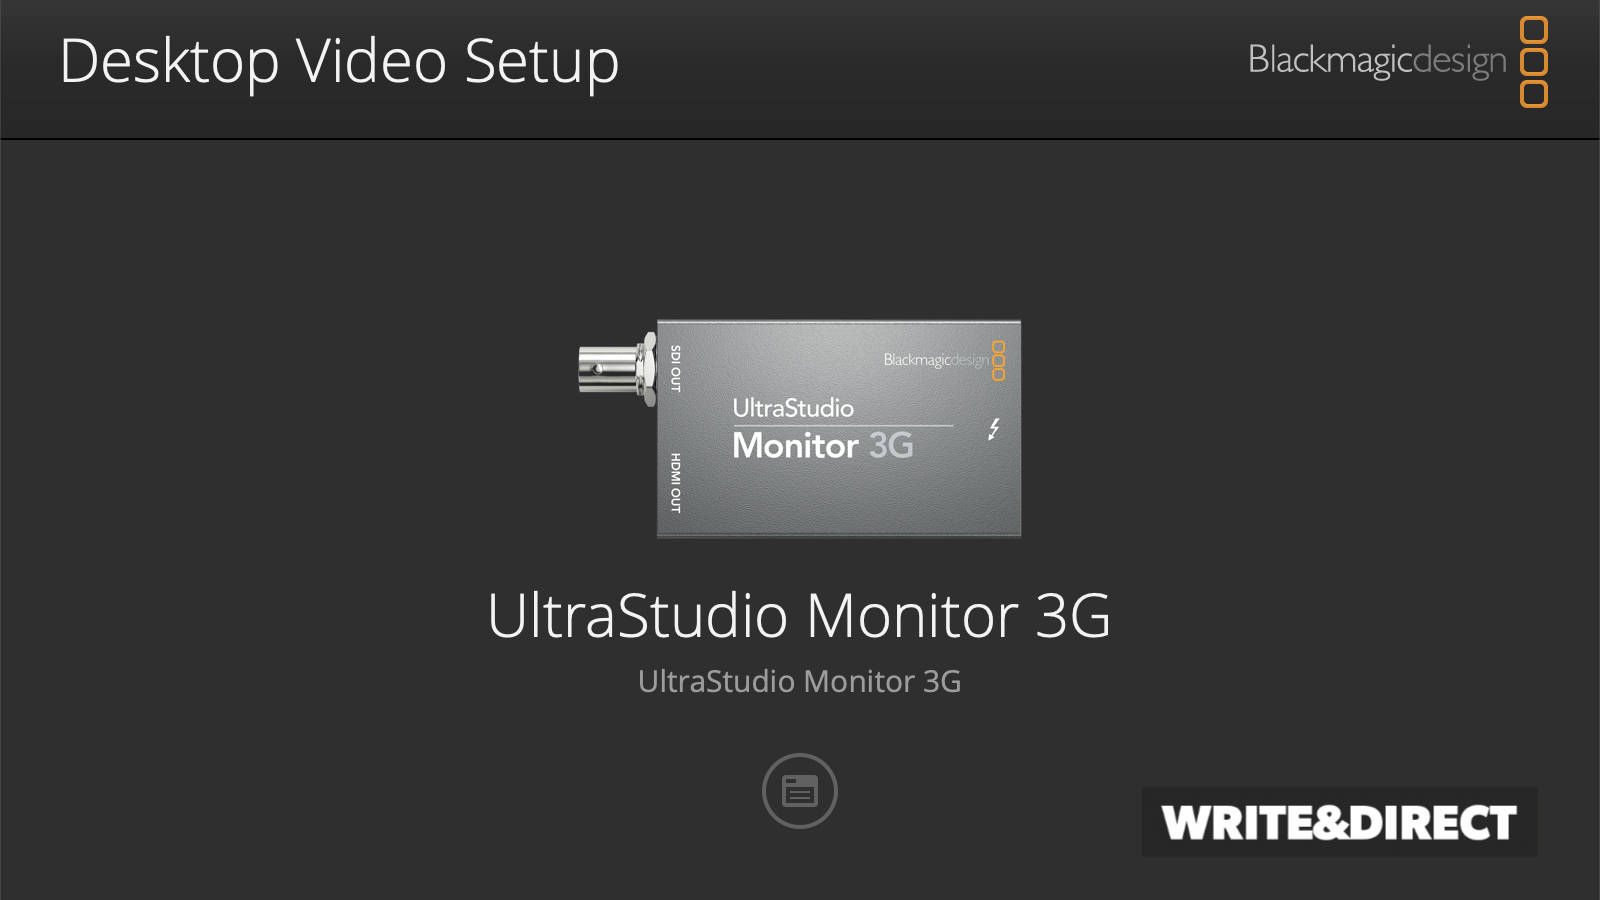
Blackmagic UltraStudio Monitor 3G

The UltraStudio Monitor 3G hooks into a Thunderbolt display on your computer with an HDMI out to your grading display. Then you enable this in DaVinci Resolve and it sends the signal out of Resolve through the UltraStudio Monitor 3G 100% bypassing your GPU. NICE. This ensures your grade is not adjusted by the computer in any way.

Now something to know, the UltraStudio Monitor 3G is HD only. This is fine for me as my 24″ Rec. 709 grading display is HD. If you want to monitor in 4K you need the UltraStudio 4K Mini or one of their DeckLink cards. So however you go about it, you must bypass your GPU for accurate grading.

Again, you still might be thinking, "Why monitor in HD?" Remember, pixel count has nothing to do with color space. If you're monitoring in Rec. 709 you don't need 4K. However, it can be easier to find a 4K display that supports a 2000:1 contrast ratio, which would be more accurate. So in that case, you will need a DeckLink card vs the UltraStudio Monitor 3G. Or the Blackmagic Design 4K mini. Either one will work. 

3) Display Calibration

This is where things can get a little dicey. So what is display calibration? In a very simple way, it’s like wheel alignment on a vehicle. All displays, regardless of cost, must be calibrated periodically to correct drift and maintain their accuracy.

When you order a new display, it’s calibrated at the factory. But after using it for 20 hours or so the colors will drift and then it’s not 100% accurate anymore. It’d be like shooting a rifle with a scope that’s not dialed in—it doesn’t matter how well you aim, you will NOT hit the target because the scope is off. Likewise, if our monitor shifts, it doesn’t matter how well we grade.

What’s the solution?

Hardware & Software Calibrated Displays

First know there are two types of displays: Displays that hold their own calibration data and displays like my ASUS PA247V that rely on software calibration stored on your computer (or LUT box). A hardware calibrated display costs more, plus you have to pay someone to come in and calibrate it for you.

A colorimeter allows you to create an ICC profile or 3D LUT file for grading accuracy.

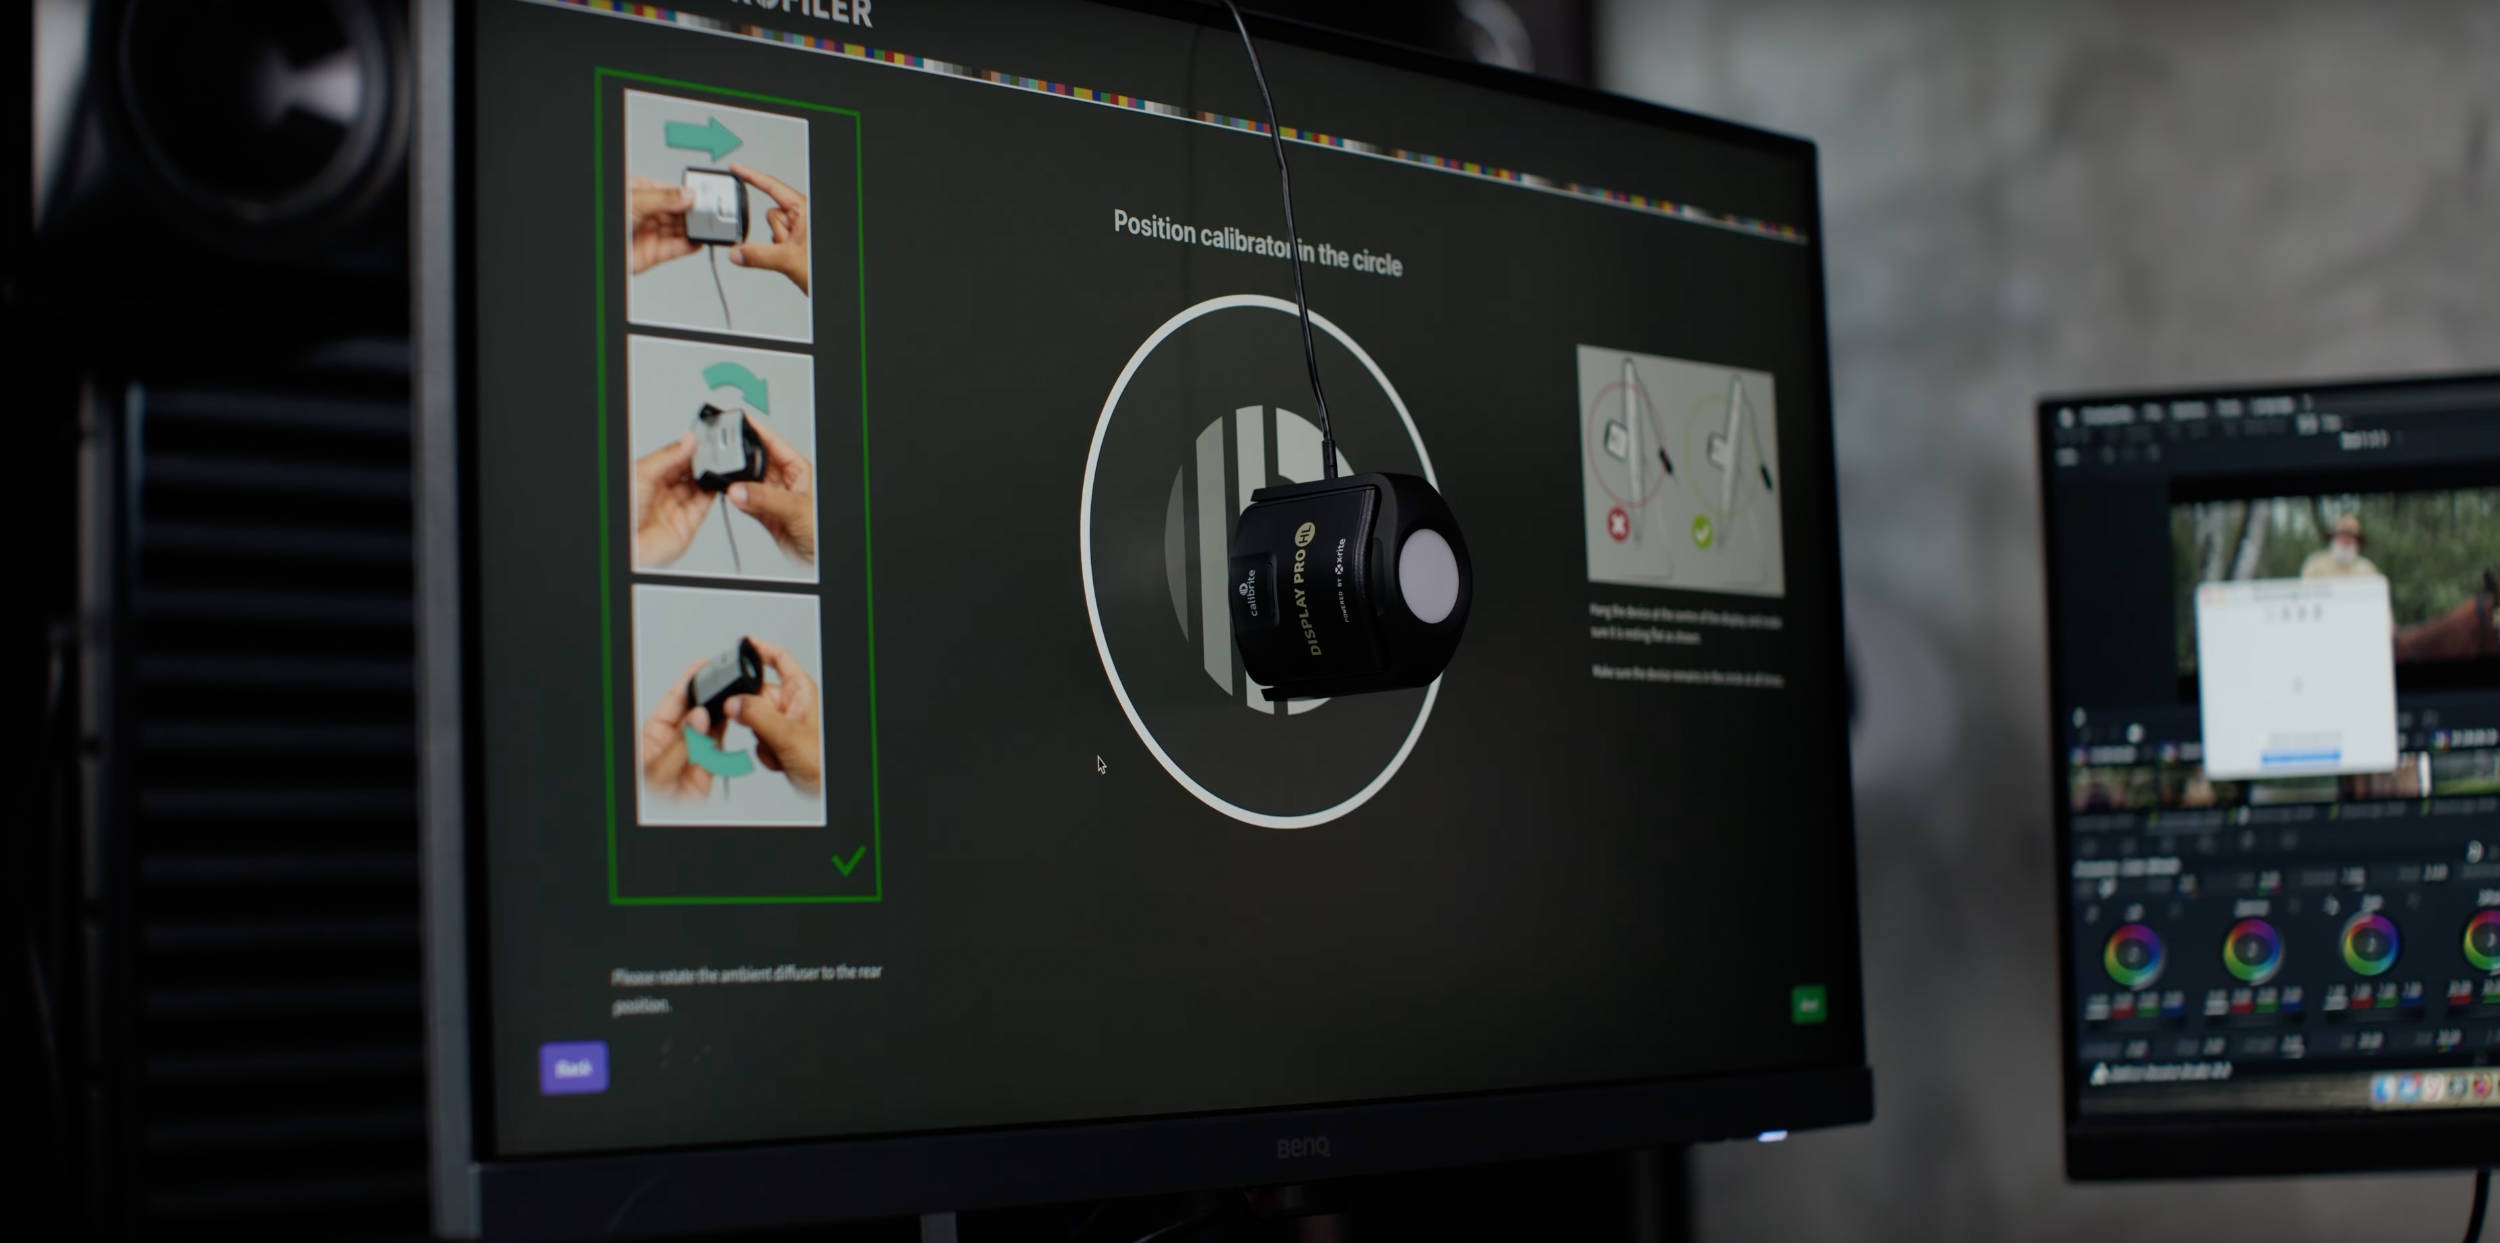
Software calibration allows you to calibrate your own display using a colorimeter. You simply tell the colorimeter software what to calibrate to (example Rec. 709), place the colorimeter on your display and the software app runs thousands of color swatches on the screen which are scanned by the device. It then performs a lot of calculations based on what the display is doing vs what it should be doing, and creates the ICC profile. Then when you use the display, the ICC profile gives your OS the corrections.

ICC Profiles vs 3D LUT Files

There’s an issue with ICC profiles when it comes to grading in DaVinci Resolve. They still rely on the GPU and OS of your computer. And they may not be fully supported by Resolve. So what’s the solution? Creating a 3D LUT file that’s used with your Blackmagic Design setup. The 3D LUT stores the required calculations for you and allows the corrected signal to go to your display without the GPU involved.

But here’s the catch: Normal calibration software DOES NOT create 3D LUT files. Only ICC profiles. You have to use software like Calman Studio from Portrait Displays (pricey) or DisplayCAL which is free but more difficult to use. I cover how to use DisplayCAL here:

DisplayCAL is not running on newer versions of macOS. There is a forked version that supports Python 3 but I have yet to test in detail. The other software consideration is Calman Studio—but it comes with a price tag.

What is the Cheapest Hardware Setup?

We’ve talked about SDR and HDR. About display capabilities. You now know to bypass the GPU. And your display must have regular calibration to stay accurate. So what is the least expensive way to do all of this? For the macOS, the cheapest route you can take is as follows:

  1. Monitor your grade on an HD display with full Rec. 709 support. I currently use a 24″ ASUS ProArt. It only has a 1000:1 contrast ratio. 2000:1 is better, but this works and doesn’t break the bank.
  2. Hook your grading display to an UltraStudio Monitor 3G to bypass the GPU.
  3. Purchase the Calibrite HD colorimeter.
  4. Use DisplayCAL to create a 3D LUT.

All of that including the display will cost about $650. This is significantly less than just the display required for an HDR capable setup. Is this budget setup ideal for everything? No. But for those of us putting indie films online? It’s great.

Again, if you want to monitor in 4K vs HD you can do that via a Blackmagic Design Decklink card (with an external PCIe enclosure) and then get a 4K display that supports Rec. 709. And of course to monitor in HDR things change even more.

Hopefully this helps you get started correctly with your grading! This seems like a lot, because it is. But once you have it dialed in, you’ll have a solid solution to make your films look incredible.

How to Setup A Color Grading Room On A Budget

The Insane Requirements of Grading

When I first got into grading and learned the requirements for both my room and related hardware, I was like, “Are you kidding me?” Nobody was kidding. If you’re an indie filmmaker grading your own movies, there are imperative details that must be addressed. Otherwise, your hard work will not be accurate.

Our Eyes Auto White Balance

Why can’t we just look at a screen and grade? Aren’t modern displays accurate? We’re not tackling hardware in this post. But let’s assume your display is 100% dialed in. That’s not enough. Why? Let’s say you have a window with ambient light coming in. As the day goes from morning to night, daylight changes color temperature. As humans, our eyes “white balance” on the fly. We go outside, we come in and don’t think about color temp changes.

This gift works against us when we’re trying to do an accurate grade on a movie. If you have light coming in and it’s changing throughout the day, your eyes will auto adjust and you won’t know it. And as this happens, your grade will begin to drift.

Let me show you something to drive this home—check out the image below: See the middle gray bar with the gradient on it? There is no gradient. Crazy right? Our eyes and brain play tricks on us. That gray bar is the exact same color from left to right.

Our eyes and brain can play tricks on us when it comes to color and luminance.

The only way maintain an accurate grade is to control our grading room so our eyes and brain aren’t doing any “auto adjusting” on us. I’m going to cover what you’re supposed to do, and then I’ll show you what I actually did.

A professional colorist would take this much further. If you’re a professional colorist, you’d have thousands of dollars worth of gear. You’d have walls that are an exact N5 or N7 gray. A display like Flanders Scientific that rings in over $20K. That’s not independent filmmakers, right? So let’s see how to do this affordably:

Step 1: Room Lighting

There are three things to understand and address for your grading room to be accurate in regards to lighting. Otherwise, you might as well throw on a pair of colored sunglasses to do your grade. Okay, that’s extreme, but it’s not that far fetched!

Room Lighting – Daylight

First thing you must do is block out all outside light. No way around it. I went to Amazon and purchased thick blackout curtains—Just search for “WONTEX blackout curtains.” They’re like thirty bucks. And you want black ones. Do not get color—we’ll get to that in a second. Also, these curtains help by cutting down reverb which is nice for recording and/or sound design.

Room Lighting – Color Temp

Next we must control the color temperature our grading suite. Both consistency and actual temperature. A calibrated display has a D65 white point. This means when it shows white, it’s a D65 waveform—something like that. D65 is similar to a 6500K color temperature. They’re not the same thing, but for us indie filmmakers on a budget, 6500K bulbs are close enough. However, you do need accurate bulbs.

Light bulbs have a CRI or color rendering index. You want 90 and above or you’re just getting bulbs that say they’re 6500K but they’re something else entirely. A professional colorist might say 90 CRI isn’t high enough, but just shoot for that and you’ll be fine. I ordered HengBo A19 6500K bulbs off Amazon. However before you purchase bulbs, we need to talk about overall brightness levels.

Room Lighting – Brightness

The Society of Motion Pictures and Television Engineers (SMPTE) have guidelines for grading suites. And the document we’re going to reference below is an older one for Rec.709 grading. However, most of the time I’m monitoring in Rec.709 even with an HDR timeline. But if you are monitoring in HDR, they may have a newer one for HDR grading suites.

7.1 All light sources in use during picture assessment or adjustment should have a color quality closely matching the monitor screen at reference white; i.e., D65 (see A.5).

7.2 The ambient light reflected from the screen of a switched-off monitor should be the lowest possible level (see A.6).

7.3 Reflections on the monitor screen should not cause a perceptible impairment from the normal viewing position (see A.7).

7.4 The production desk and control consoles where a script is read should be illuminated to a light level of about 100 LUX (10 fc). The illumination on the general working surfaces of the production desks and consoles should be 30–40 lx (3–4 fc) (see annexes A.8 and C).

To conform to the SMPTE standards for a grading suite, the monitor should be calibrated to 35 ft-L (foot-lamberts) of light output. At this level, the surrounding light should put out 3.5 ft-L. (10%, or less, of the light output). 

Foot Lamberts is equal to 1 candela per square foot. A candela measures the brightness of the source in a way while foot candles measures the light hitting a surface. 

You might be thinking, seriously? Yep. BTW, the SMPTE doc mentions foot lamberts—this is just another way to measure light. One foot lambert per square foot is like one candela. And a candela is different than the foot candles we’re used to with our light meters. Light meters measure luminance hitting a surface as foot candles. A candela is measuring the source light in a different way. If you’re an indie filmmaker, you most likely have a light meter. That’s the easiest way to dial this in.

What I Did For Lighting

So we’ve got the elimination of sunlight. We have a 6500K color temperature to match the D65 white point of displays. And we ambient brightness levels that must be dialed in. What did I do?

Block Sunlight

First I purchased black curtains from Amazon (mentioned above) to completely block out any sunlight from coming into my room. Like it or not, post production as a filmmaker is a low-lit experience!

Lighting my grading suite with an Amaran 100X and lantern softbox.

Control Color Temperature

For this I decided to do something a little different. I have multiple Aputure LED lights. One of them is the Amaran 100X with a CRI rating of 96 that allows me to set color temp. So I purchased a lantern softbox—which I needed anyway—and used that to light my grading suite.

For other various lamps in my suite I got the cheap HengBo A19 6500K bulbs off Amazon. Because the main Aputure light is so accurate (96 CRI) and it’s lighting my control surface, I wasn’t worried about the other various lamps in the background.

Use a light meter to measure control surface brightness in a grading suite.

Set SMPTE Guidelines Brightness

Next I used my light meter to dial in the brightness. According to the SMPTE guidelines you turn off your displays and take the measurements. Per SMPTE, general ambience is supposed to be 100 lux. Lux is Latin for light and it’s yet another way to measure light—not sure why there’s so many ways!

So our light meter measures foot candles. One foot candle is roughly 11 lux. 10.764 to be exact. To get 100 lux in our grading room, we need to be around 10 foot candles. And the SMPTE guide said our control surface, which is the area our keyboard and mouse are, needs to be roughly 30 to 40 lux. So around three to four foot candles.

Don't get too crazy with this. If you get your control surface hovering around five foot candles, it's still pretty accurate. But remember, do it with the displays off. And make sure you're not getting any glare off of your grading display from any of your lights. It has to be nice and black.
A color grading display bias light will help with contrast and color accuracy.

Step 2: Display Size, Distance & Bias Light

Next let’s talk about display size and distance. The SMPTE group also has guidelines for the size of your display based on distance from you. They specify the height of your display should be one third the distance. My grading display is a 24 inch display, but that’s a diagonal measurement. The vertical measurement is roughly 12 inches. According to the SMPTE guidelines, this display should be three feet from me. I keep it about two feet away—not gonna worry about that. And then the other thing you’re supposed to have is what’s called a bias light.

BIAS LIGHT

A bias light is positioned behind a display. They help ease eye strain and also help you see colors and contrast more accurately. You can go crazy with bias lights and get D65 strips, etc. For my budget grading room, I just purchased a $20 adjustable lamp stand off Amazon. Then purchased an actual D65 rated dimmable bulb (the bulb cost more than the stand).

A bias light behind your grading display helps with eye strain and accuracy.

The bulb I went with is the Media Light MK2. I set it to the lowest setting and use that for my bias light. And it’s not exactly accurate—your bias light is supposed to be around 25% of your display brightness (I cover display brightness in another article). But I just go as low as I can and call it good.

Step 3: Paint Color

Okay, lighting is done! Now it’s time for the color of your grading suite walls. Why is this a big deal? Because colored walls will reflect inaccurate light back and your eyes will auto white balance and your grade will suffer as a result.

The technical guidelines specify a GTI Standard Gray Neutral 5 paint color for walls. And this is where I drew the line—I’m not repainting my office. Now with that, my office walls are black except for one wall that is cement. Is this 100% accurate? No. But I wasn’t going to redo everything.

If I was doing my grading suite from scratch, then you bet. I’d go to BH Photo and order the GTI Standard Gray Neutral N5 paint. I’ve also heard GTI N7 is good. Now, if my walls had been an actual color? Different story. If your walls are a bright, bold color, you might need to address this. If you had bright purple walls, for example, that’s going to mess with your grade. It would be like you’re Bono with purple glasses grading your movie—that’s going to affect it.

Off topic: The glasses Bono wears? They're not a fashion statement. At least not entirely. Bono has a type of degenerative eye issue. And he wears the colored glasses to protect his eyes from too much light. Just an interesting random fact if you like U2. Okay, back to filmmaking:

If you have bold colors on your walls, you probably need to fix this. And if you’re going to paint, you might as well be official and spring for N5 Gray! But if your room is large, N5 isn’t budget friendly. But you can probably talk to the paint department at a place like Lowes at get recommendations.

Grading Room On A Budget Summary

As I mentioned above, I was taken aback a bit when I first dove into color grading requirements. This is stuff we didn’t learn in film school. As a brief summary, here’s what you need to do:

  1. Block sunlight in your room. All of it.
  2. Use 6500K bulbs with a CRI rating above 90.
  3. Keep the ambient brightness at 10 foot candles.
  4. Control surface brightness around 3-5 foot candles.
  5. Appropriate display distance.
  6. Bias light—Here I def recommend D65.
  7. N5 Gray walls (or close).

Once you have these things dialed in, the most important thing is to keep it consistent. Don’t change things half way through your grade. Or you’ll need to go back and review your grading again. And if this wasn’t enough, there’s a lot you must do in order for your grading display to be accurate. We’ll cover that in a future blog post!

Thanks for reading. If you’re new to Write & Direct, we are an online film school for aspiring directors. You will learn the craft from development through post, and potentially be way more prepared for the next steps in your directing career than if you attended a traditional film school!

Find out more on our film school info page.